
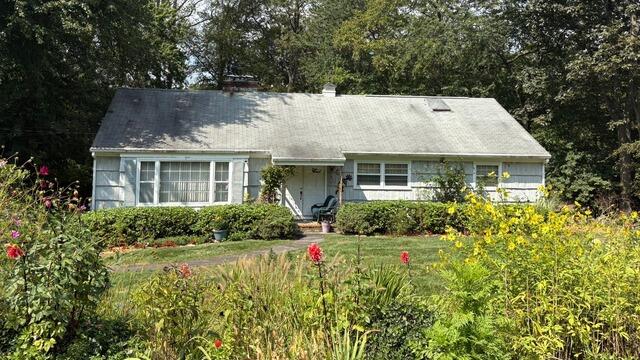
Before: Front View
Here's a look at Stephen's roof before the renovation. The old three-tab shingles were far past their lifespan, and it was time for a much-needed upgrade. Swipe through to see the incredible transformation!
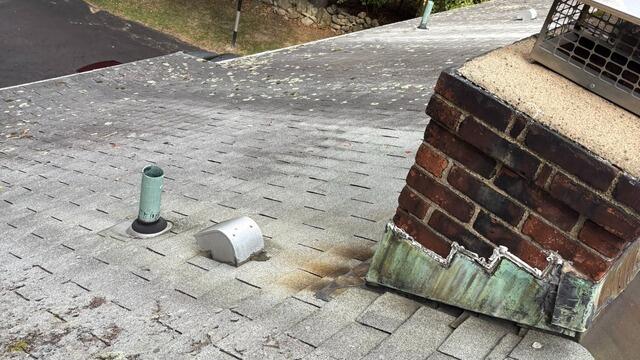
Before: Deteriorating Shingles & Flashing
Years of weather, debris, and moisture had taken a toll on this roof. Algae and lichen growth covered the shingles, and the old flashing around the chimney had corroded and failed to keep water out. Our crew was ready to fix it all!
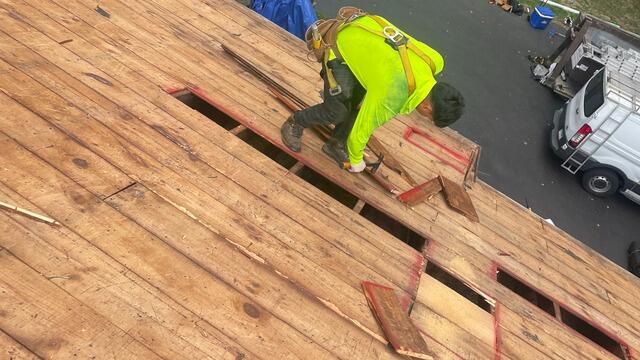
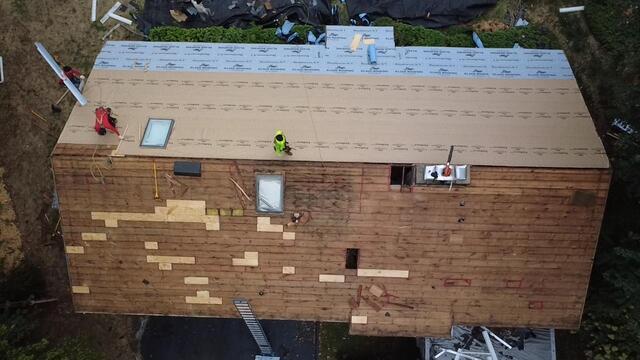
The Teardown Begins & Bad Plywood Is Removed
The process begins with carefully removing all of the old shingles. Beneath them is a layer of planked "tongue and groove" decking: the structural base of the roof. Any damaged or decayed boards are removed to ensure a healthy foundation.
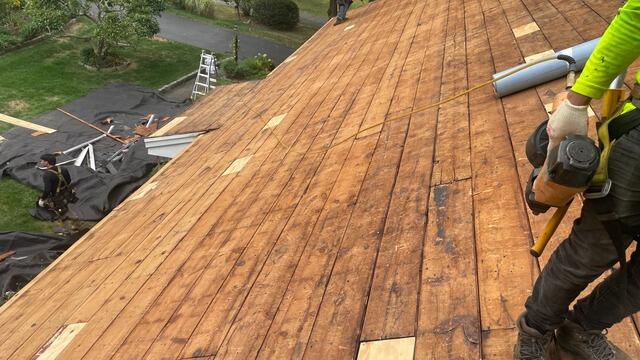
New Plywood Is Installed
New sheets of CDX plywood are precisely cut and installed to replace the damaged planks, creating a smooth, solid surface for the new roofing system.
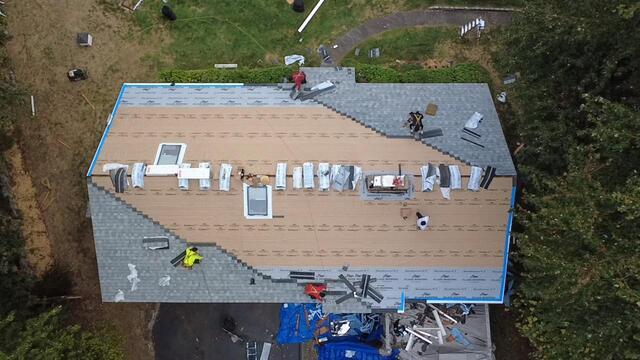
Ice and Water Shield & Underlayment Are Installed
A protective barrier is added next. Ice and water shield is applied from the eaves up six feet for maximum protection, while the rest of the roof is covered with Velora One synthetic underlayment, which is durable, flexible, and weather-resistant.
New Shingles Are Installed
Stephen chose IKO Dynasty shingles in the bold shade of Frostone Gray, a durable and stylish choice backed by Brown Roofing's 50-year warranty.
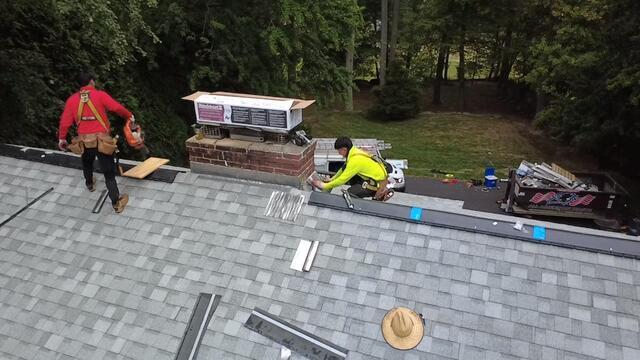
Ridge Vent Is Installed
A ridge vent is installed along the top of the roof, allowing hot, humid air to escape and preventing condensation from building up inside the attic.
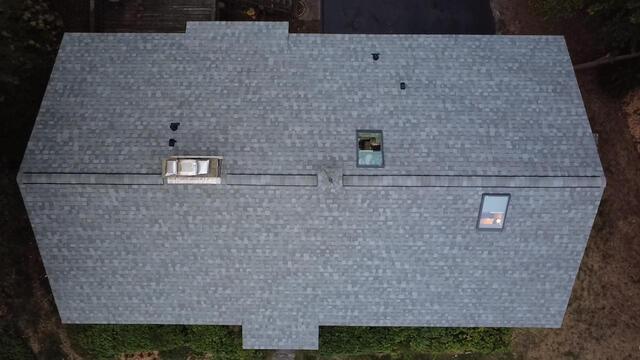
After: Aerial View
The finished roof looks fantastic! Strong, sleek, and ready to protect Stephen's home for many seasons ahead.
