
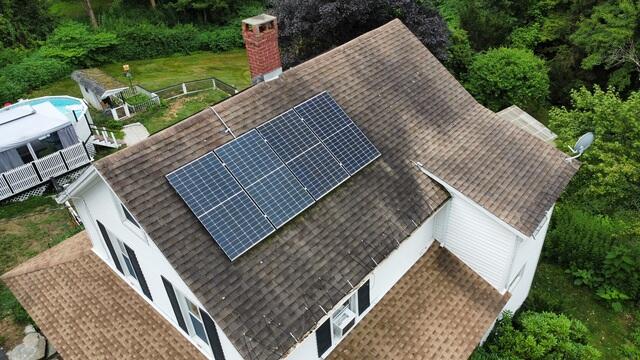
The Roof Before
Here's a look at Joe's roof before the replacement. You can see dark streaks of algae growth and moss building up beneath the solar panels. These were clear signs it was time for an upgrade. Click through to see the stunning transformation!
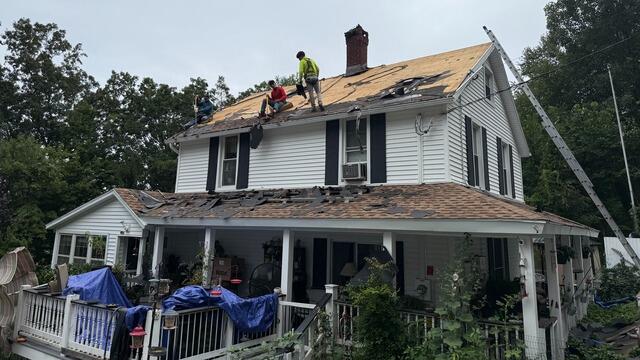
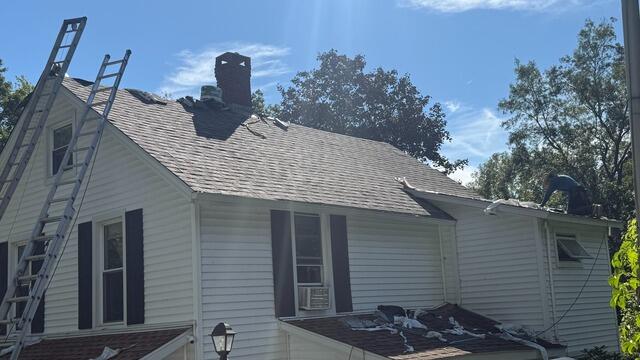
The Teardown Begins
The crew kicks things off by carefully stripping away all of the old shingles. Beneath them is the plywood foundation of the roof, called the decking.
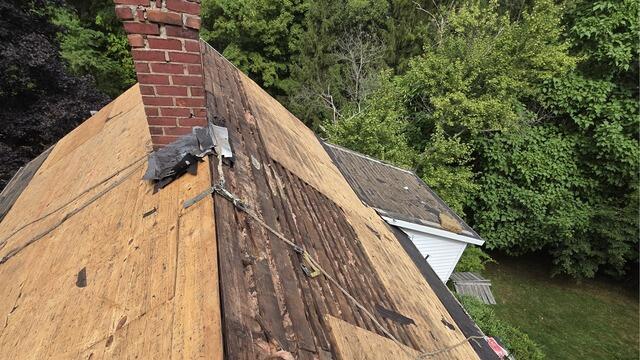
Bad Plywood Is Removed
The decking serves as the structural base of the roof, so it needs to be in great condition before the new roofing system is installed. Any sections found with rot, decay, or damage are removed.
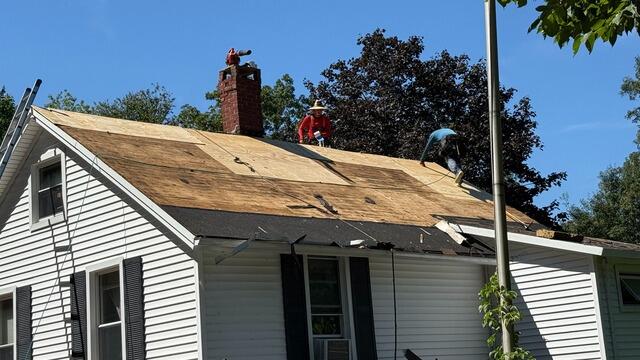
New Plywood Is Installed
Fresh sheets of strong CDX plywood are installed to replace the old sections, creating a solid and durable foundation for the new system.
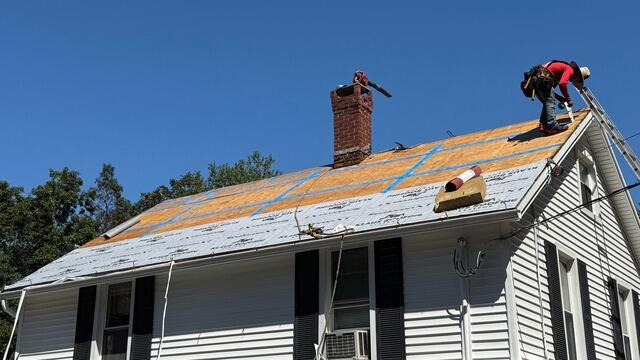
Seams Are Taped & Underlayment Is Installed
Next, the seams of each plywood sheet are sealed with all-weather deck tape to meet current building codes. Ice and water shield membrane is applied from the eaves up six feet and around vulnerable areas like the chimney, while the remaining surface is covered with high-performance synthetic underlayment.
New Shingles Are Installed
Now it's time for the new shingles! Joe chose IKO Dynasty shingles in Brownstone, a timeless color backed by our 50-year warranty that perfectly matches the lower roofs on his house.
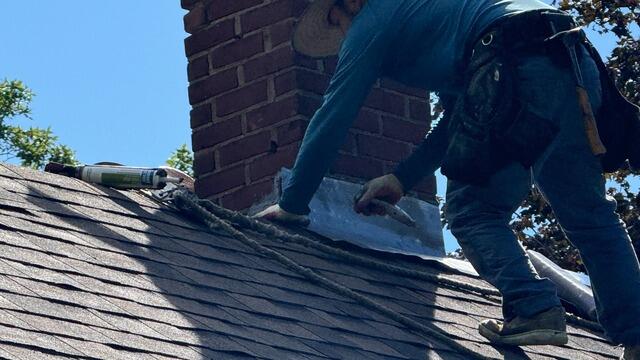
New Flashing for the Chimney
Flashing, a thin metal barrier, is installed around the base of the chimney to ensure this important junction stays fully watertight and leak-free.
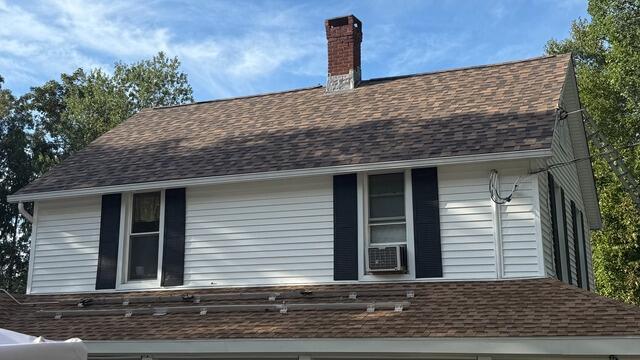
The Roof After
With some final touches, like a ridge vent for proper airflow, and then a cleanup of the whole property, Joe's new roof is looking spiffy and ready to protect for years to come!
