
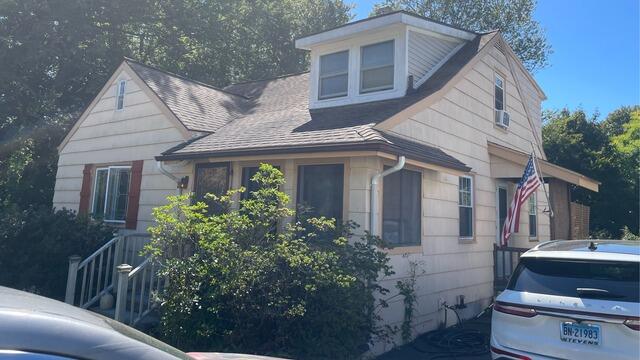
Before: Front View
Here's the front view of Stanley's home before the roof replacement. Swipe through to see the amazing transformation!
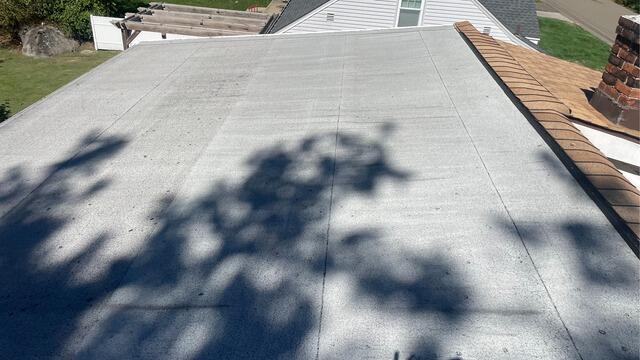
Before: Old Flat Roof
This is the old SBS flat roof. It wasn't holding up anymore, and water had started to seep in and cause damage beneath the surface.
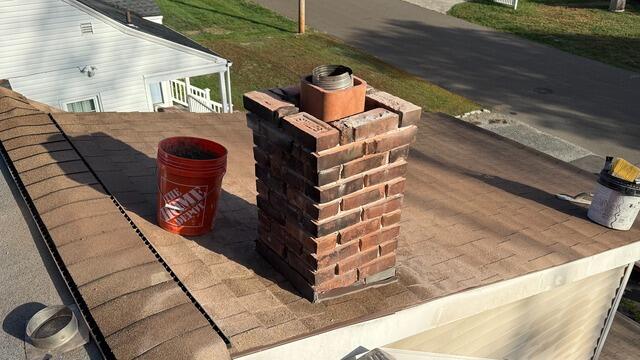
A New Chimney
Before the roof work began, our talented masons rebuilt the chimney from the roofline up, and the results speak for themselves!
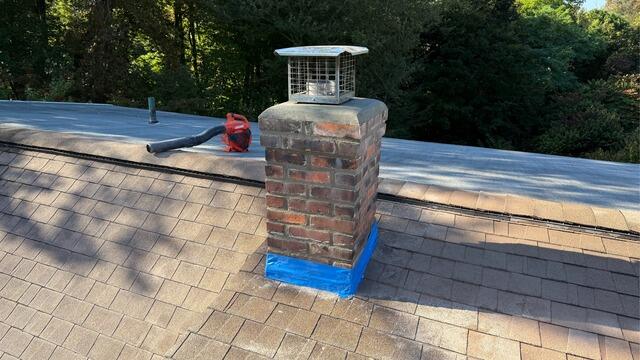
The New Chimney Is Complete
The new chimney was finished with smooth mortar joints, ready for our roofing team to add fresh metal flashing around the base for a watertight seal.
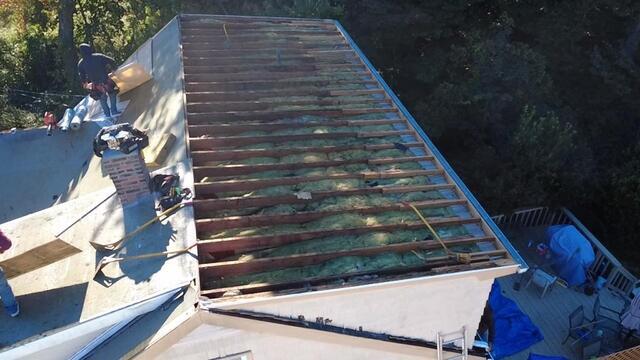
The Teardown Begins & Bad Plywood Is Removed
Time for teardown! The crew stripped off all the old shingles and removed the damaged plywood around the flat section to prepare for a brand-new base.
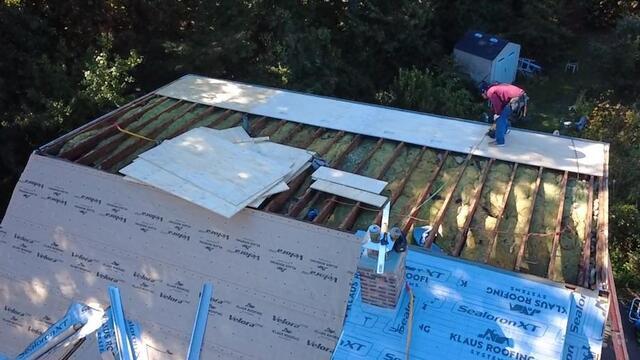
New Plywood Is Installed
Strong new sheets of CDX plywood were installed to replace the old material, creating a solid, healthy foundation for the roofing system.
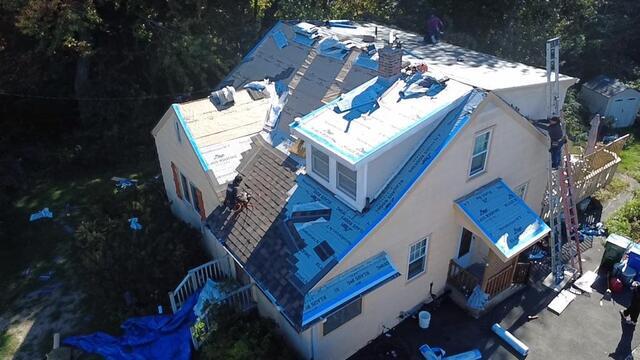
SBS Roof Base Is Installed
The first layer of the new SBS system, called the base layer, is Elastoflex. It's adhered directly to the plywood for maximum protection against moisture.
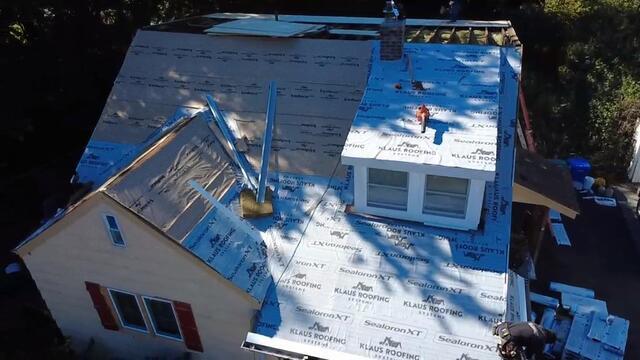
Underlayment Is Installed
On the pitched roof sections, Sealoron XT ice and water shield was applied to vulnerable areas, followed by Velora One synthetic underlayment for full-coverage protection.
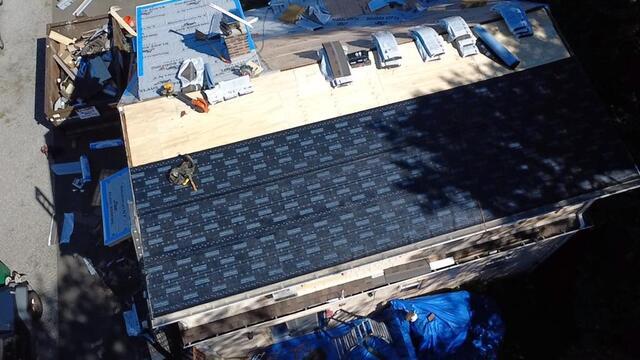
New Shingles Are Installed
Shingle time! Stanley selected IKO Dynasty shingles in Shadow Brown. This is a rich, timeless color that pairs beautifully with his home.
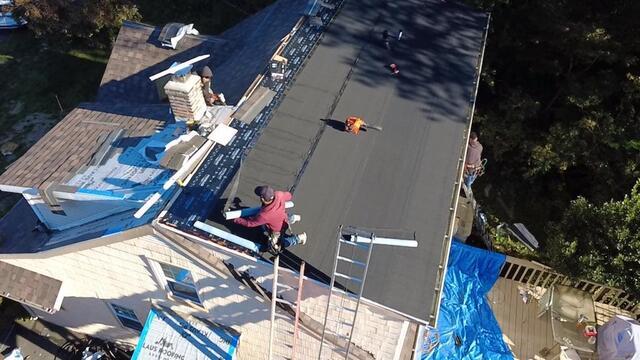
SBS Cap Is Installed
The final cap layer of the SBS roof was installed, completing the flat roof section and ensuring long-term durability.
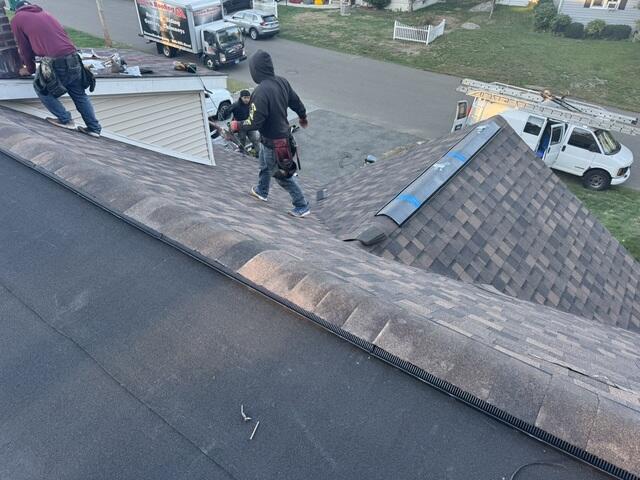
Ridge Vent Is Installed
A ridge vent was added along the peak to improve ventilation and prevent moisture buildup in the attic.
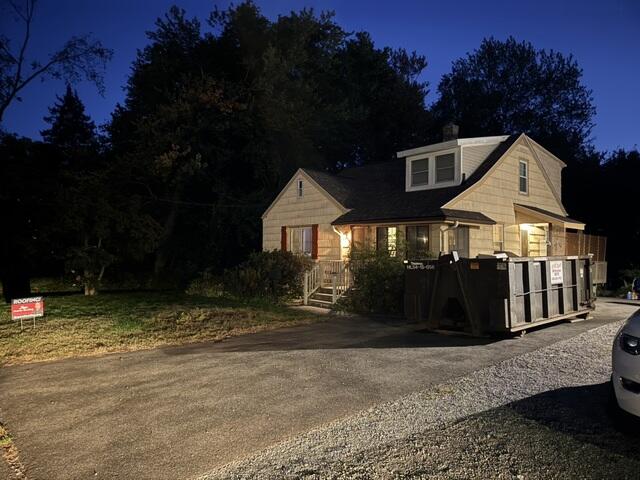
After: Front View
1
