
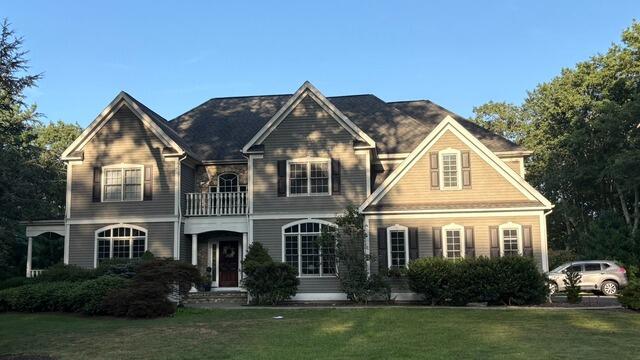
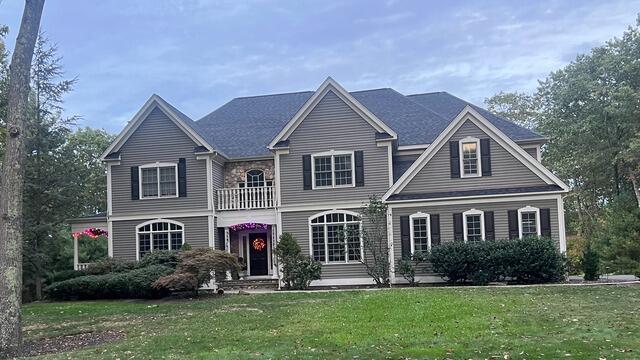
Before: Front View
Here's a look at Brandon's home from the front before renovation. Swipe through to see the awesome transformation!
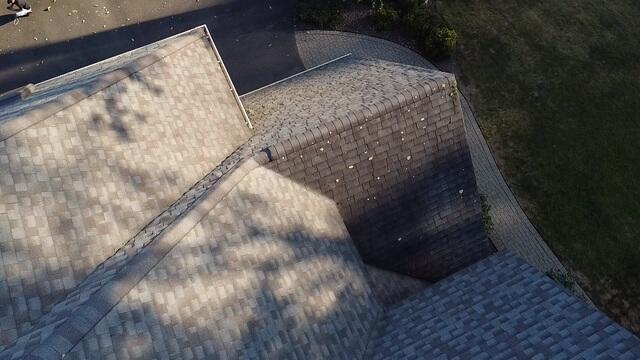
Before: Stains & Lichen Growth
Here is lichen and stains on this face of the roof. probably coz it's so dark here. woo hoo
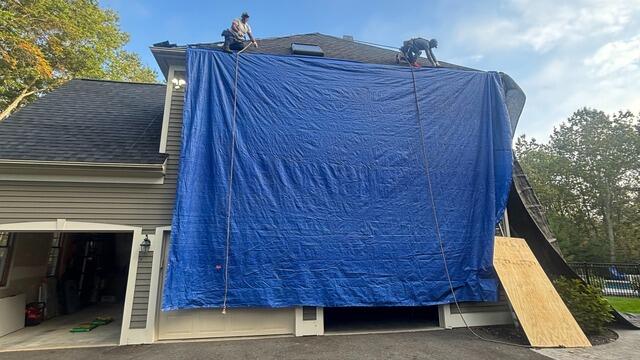
Preparing for the Teardown
The crew starts by hanging up large tarps all around the roof to protect the homeowner's property as well as catch the falling debris to make for a more efficient cleanup.
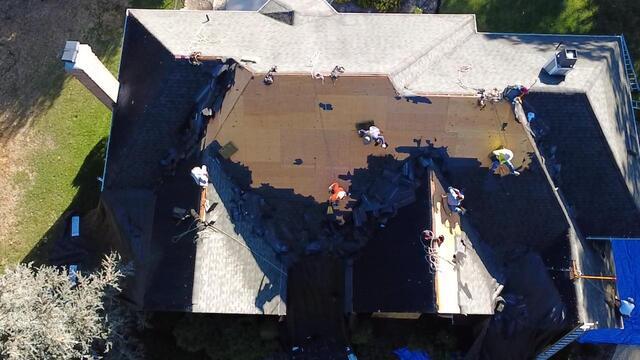
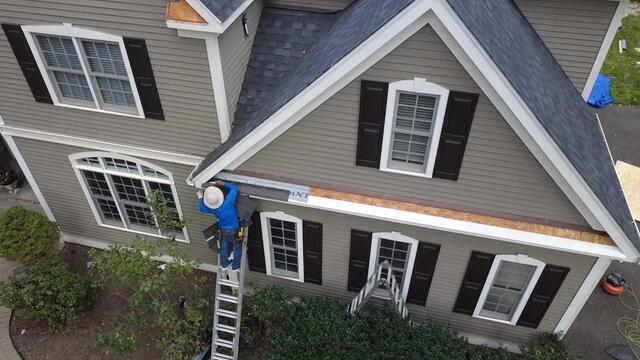
The Old Shingles Come Off
With everything protected, it's time to start stripping off the old shingles and prepping for the brand-new roofing system.
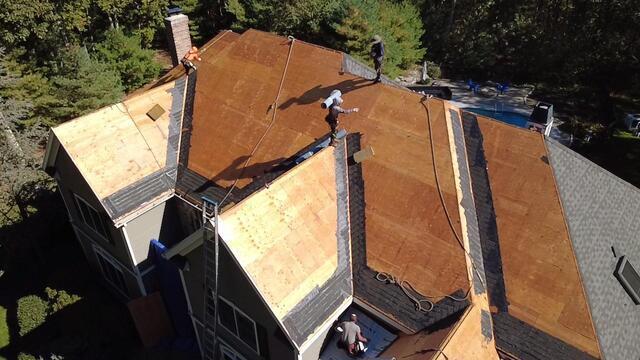
The Decking Is Examined
The plywood sheathing acts as the roof's foundation, so any sections showing rot, mold, or damage were replaced with strong, new sheets before moving forward.
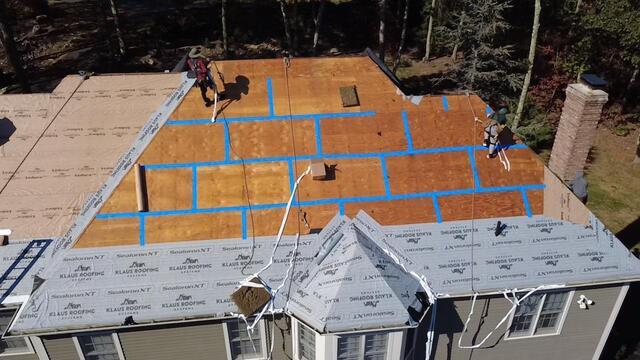
Seams Are Taped and Ice & Water Shield Is Installed
Only two sheets of plywood needed replacing! Once that was done, the crew taped each seam with all-weather deck tape and applied ice and water shield from the eaves up six feet, covering all vulnerable areas like valleys and edges.
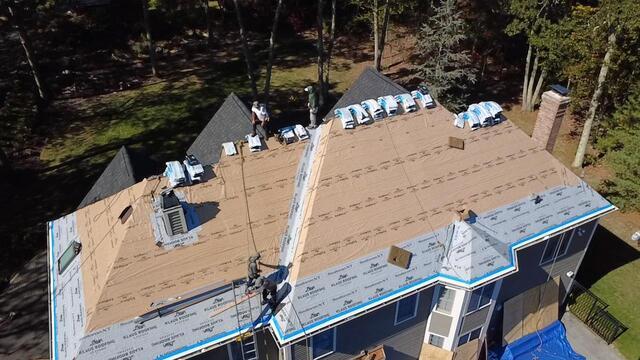
Underlayment Completed and Rake & Drip Edge Flashing Installed
The rest of the roof was covered with Velora One synthetic underlayment, ensuring full, durable protection from the elements.
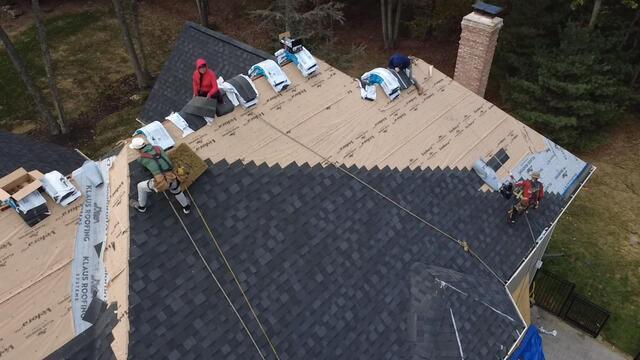
New Shingles Go On
Time for the new shingles! Brandon chose IKO Dynasty shingles in the sleek shade of Granite Black, Class 3 Impact Resistant and backed by a 50-year warranty.
The Shelf Is Reroofed
Even smaller roof sections, like this shelf roof, got the same professional treatment for a clean, consistent look.
After: Front View
The project is complete! With a new ridge vent, spotless cleanup, and a stunning new roof, Brandon's Sandy Hook home is looking better than ever.
