

The Roof Before
Here's a look at John's roof before the renovation. He had three tab shingles, which were a popular choice any years ago, but are known to have a shorter lifespan than modern, architectural shingles. Swipe through to see the transformation!
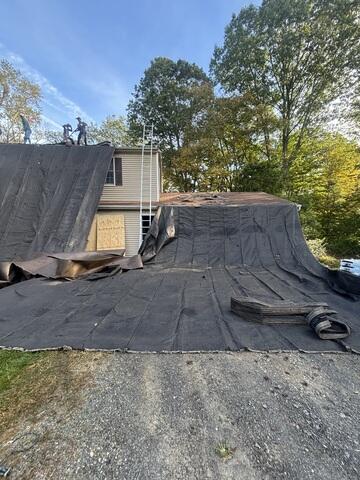
The Teardown Begins
The crew kicks things off by stripping all of the old shingles off of the roof. Before they begin, they hang up large tarps around the edges of the roof to collect falling debris as well as ensure full protection of the homeowner's property from potential damage.
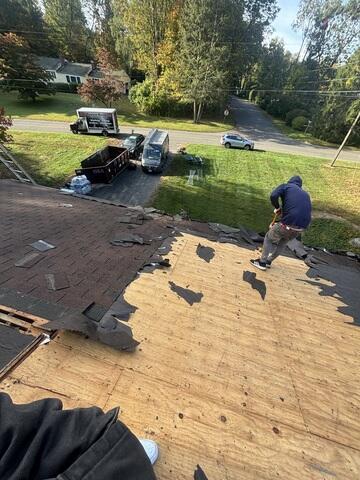
The Sheathing Is Exposed
Underneath the shingles is a layer of plywood called the sheathing. This is the structural foundation of the roof, and as such, it needs to be in tip-top condition. The crew closely examines the plywood for any damage like rot, mold, and decay.
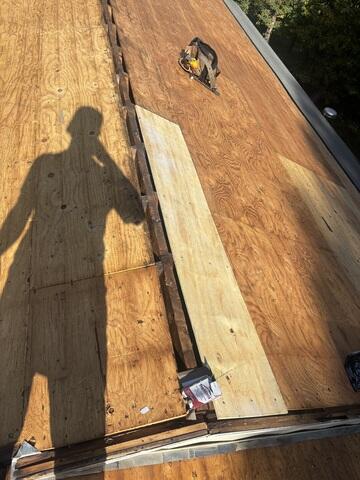
New Plywood Is Installed
Any areas found with damage are removed and replaced with CDX plywood, cut precisely to fit exactly where needed.
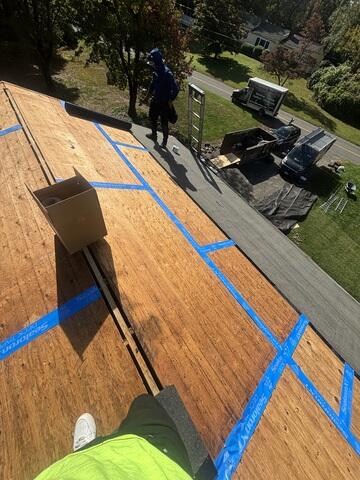
Seams Are Taped & Underlayment Is Installed
The seams of each sheet of plywood are taped up with all-weather Sealoron XT deck tape to meet current building codes. After that, a layer of underlayment is installed over the entire sheathing. This is a strong, water-resistant layer of membrane that protects the surface from harsh elements like rain, snow, and ice dams.

Ridge Vent Is Installed
2
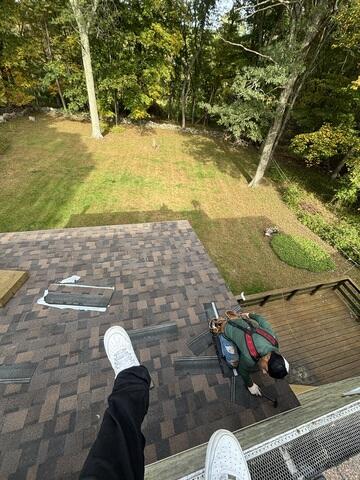
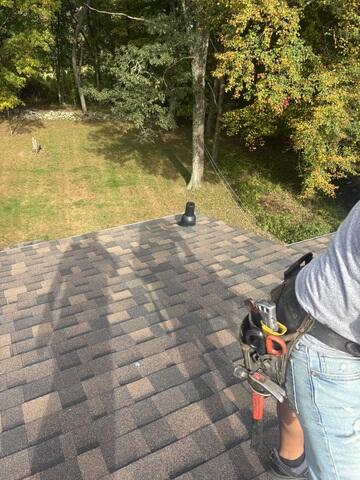
The New Shingles Go On
For his new roof, John selected the sleek shade of Shadow Brown from our IKO Dynasty collection. These Impact 3-rated, architectural shingles are backed by Brown Roofing's 50-year warranty.
The New Roof
With a sleek new roof and strong new pipe boots, John's new roof is complete and ready to shine!
