
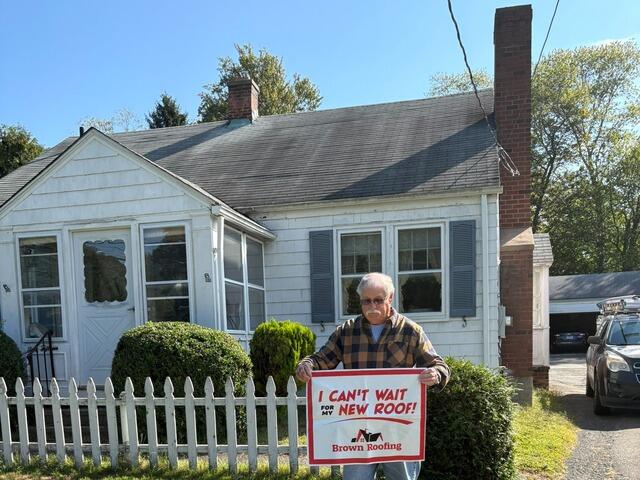
The Roof Before
James is ready for his new roof! Swipe through to see how it went!
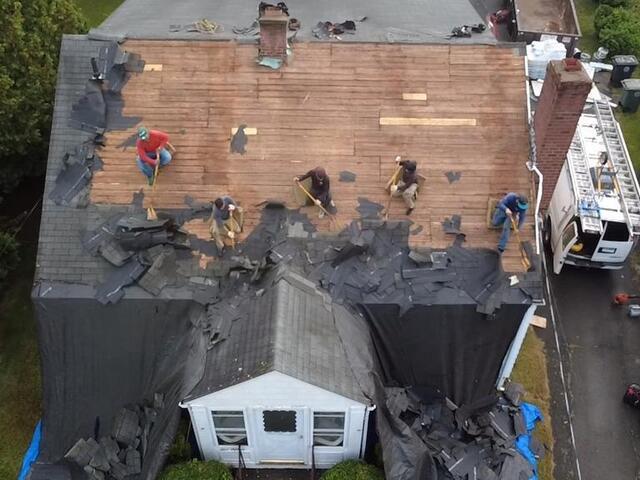
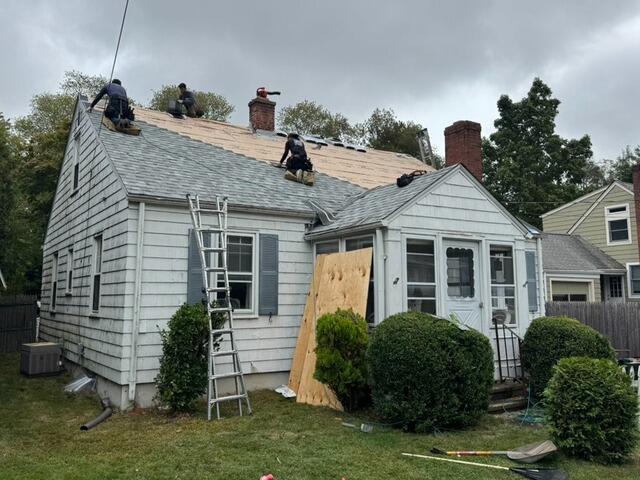
The Teardown Begins
The crew kicks things off by carefully stripping all of the old shingles off of the roof. Large tarps are hung up around the edges of the roof to catch falling debris and protect the homeowner's property from potential damage.
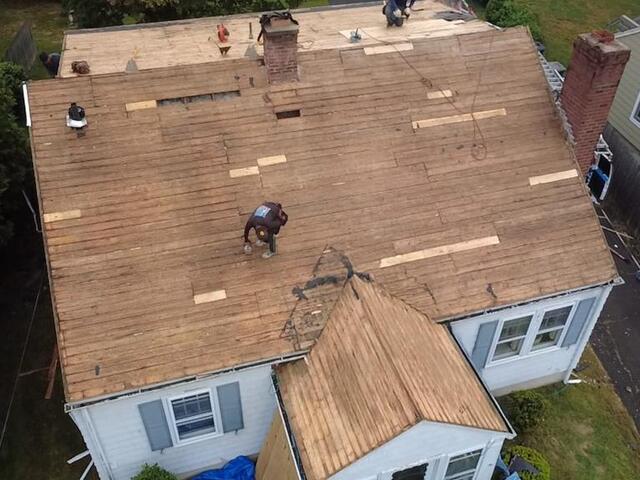
The Decking Is Exposed
Underneath the shingles is a layer of plywood called the decking. This is the structural foundation of the roof. James and Joan's house has a type of decking called plank decking. Any parts found with damage, such as rot, mold, or decay are removed and replaced with strong new CDX plywood, precisely cut to fit in each removed section.
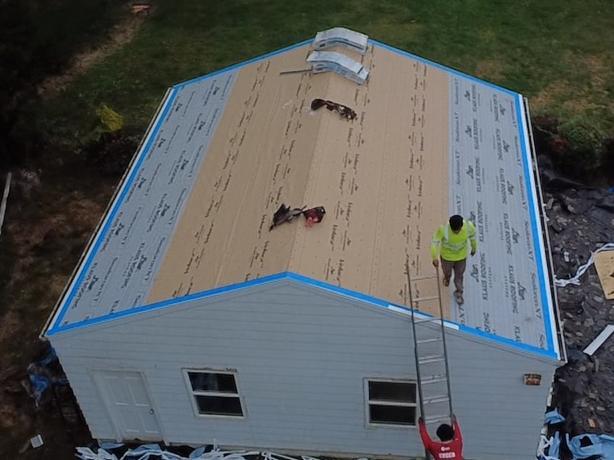
The Underlayment Is Installed
James and Joan are also getting a new roof on their shed. After all of the decking is secure, solid, and strong, the underlayment is installed. This is a thin, water-resistant layer of synthetic paper that protects the decking from harsh elements like rain, snow, wind, and ice.
New Shingles Are Installed
Now for the exciting part: new shingles! The crew installs IKO Dynasty shingles in James and Joan's selected shade of stunning Frostone Gray. These fantastic, Impact 3-rated architectural shingles are proudly backed by the Brown Promise: our 50-year warranty.
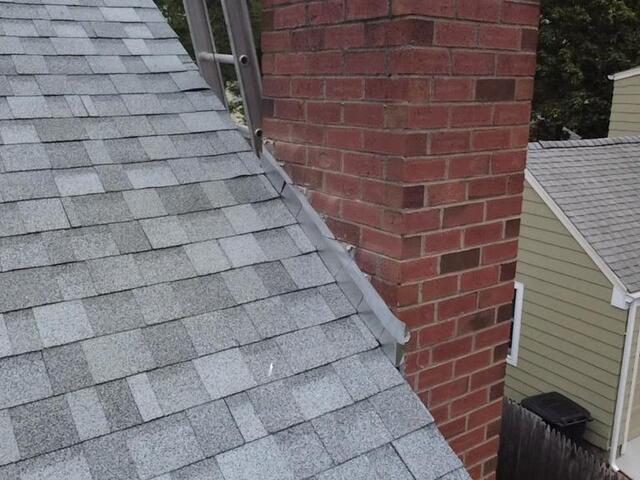
New Flashing Is Installed on the Chimney
Thin metal cut and stacked in a staircase pattern is installed along where the roof meets the chimney. This is called the flashing, and it prevents water from seeping through this junction, guiding it down the roof instead. This will be secured with strong caulk.
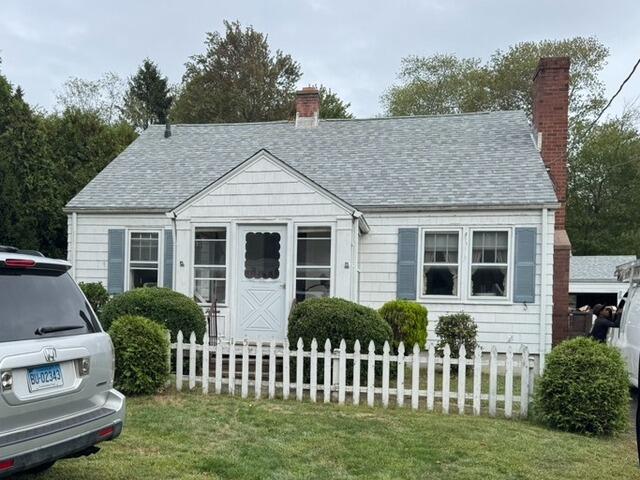
The Roof After
Once the finishing touches were in place and the site cleaned, James and Joan's roof transformation was complete!
