
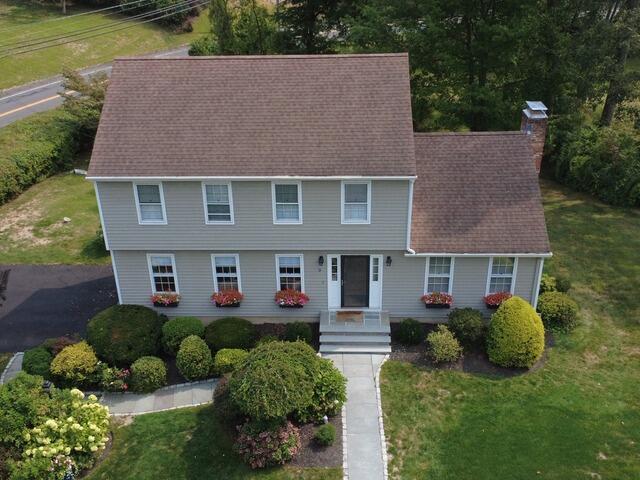
The Roof Before
Here is a look at John's roof before the renovation. Swipe through to see how the Brown Roofing crew beautifully transformed it!
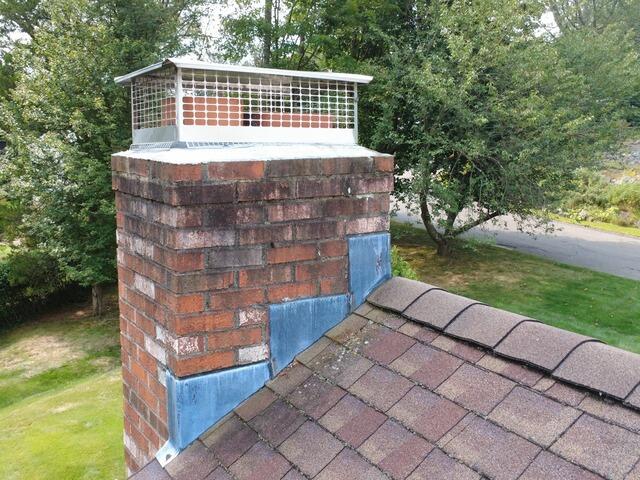
Before: Mossy Shingles and Old Flashing
A closer look at John's roof she's that growth of moss between each shingle, signs of deterioration from moisture and debris buildup over the course of many years. In addition, John's chimney flashing (thin metal water seal) is looking older, and could use some reinforcement to ensure it is strong and secure. Let's get started!

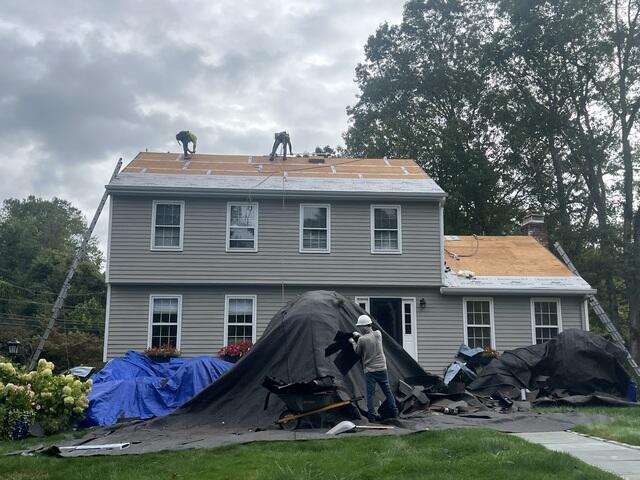
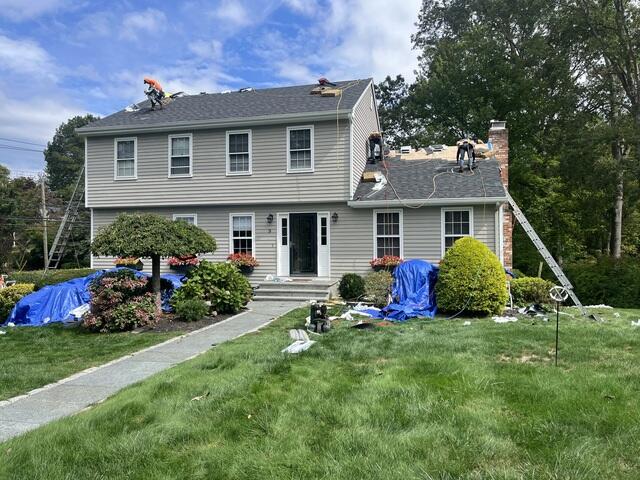
The Teardown Begins
The crew kicks things off by carefully stripping all of the old shingles off of the roof. Before they begin, large tarps are hung up and laid out all around to collect the falling debris as well as thoroughly protect the homeowner's entire property.
Seams Are Taped & Ice and Water Shield Is Installed
Underneath the shingles is a layer of plywood called the decking. This is the structural foundation of the roof. After checking to make sure that the decking is all in excellent condition, the seams of each sheet of plywood are taped up with all-weather deck tape to meet current building code. Ice and water membrane is adhered from the eaves up six feet to protect the most vulnerable sections of the roof from the harshest elements.
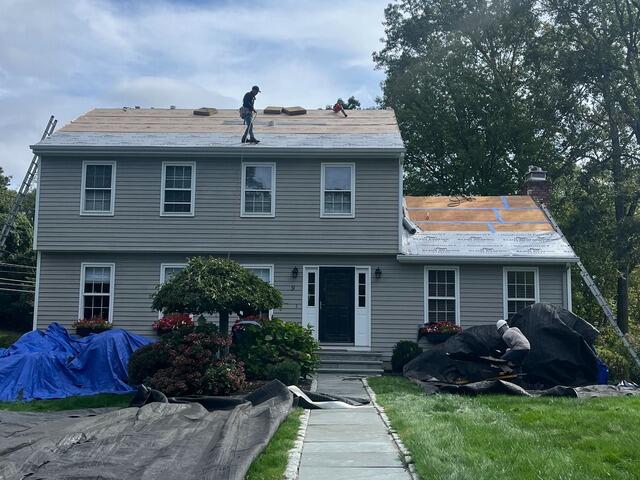
Underlayment Is Applied
The rest of the roof was covered with Velora One synthetic underlayment, ensuring a complete seal across the entire surface for full protection and water resistance.
New Shingles Are Installed
Now it's time to put on the new shingles! For his new roof, John has selected the beautiful Granite Black shade from our IKO Dynasty collection. These Impact 3 singles are proudly backed by our 50-year warranty.
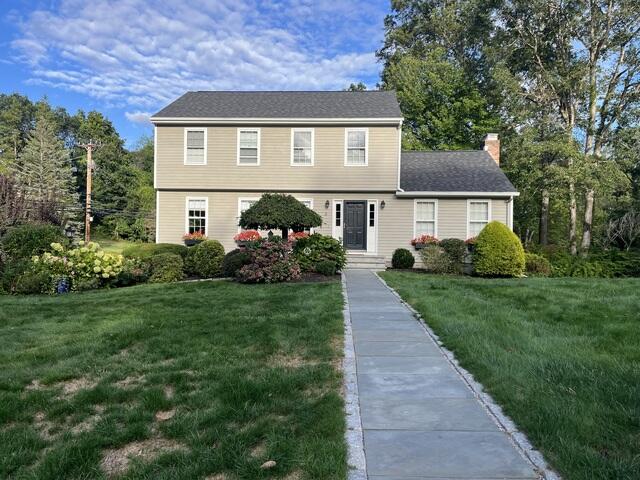
The Roof After
The job concluded with a thorough cleanup, leaving John's home with a fresh, finished roof that looks incredible.
