
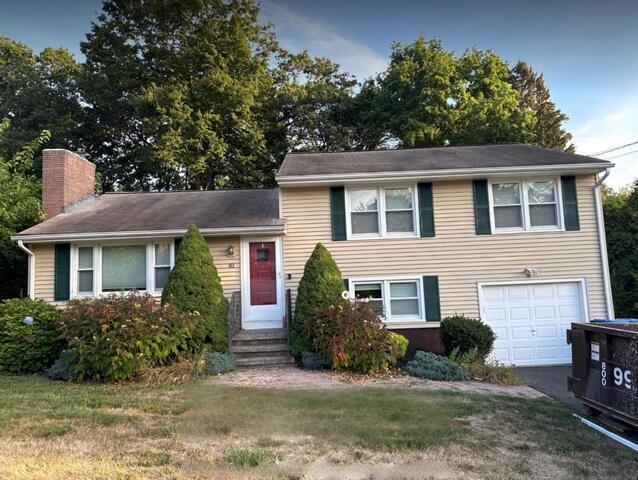
The Roof Before
Here's a look at John's roof before the replacement. Swipe through to see the fantastic transformation!
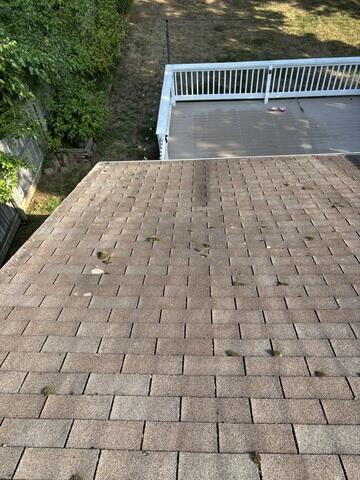
Deterioration & Moss Growth
A closer look at the old three-tab shingles revealed green spots of moss. This moisture-loving growth thrives when debris and dampness collect, slowly breaking down the shingles over time. It was clear these worn shingles had to go to make way for strong, durable new shingles built to withstand the elements for years to come!
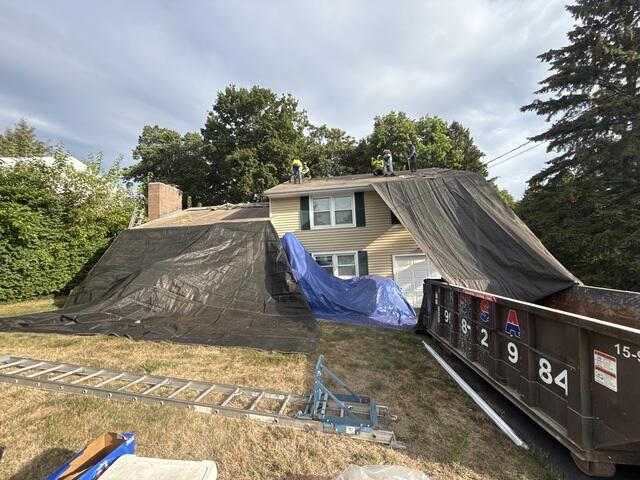
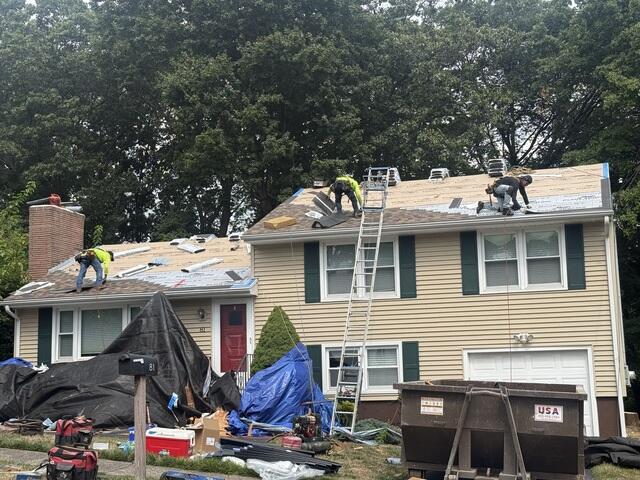
The Teardown Begins
The crew kicks things off by carefully removing all of the old shingles. Before starting, they hung large tarps around the home to catch falling debris and protect the property from any potential damage.
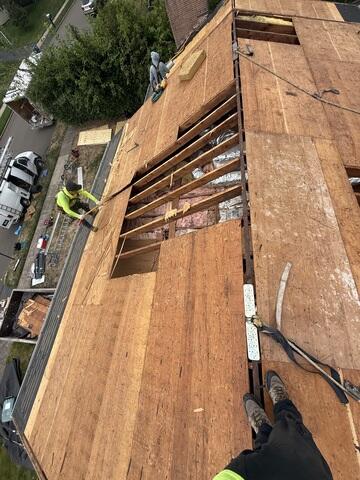
Bad Plywood Is Removed
Underneath the shingles is a layer of plywood called the sheathing. This is the structural foundation of the roof. The crew closely inspects the sheathing's health, and any areas found with damage, like rot, mold, or decay, are promptly removed.
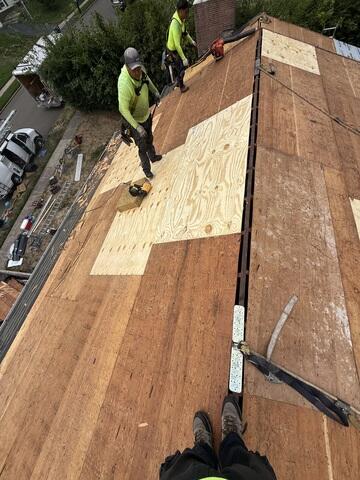
New Plywood Is Installed
Sheets of sturdy half-inch CDX plywood are installed in the removed sections, creating a strong, solid base for the new roof.
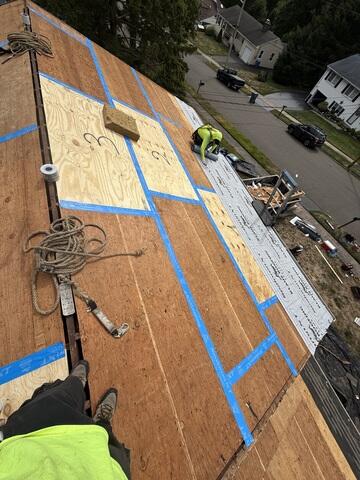
Seams Are Taped & Ice and Water Shield Is Installed
Next, the seams of each sheet of plywood in the sheathing are taped up with all-weather deck tape as per current building code standards. Ice-and-water shield membrane is installed from the eaves up six feet to ensure the strongest protection against harsh elements like rain, snow, and ice on the most vulnerable areas of the roof.
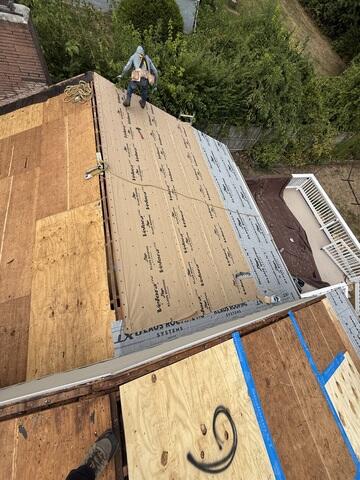
Underlayment Is Installed
Velora One synthetic underlayment is installed over the rest of the roof, ensuring a durable and watertight seal of the sheathing.
New Shingles Are Installed
Now it's time for the crew to install the new shingles! For his new roof, John has selected the sleek shade of Brownstone from our IKO Dynasty collection. These high-quality, architectural shingles are proudly backed by Brown's 50-year warranty.
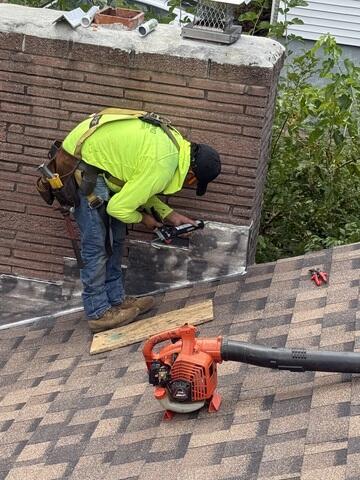
New Flashing Is Installed on the Chimney
A thin metal barrier, called flashing, is installed where the chimney meets the roof, protecting the junction from moisture damage and leaks.
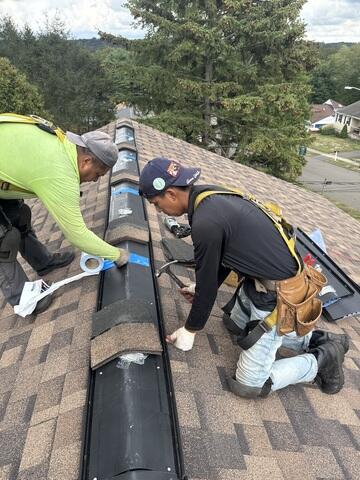
Ridge Vent Is Installed
A ridge vent is installed along the highest point of the roof. This allows for proper airflow throughout the attic, letting hot, humid air the rises from inside of the house a way to escape, cutting down on damaging condensation buildup.
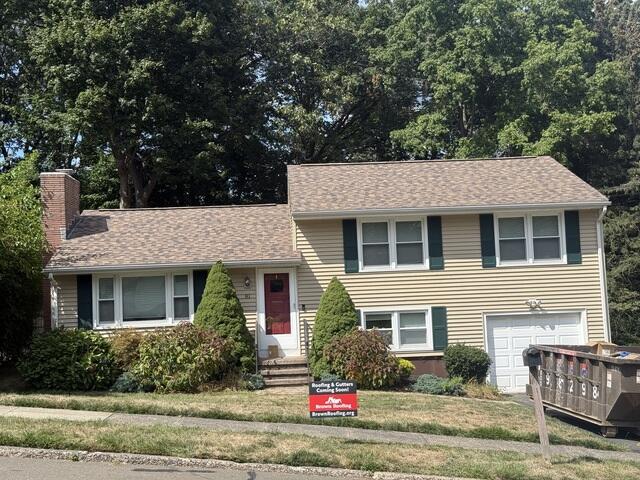
The Roof After
After a few finishing touches and a thorough cleanup of the entire property, John's new roof is complete and looking spectacular, ready to keep its inhabitants safe and dry for years to come!
