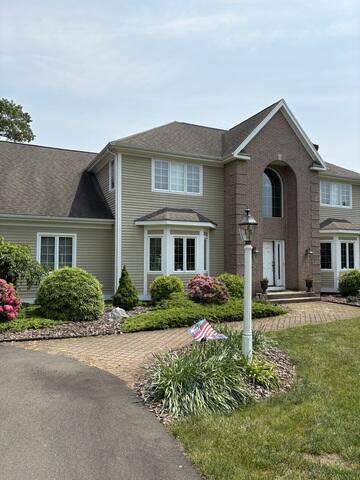
Before: Front View
Here's a look at Peter's roof from the front before the replacement. Swipe through to see the fantastic transformation!
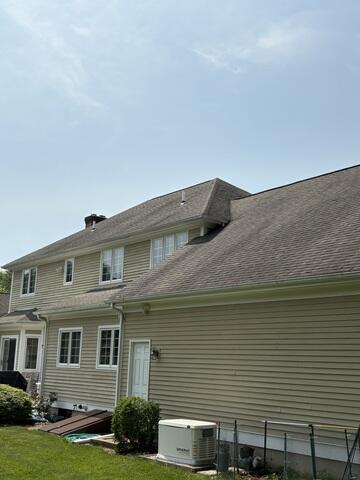
Before: Back View
The back of Peter's old roof had dark streaks. This is called roof algae, and starts growing due to moisture buildup, deteriorating the shingles and looking unsightly overall.
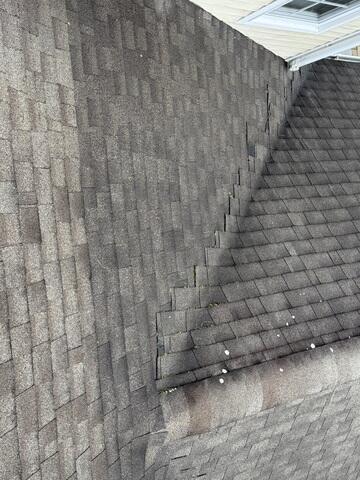
Before: Moss and Lichen Growth in the Valleys
This close-up view of a valley of Peter's roof shows while spots of lichen growth and green spots of moss growth. Like the algae, these moisture-loving plants are a serious detriment to the longevity of the roof.
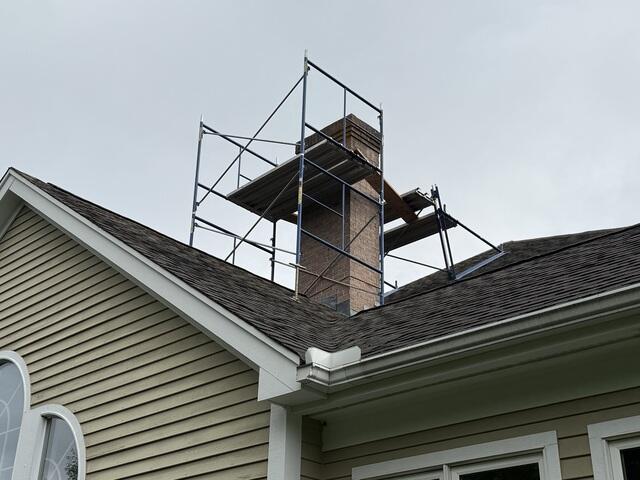
The Chimney Is Rebuilt
Before Peter's roof replacement begins, our expert masons go out to do a repointing of his chimney. This process involved removing the old, deteriorated bricks and mortar, then rebuilding the chimney for strength and stability. By tackling the chimney first, we ensure the new roof stays protected and damage-free during installation.
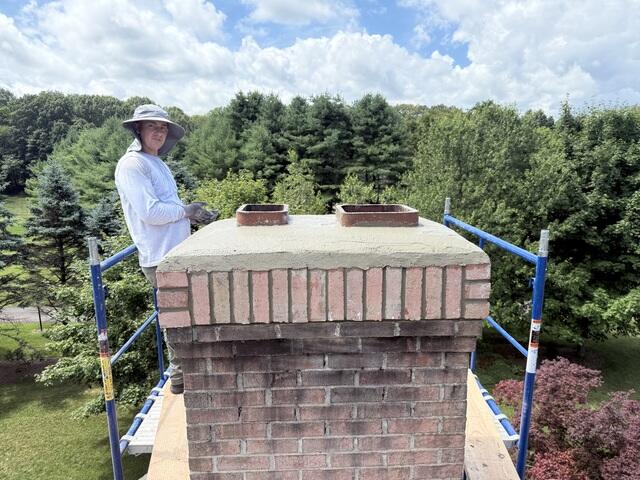
New Chimney Crown
The chimney was finished at the top with a brand-new crown: a concrete layer poured over the chimney to seal it and keep out rain, debris, and pests. The final step will be adding protective caps to the flues for complete coverage and long-lasting protection.
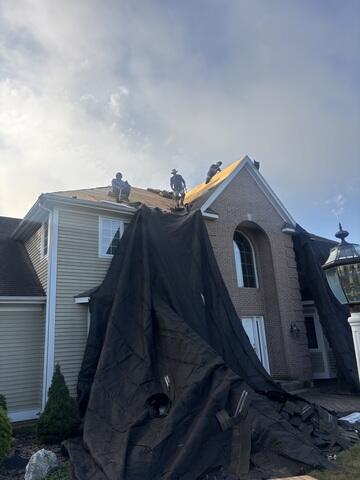
The Teardown Begins
With the chimney complete, it was time to begin the roofing process! The crew started by carefully removing the old shingles. Beforehand, large tarps were hung around the home to catch falling debris, making cleanup more efficient and protecting the property from any potential damage.
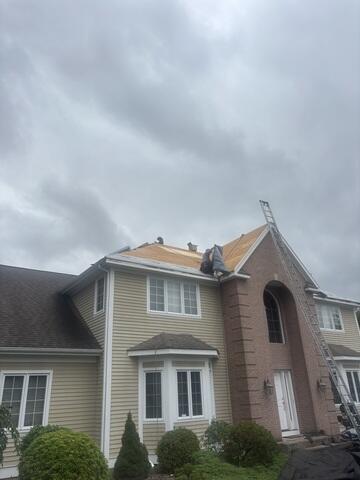
New Plywood Is Installed
The crew closely inspects the exposed plywood underneath - which is called the decking - for any signs of damage, like rot, mold, or decay. Any affected areas are removed and replaced with strong new 1/2" CDX plywood to ensure a solid and sturdy base.
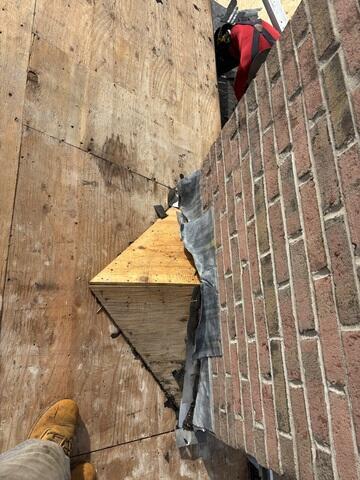
New Chimney Cricket Is Installed
A new cricket is installed behind the chimney. This small triangular plywood addition helps divert water away from the chimney, helping to prevent water from leaking in through the junction.
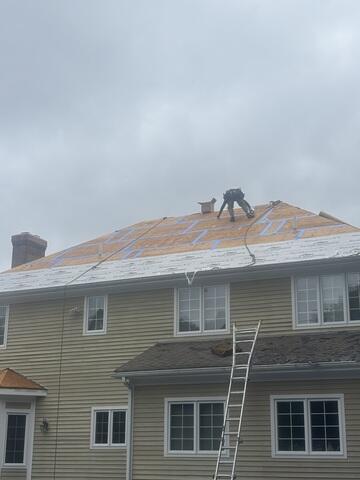
Seams Are Taped
In accordance with current building codes, the seams of each sheet of plywood in the decking are taped up with all-weather deck tape. SealoronXT ice-and-water shield membrane is installed from the eaves up six feet as well as around junctions and along valleys.
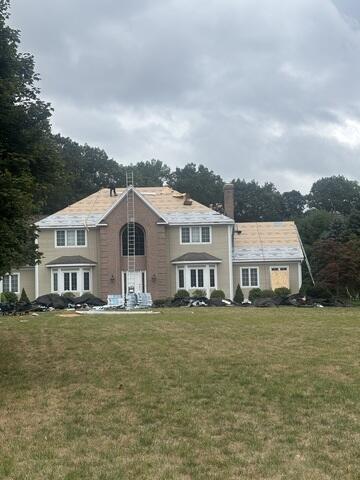
Underlayment Is Installed
The rest of the decking is covered with Velora One synthetic underlayment paper, ensuring strong protection from harsh elements like rain, snow, and ice.
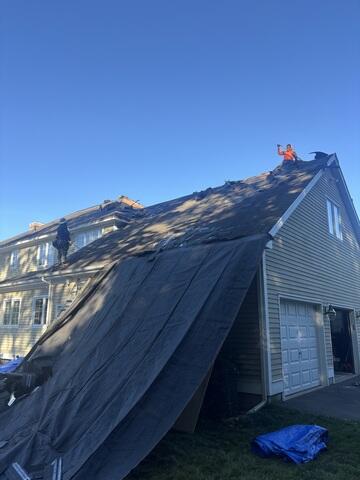
The Back Half Begins
The next day, the crew returned to continue work on the back of the roof, beginning once again by removing all of the old shingles.
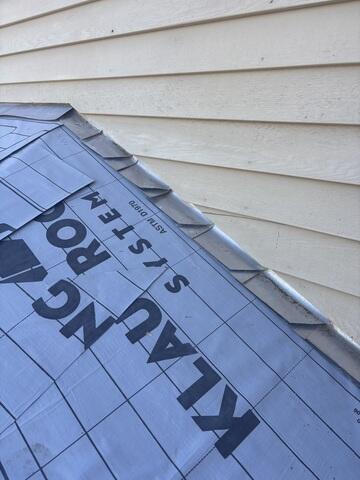
Step-Flashing Is Installed
Step flashing was installed along the edges where the roof meets the wall. This thin metal is layered in a staircase pattern, creating a secure channel that directs water safely off the roof and prevents leaks in these vulnerable areas.
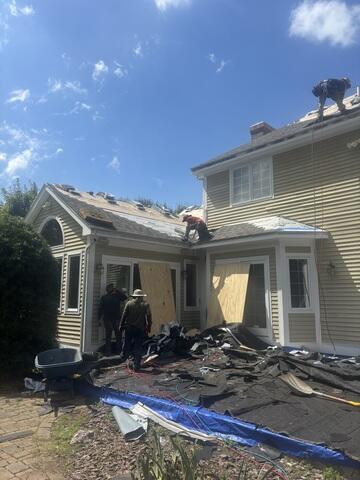
New Shingles on the Back
Now it's time to install the new shingles. Peter chose the sleek Driftshake color from our IKO Dynasty collection - a shade that perfectly complements his home. These Impact Resistance Class 3 shingles don't just look beautiful, but they're also backed by our 50-year warranty for lasting protection.
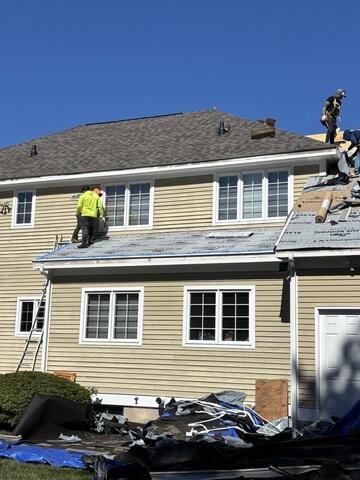
Ridge Vent Is Installed
Along the peak of the roof, the crew installed a ridge vent. This feature allows rising hot, humid air to escape from the attic, helping reduce condensation, improve airflow, and extend the life of the roof.
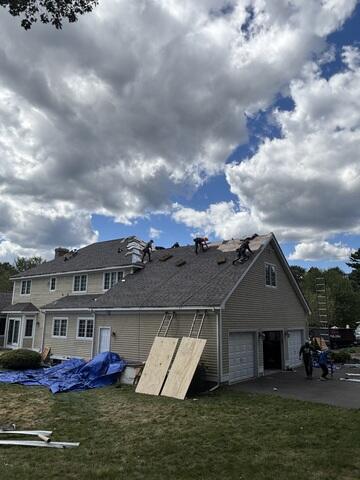
Finishing Up
With the final shingles in place, the roof replacement is nearly complete!
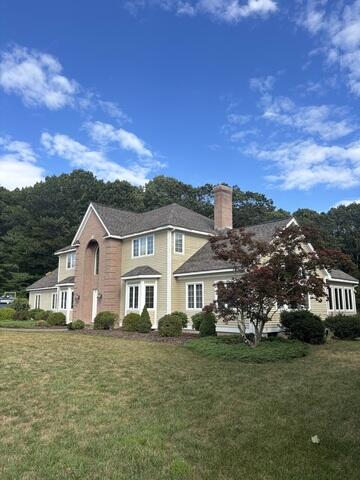
After: The Finished Product
With every detail installed and the property thoroughly cleaned, Peter's new roof is officially complete, looking phenomenal and built to last for decades to come!

.png)
