
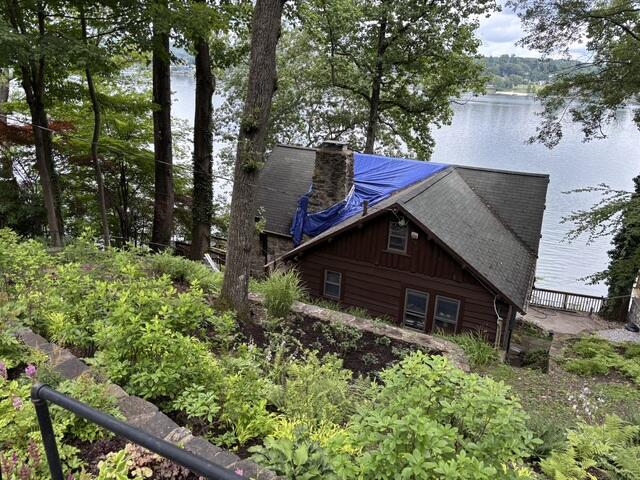
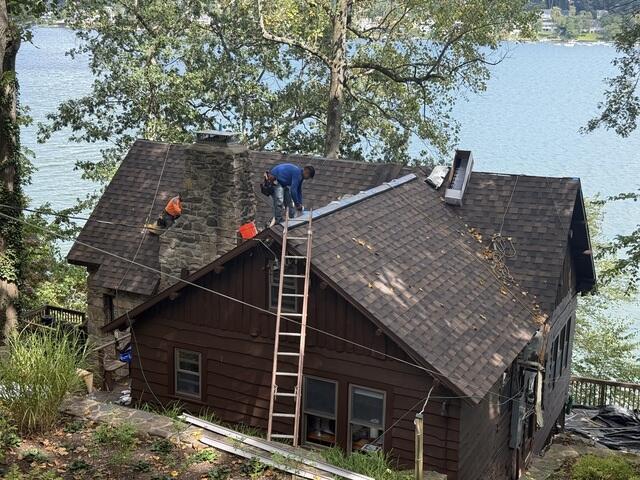
The Roof Before
Here's a look at Mary Ann's roof before the renovation. That tarp has got to go! Swipe through to see the expert transformation!
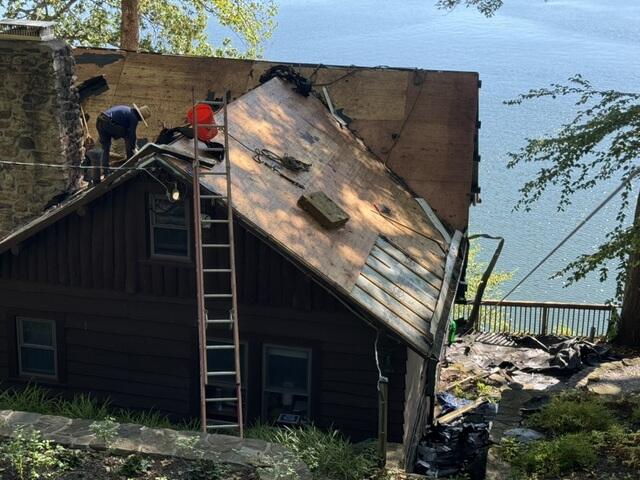
The Teardown Begins
The crew starts things off by stripping all of the old shingles off of the roof. This exposes the plywood foundation underneath, which is called the sheathing. The crew closely inspects all of the sheathing for any signs of damage, like rot or mold, and removes any affected areas.
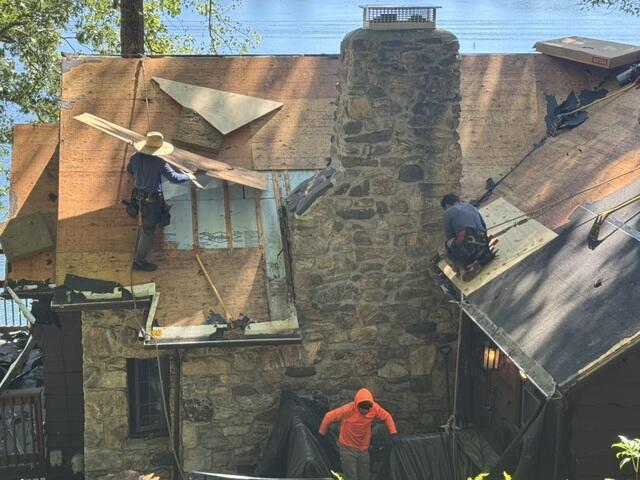
New Plywood Is Installed
The removed sections are replaced with sturdy new 1/2" CDX plywood, precisely cut to fit exactly into place, ensuring a solid foundation for the new roofing system.
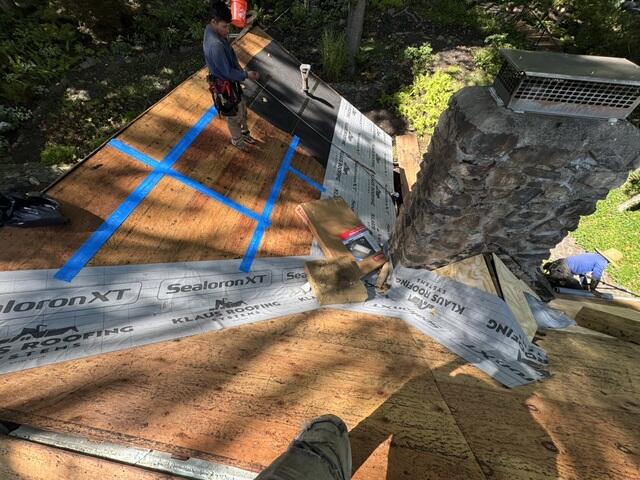
Seams Are Taped & Ice-and-Water Shield Is Installed
Next up, the seams of all of the plywood sheets are taped up with all-weather deck tape as per current building code. Sealoron XT ice-and-water shield membrane is applied from the eaves up six feet as well as along the valleys and around vulnerable junctions.
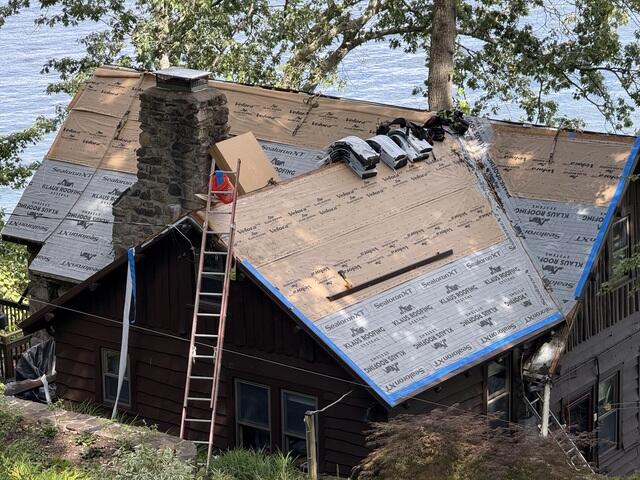
The Underlayment Is Completed
The rest of the underlayment is completed with a layer of Velora One synthetic paper, providing a durable, water-resistant barrier against rain, snow, and ice.
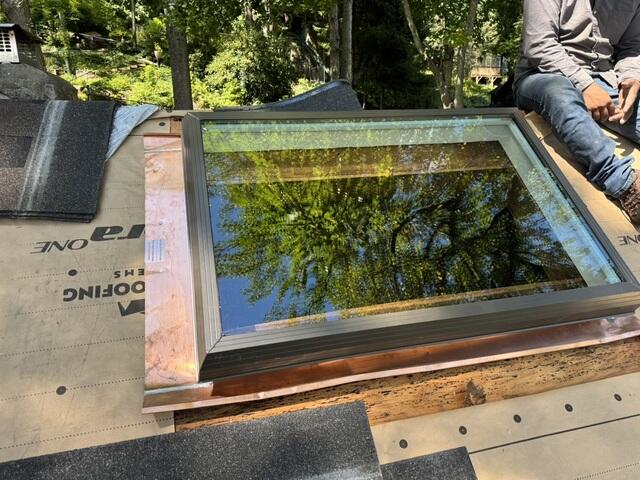
New Skylights Are Installed
Brand-new skylights with elegant copper flashing are installed, replacing Mary Ann's old skylights with a modern and sleek new look.
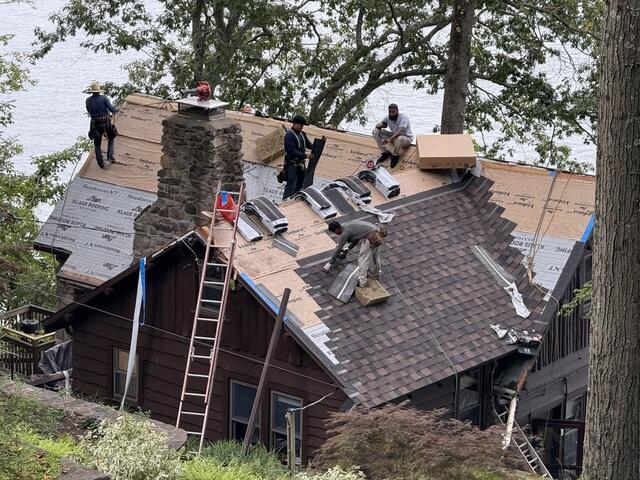
New Shingles Are Installed
Now it's to install Mary Ann's new shingles. She chose the rich, beautiful shade of Shadow Brown from our IKO Nordic collection. These Class 4 Impact-Resistant architectural shingles are the strongest and most reliable we offer, designed to withstand the elements and backed by our 50-year warranty.
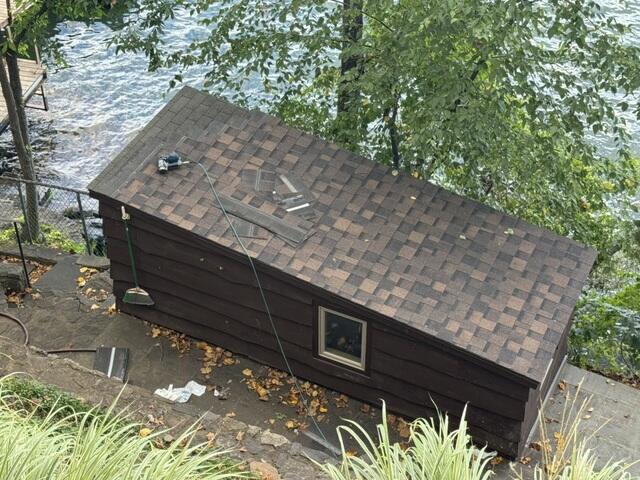
New Roof for the Shed
The same installation process is performed on Mary Ann's shed, bringing together a beautiful, polished property.
Ridge Vent Is Installed
A ridge vent is installed along the highest point of the roof. This allows for adequate airflow by letting hot, humid air that rises from inside of the house to safely exit the attic, significantly cutting down on damaging condensation buildup.
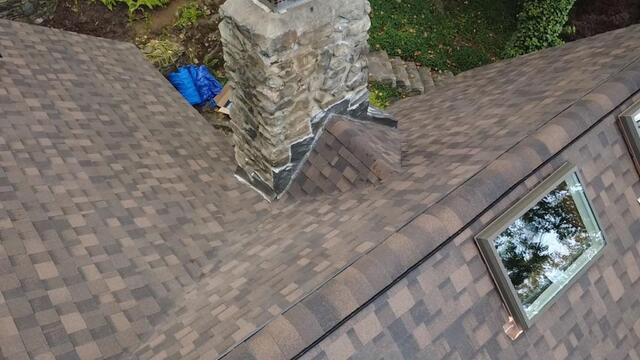
New Flashing Around the Chimney
New flashing is expertly installed around the sides of the chimney where they meet the roof. This thin metal barrier that is fortified with caulk prevents water from seeping through what would otherwise be a vulnerable junction.
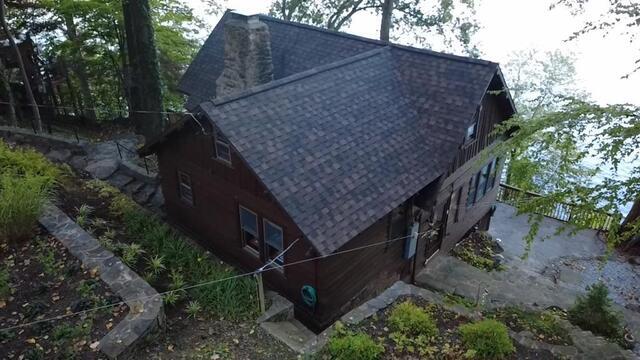
The Finished Look
With a few finishing touches and a thorough clean-up of the entire property, Mary Ann's new roof is officially complete!
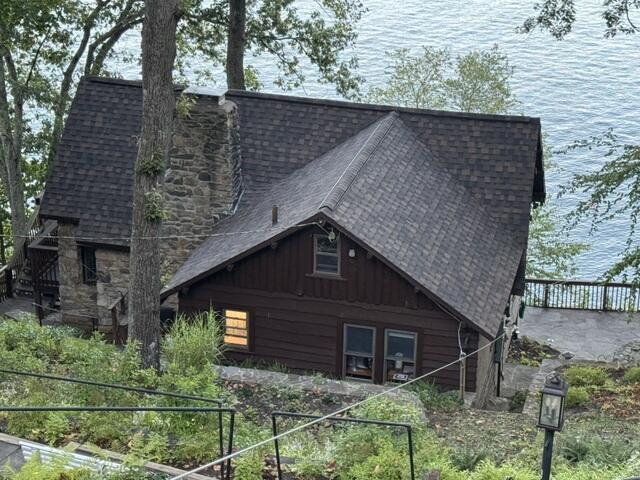
Beautiful and Built to Last
Gorgeous and strong, Mary Ann's new roof perfectly complements the siding on her riverfront home - and with our 50-year warranty, it's guaranteed to stay that way for decades to come.
