
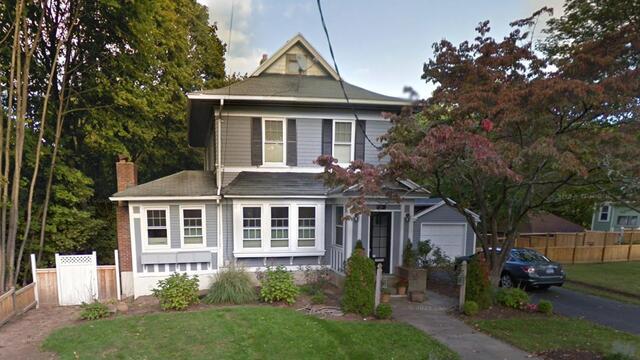
The Roof Before
Here is what Brian's roof looked like before the renovation. Check out the sleek new look at the end of this gallery!
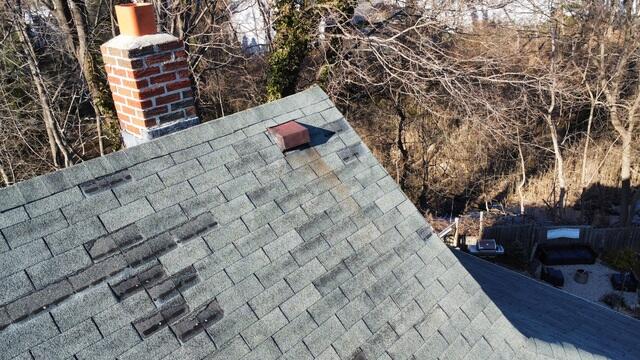
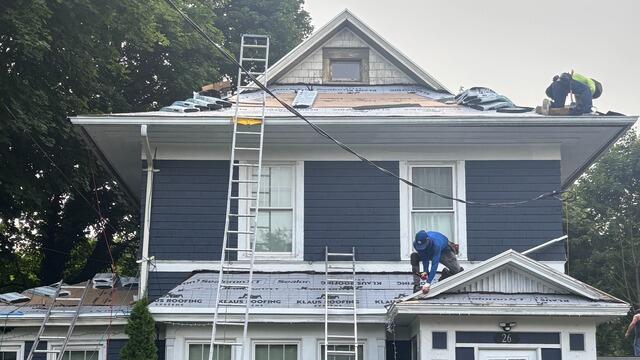
Before: Missing Shingles
Brian's old roof was definitely past its prime, with lots of missing shingles, stains, and everything a rough roof would represent. Let's get started on that new roof right now!
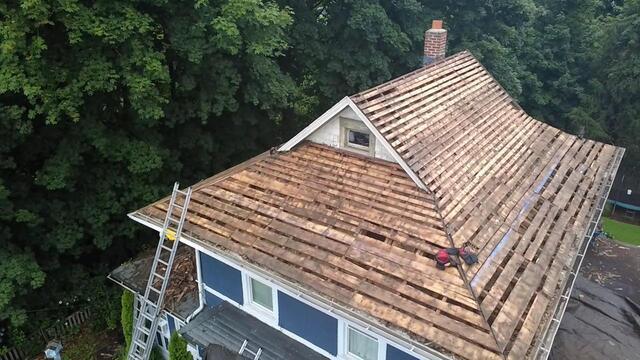
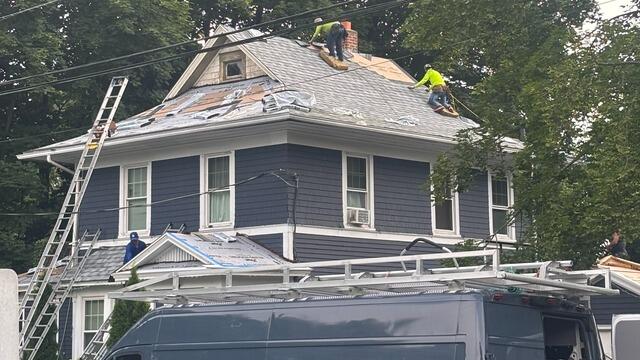
The Teardown Begins
The crew has torn off all of the old shingles, revealing the sheathing underneath. This is a layer of wood. The style of sheathing that Brian had was called skip sheathing. Its name is pretty self-explanatory. This sheathing was popular a long time ago as it was able to help keep three tab shingles aerated, but there is no way this can support the new, heavyweight architectural shingles we are about to install.
New Plywood Is Installed
In order to remedy that, the crew installs strong new half-inch CDX plywood to cover the entire surface. These sheets are cut to fit perfectly and form a beautiful, strong and solid base for the new modern roofing system.
Underlayment Is Installed
Now it's time to secure the plywood with the underlayment. This is a thin, water-resistant membrane that protects the new sheathing fully from harsh elements like rain, wind, snow, and ice.
New Shingles Are Installed
Now it's time to put on those graciously gorgeous and good-looking shingles from IKO Dynasty. Brian has selected the sleek and sophisticated shade of Frostone Gray for a fresh and fun complement to his dark blue sided home.
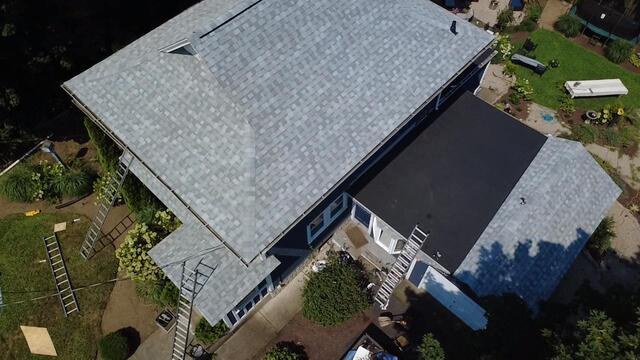
SBS Roof Is Completed
This section of the roof had a low slope, making it unsuitable for standard asphalt shingles. To ensure proper protection and waterproofing, we installed an SBS-modified bitumen roofing system - perfect for low-sloped areas.
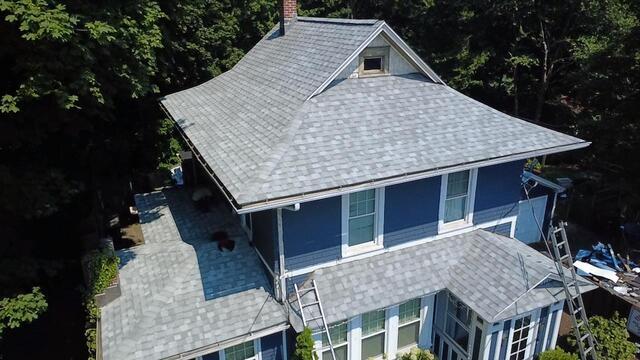
The Roof After
Brian's roof is all set - spiffy, strong, and ready for the seasons ahead.
