

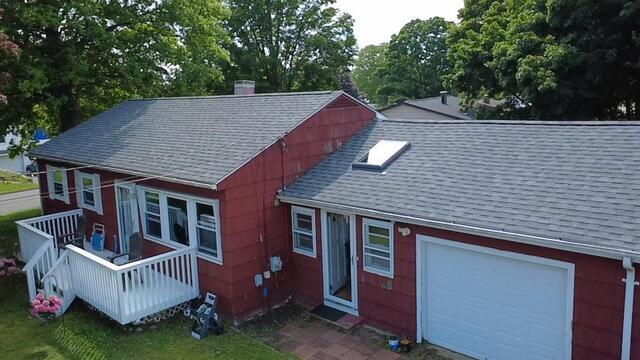
The Roof Before
Here is a look at Jessica's roof before the renovation. Swipe through to see the excellent transformation!

The Teardown Begins
The crew kicks things off by carefully stripping all of the old shingles off of the roof. Before they begin, they hang up large tarps to catch the falling debris, making for a very efficient cleanup process as well as making sure the home is fully protected from any potential damage.
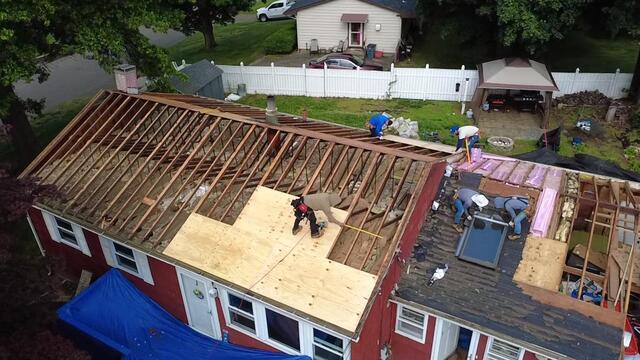
New Sheathing Is Installed
Underneath the old shingles is a layer of plywood called the sheathing, which serves as the structural foundation of the roof. In Jessica's case, years of wear and moisture had taken their toll, so the crew removed all of the old sheathing and installed brand-new half-inch CDX plywood directly to the rafters, creating a clean, solid foundation for the new roof.
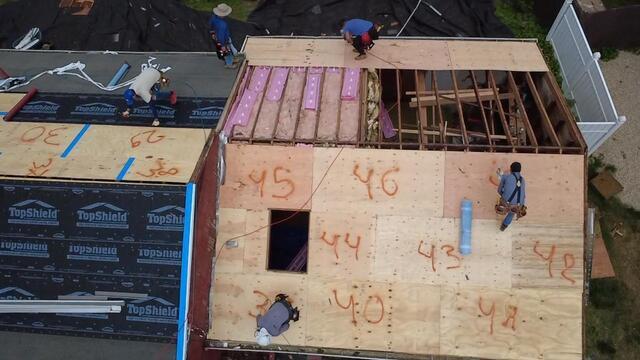
Fresh New Plywood
Each new sheet of plywood installed is numbered for easy tracking so that the crew can accurately inform the homeowner exactly how many sheets were used.
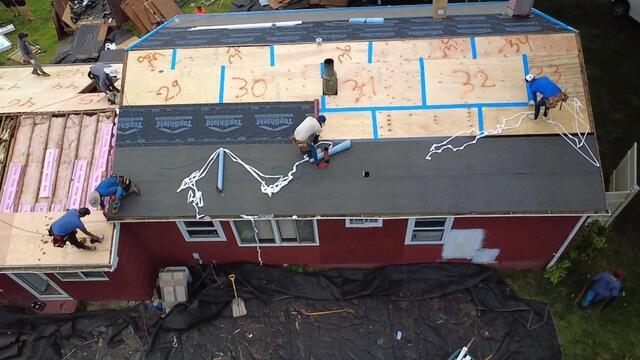
Seams Are Taped & Underlayment Is Installed
Ice and water shield membrane is adhered from the eaves up six feet. Then, the seams of the rest of the plywood sheets are taped up with all-weather Sealoron XT deck tape to meet current building code. After that, TopShield synthetic underlayment is applied to the rest of the decking surface to ensure complete protection of the decking from harsh elements like rain, snow, wind, and ice.
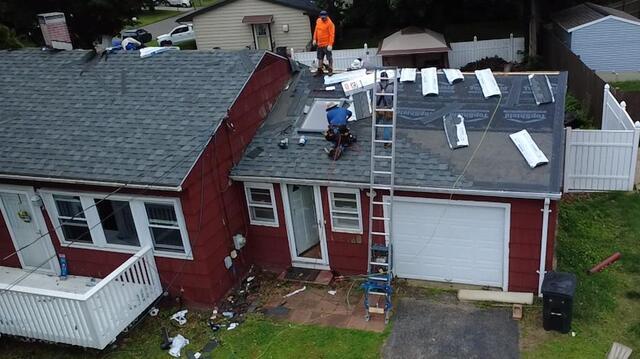
New Shingles Are Installed
Now it's time to install the new shingles! For her fantastic new roof, Jessica selected the sleek and refined shade of Charcoal Gray from IKO's Cambridge collection. These beautiful shingles are backed by a 25-year warranty.
The Finishing Touches
A few finishing details, including a new skylight and ridge vent, are installed, and now Jessica's new roof is complete!
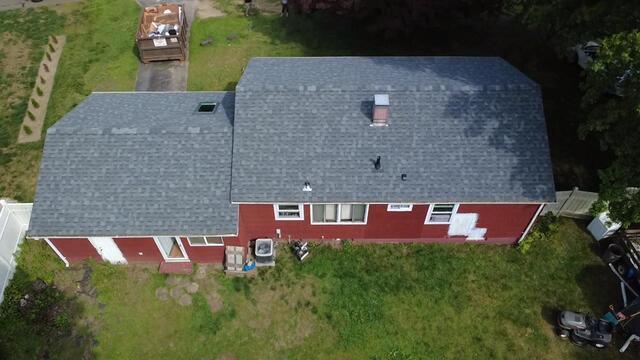
The Roof After
Beautiful and built to last, Jessica's new roof is ready to keep her and family safe and dry for years to come.
