
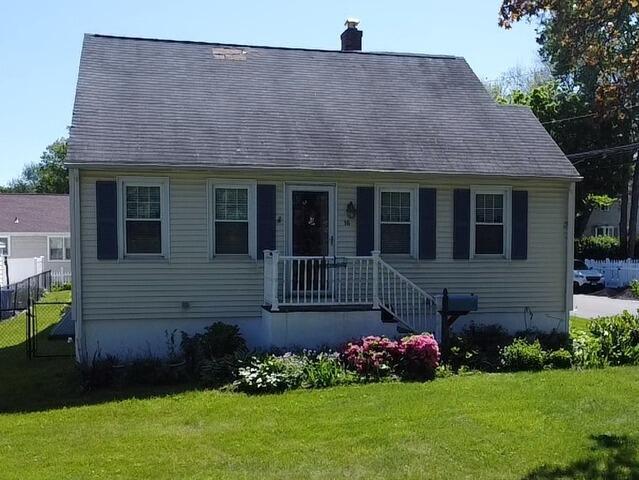
The Roof Before
Here is a look at Matilda's roof before the renovation. Swipe through to see the gorgeous transformation!
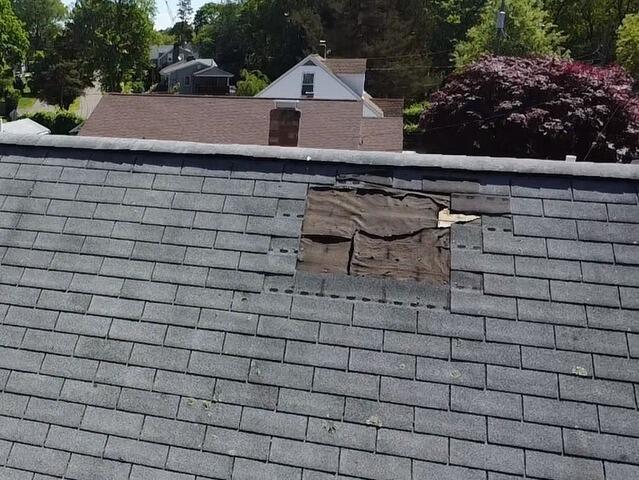
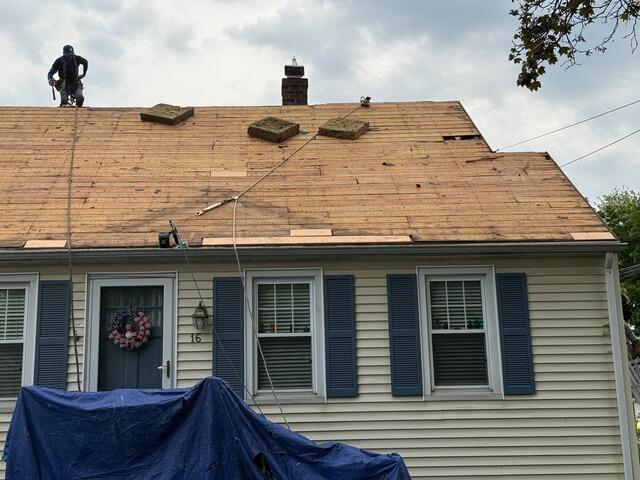
Before: Missing Shingles
Here is a closer look at those missing shingles. Obviously, this is neither a good look nor a good way to prevent leaks or water damage. Let's get that fixed once and for all!
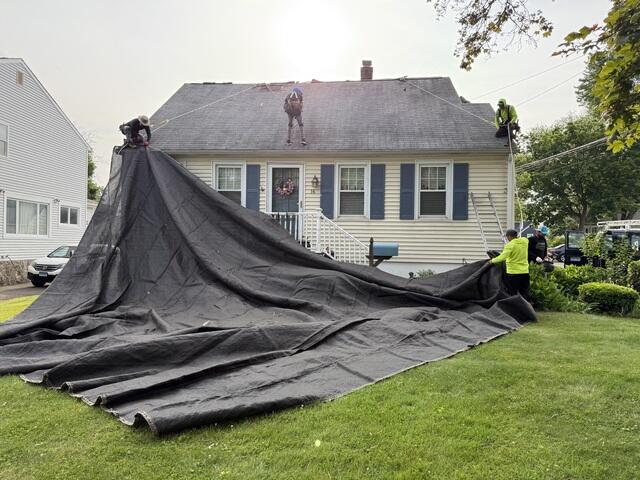
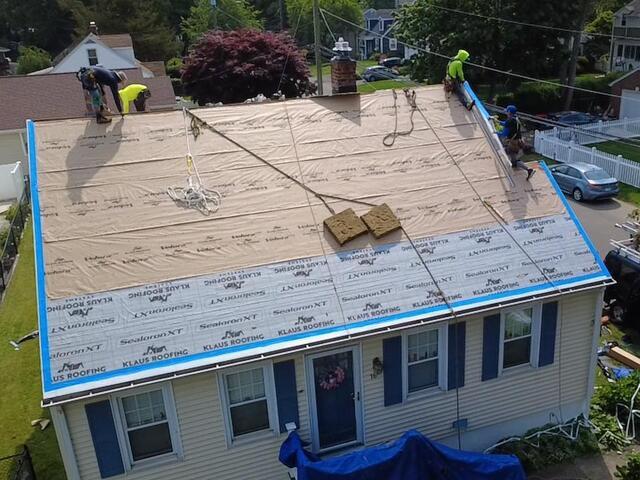
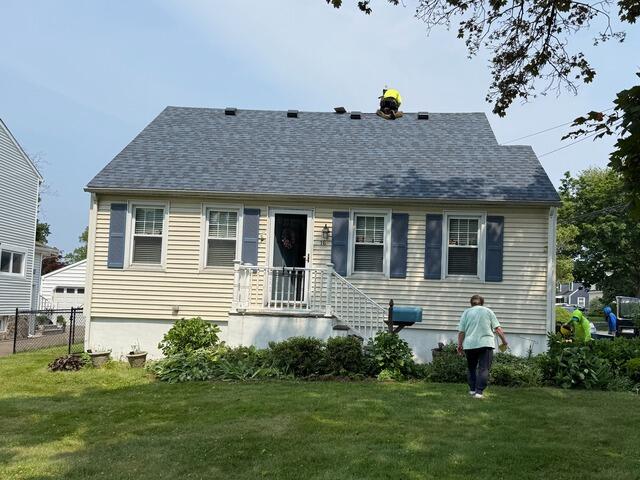
Preparing for the Teardown
The crew starts things off by hanging up large tarps around the edges of the roof to catch the falling debris, paving the way for a more efficient cleanup and also providing full protection of the homeowner's property from potential damage.
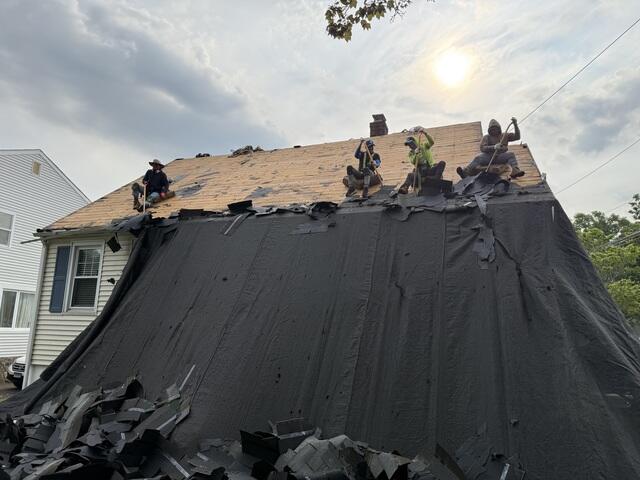
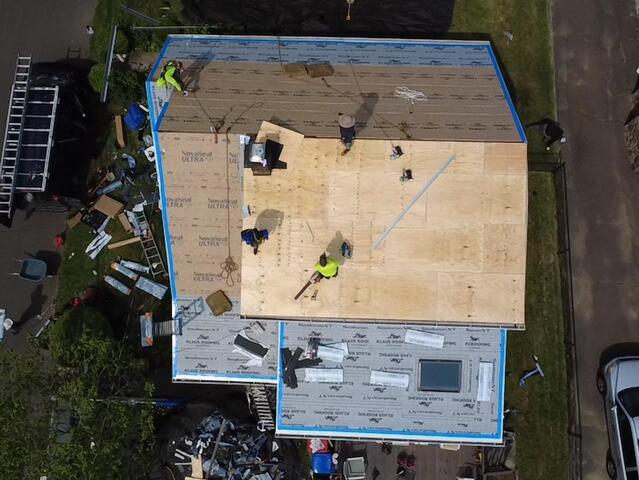
The Sheathing Is Exposed
Underneath the old shingles is a layer of plywood called the sheathing. This is the structural foundation of the roof. Matilda's roof had a style of sheathing called plank. The crew closely examines the entire surface for any evidence of damage, like rot or mold.
Bad Plywood Is Removed & Replaced
The crew removes any damaged areas and replaces them from new new half-inch CDX plywood, expertly cut to securely fit right into place.
Underlayment & Drip Edge Flashing Is Installed
Ice and water shield membrane is installed from the eaves up six feet to ensure full protection from damaging moisture elements like rain, snow, and ice. Velora One synthetic underlayment is installed over the rest of the roof, and then rake metal and drip edge flashing are installed around all of the edges. This is a thin metal barrier that prevents water from seeping under the edge, directing moisture away from the fascia and into the gutters.
New Plywood for the Low-Sloping Section
This section of Matilda's roof is considered low-sloping. Current building codes require that, instead of shingles, a specialized SBS (styrene-butadiene-styrene) roofing system is installed here instead to ensure that things like rain and snow can properly roll off top. All of the sheathing in this section required replacing, so the crew began with that.
SBS Roof Base Is Installed
The first layer of the SBS roofing system is called the cap. This membrane is adhered directly onto the roof and acts the same as the underlayment on the rest of the roof.
SBS Roof Cap Is Installed
The top layer, called the cap, is securely adhered on top of the base, completing the SBS section with a sleek look.
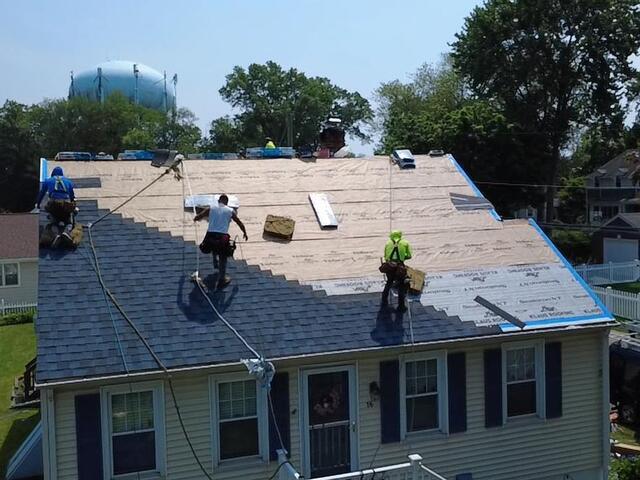
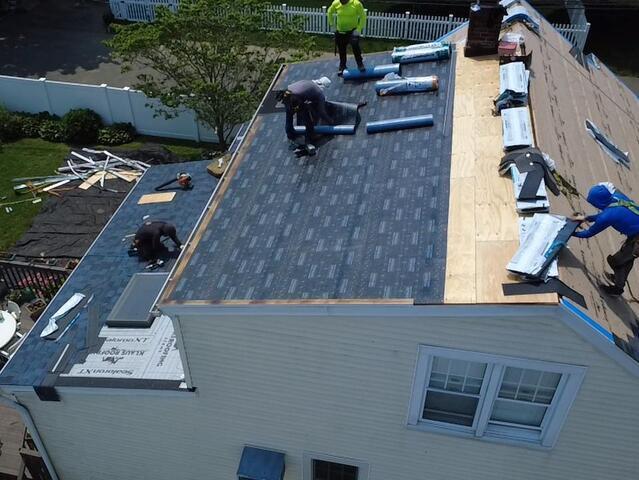
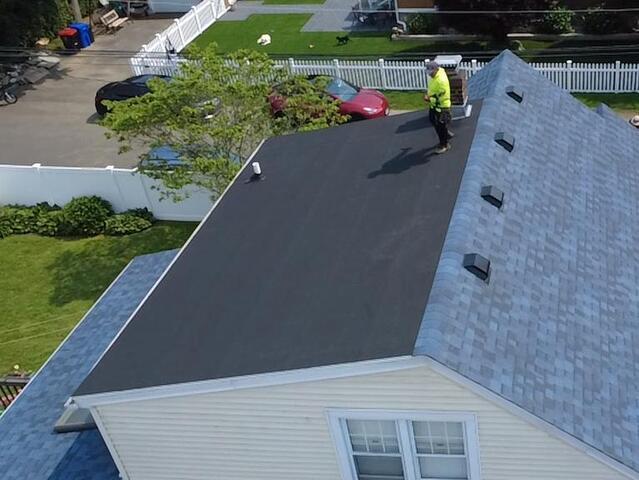
New Shingles Are Installed
Now it's time to install the new shingles! For her new roof, Matilda has selected the gorgeous shade of Atlantic Blue from our IKO Dynasty collection. These premium-laminated, Impact 3-rated shingles are proudly backed by Brown Roofing's 50-year warranty.
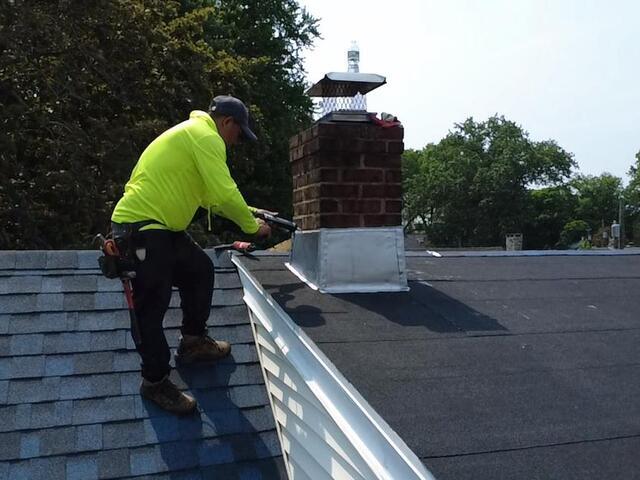
The Chimney Is Sealed
A watertight barrier is installed around the chimney. This flashing is made of lead and is securely caulked to seal the edges.
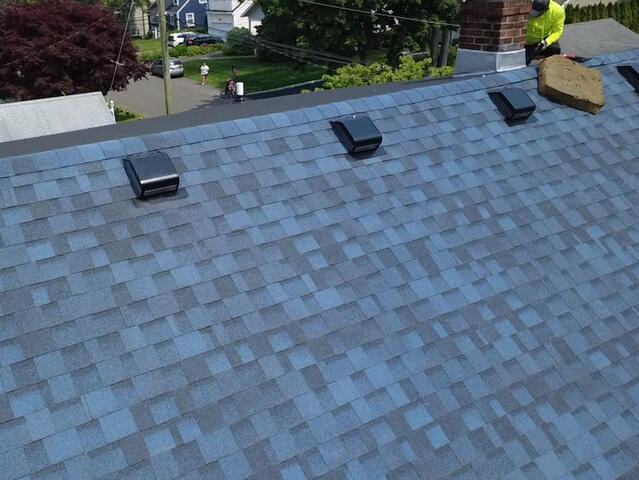
Vents Are Added to the Roof
Multiple small roof vents are installed near the ridge of the roof to ensure proper airflow by allowing hot, humid air rising from inside of the house a way to escape, preventing damaging condensation buildup.
The Roof After
With everything polished off and the property looking sharp, Matilda's new roof is finished and looking fantastic!
