

The Roof Before
Cynthia's roof before was in rough shape. Swipe through to see the way we amazingly transformed it!

The Teardown Begins
The crew kicks things off by stripping all of the old shingles off of the roof. Before they begin, they hang up large tarps to catch the falling debris as well as ensure full protection of the homeowner's property from potential damage.

The Decking Is Exposed
Underneath the shingles is a layer of wood called the decking. This is the structural foundation of the roof. Cynthia has a style of decking called plank. The crew will closely examine the decking for any signs of damage, such as rot or mold, and replace them with strong new and healthy CDX plywood.

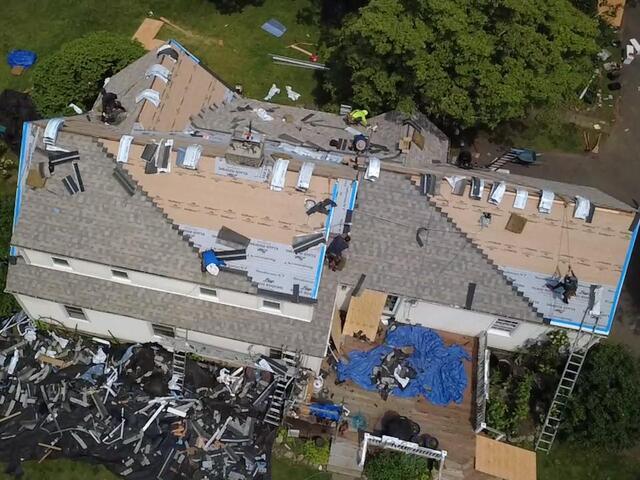
Underlayment Is Installed
With all of the decking secured and strong, it's time to start installing the underlayment: a thin, water-resistant membrane that shields the decking from harsh elements like rain, snow, wind, and ice.
New Shingles Are Installed
For her new roof, Cynthia selected the gorgeous shade of Biscayne from our IKO Dynasty collection. These premium-laminated, Impact 3-resistant shingles are proudly backed by our 50-year warranty.

Ridge Vent Is Installed
To avoid condensation issues, a ridge vent is installed to let built-up hot, humid air flow out from the attic.

New Flashing for the Chimney
Flashing is installed on the sides of the chimney where it meets the roof in the form of thin lead, securely caulked to create a watertight seal, preventing moisture from seeping into an otherwise vulnerable junction.

The Roof After
With every detail finished and the area cleaned up, Cynthia's new roof is now complete and looks incredible!
