
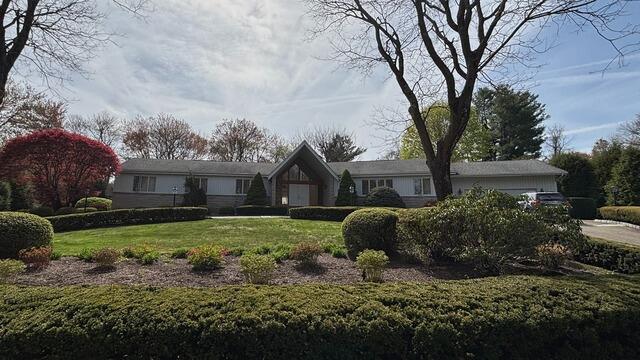
Before: Front View
Here is a look at Helena and Alex's house from the front before the roof renovation. Click through to see the way our expert crew transformed it!
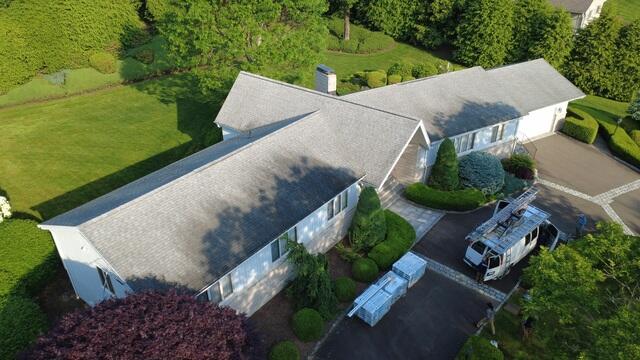
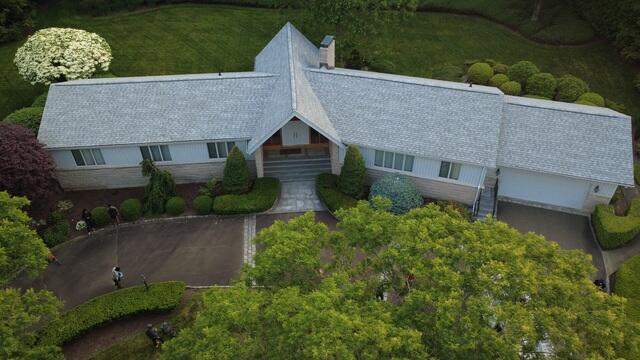
Before: Aerial View
This aerial shot highlights the extent of shingle deterioration on the old roof. The dark streaks near the front are roof algae, a common result of years of moisture exposure. It's time to say goodbye to the worn-out shingles and replace them with something much stronger and built to last.
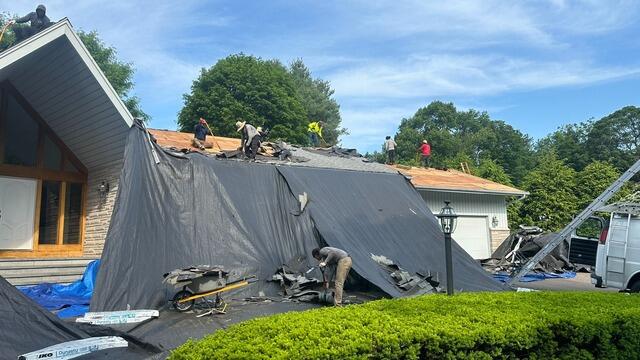
The Teardown Begins
The crew kicks things off by carefully stripping all of the old shingles off of the roof. Large tarps are hung up around the edges of the roof to catch the falling debris, as well as ensure the homeowner's property is fully protected.

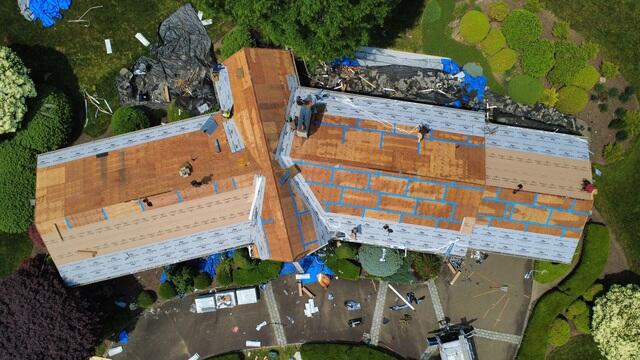
The Sheathing Is Exposed
Underneath the old shingles is a layer of plywood called the sheathing. This is the structural foundation of the roof, and as such, must be in tip-top condition before the new roofing system can be installed. The crew closely examines the entire surface for any evidence of damage, like rot or mold.
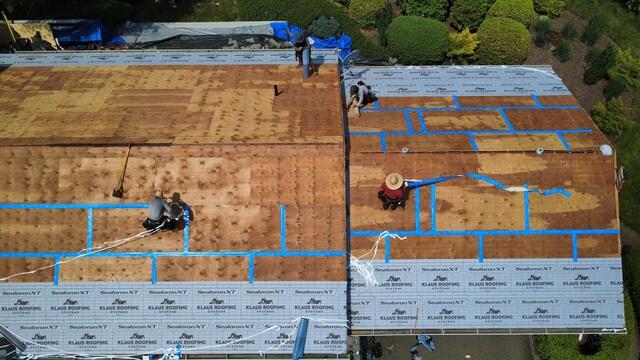
Seams Are Taped & Ice and Water Shield Is Installed
Fortunately for Helena and Alex, their sheathing was in excellent condition, and no sections needed to be replaced! The crew moves on to the next step: installing an ice and water shield membrane from the eaves up six feet. After that, the seams of the rest of the sheets of plywood are taped up with durable all-weather deck tape in accordance with current building codes.
Underlayment Is Installed
The rest of the sheathing is covered with our trusted Velora One synthetic underlayment to ensure the best protection from harsh elements.
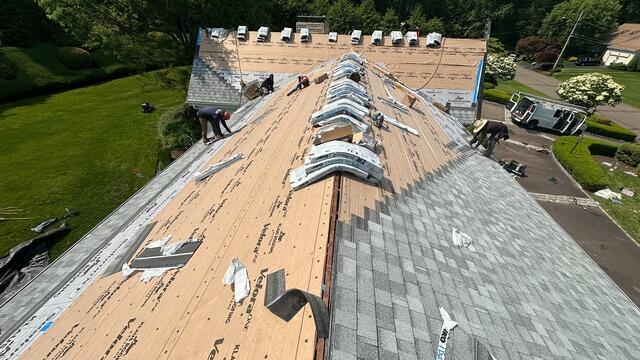
New Shingles Are Installed
With the underlayment fully installed, it's time to start putting on the new shingles! Helena and Alex selected the sleek and beautiful shade of Frostone Gray from our IKO Dynasty collection. These premium-laminated, architectural shingles are proudly backed by Brown Roofing's 50-year warranty.
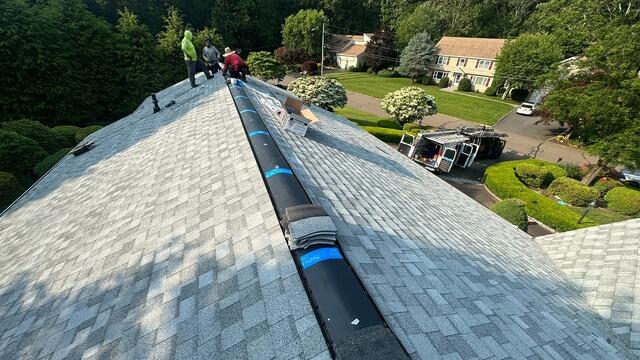
Ridge Vent Is Installed
A vent is installed along the ridge of the roof to help warm, humid air escape, preventing condensation that could lead to damage.
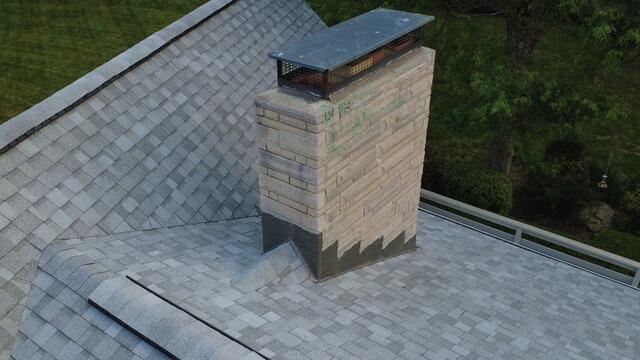
New Flashing Is Installed on the Chimney
New flashing is installed on the side of the chimney where it meets the roof. Like the drip edge, this thin metal barrier ensures a watertight seal on an otherwise vulnerable junction.
After: Aerial View
With everything polished off and the property looking sharp, Helena and Alex's new roof is finished and looking fantastic!
