
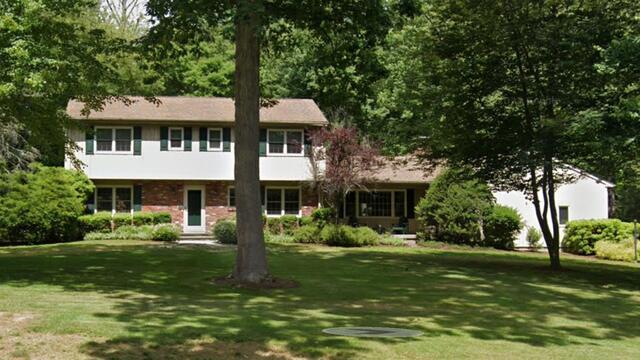
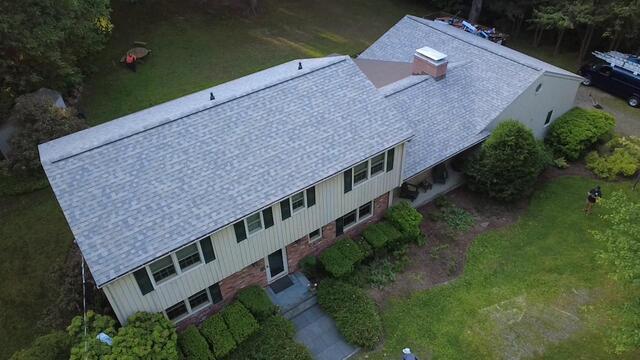
Before: Front View
Here is a look at Diane's roof from the street out front. Swipe through to see it in closer detail as well as the gorgeous transformation!
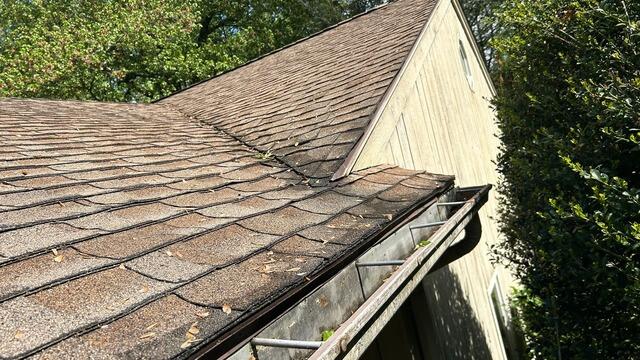
Before: Deteriorating Shingles
A closer look at Diane's roof highlights just how much wear and tear can build up over 22 years, especially in a beautiful wooded setting like hers, where New England's weather brings constant moisture. Most of the damage appeared in the valleys and along the roof's edges, where water tends to collect.
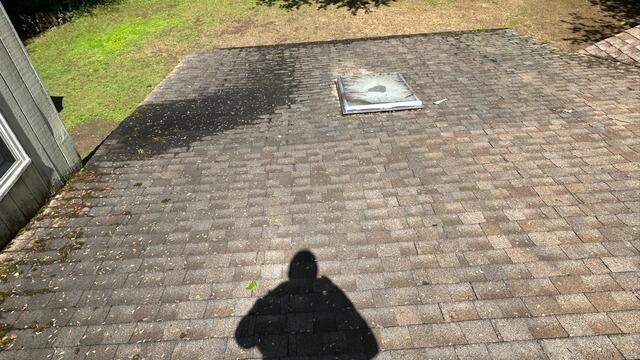
Before: Pooling Water & Bad Skylight
This low-sloping section of Diane's roof has a pitch that's too gentle for shingles under current building codes. As you can see, water isn't draining properly, leading to pooling, staining, and heavy moss growth. The skylight has also weathered quite a bit over time. It's time to bring this roof up to code-and give it the refresh it deserves!
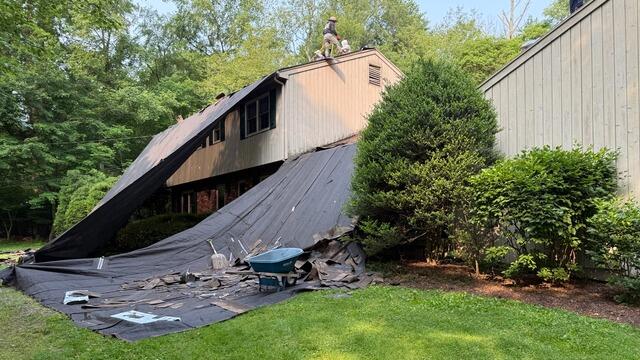
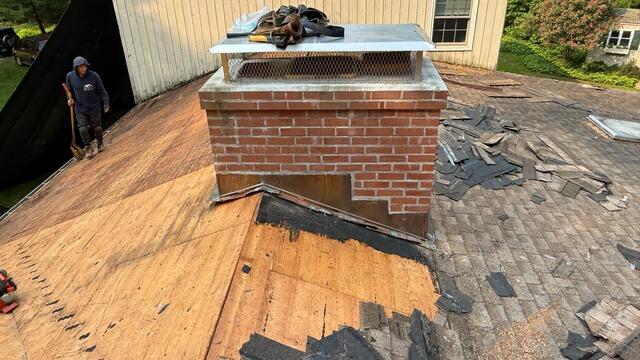
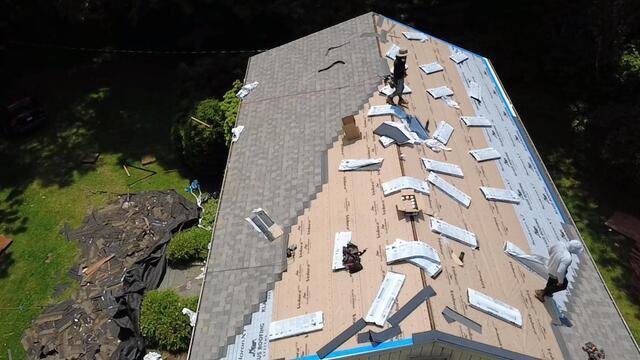
The Teardown Begins
The crew starts things off by carefully stripping all of the old shingles off of the roof. Before the teardown starts, they hang up large, heavy-duty tarps to catch the falling debris. This also keeps the homeowner's property fully protected from potential damage.
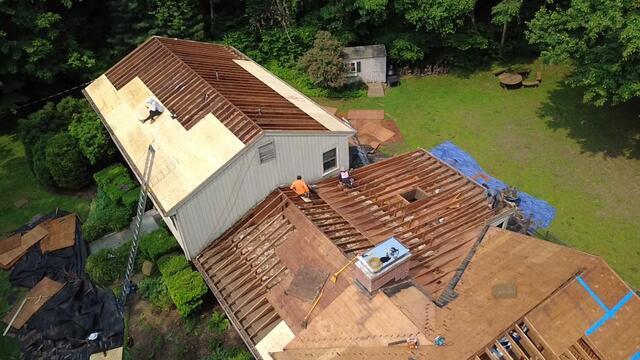
The Sheathing Is Exposed
Underneath the shingles is a layer of plywood called the sheathing. This is the structural foundation of the roof.
New Plywood Is Installed
As the structural foundation of the roof, it is critical that the sheathing is in tip-top condition before the new roofing system is installed. Any sections of the sheathing that display damage, such as rot or mold, have to be removed and replaced with strong new half-inch CDX plywood, ensuring a solid and strong base.
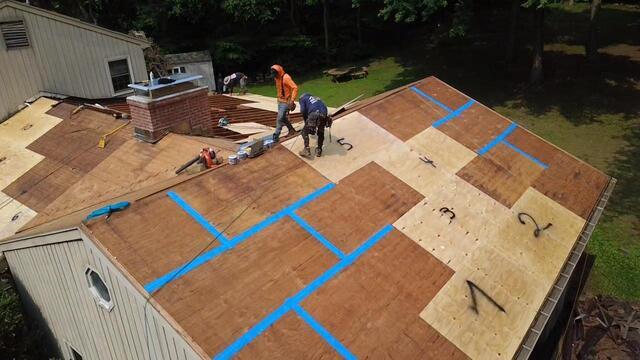
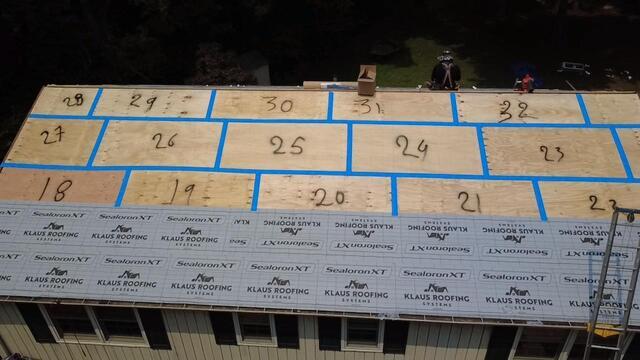
Seams Are Taped
Each plywood sheet installed is numbered for easy tracking by the crew so that they can accurately report back to the homeowner exactly how many new sheets have been installed. The seams of each plywood sheet are then taped up with all-weather Sealoron XT deck tape to meet current building code standards.
Ice and Water Shield Is Installed
Ice and water shield membrane is adhered to the sheathing from the eaves up six feet. This ensures the most watertight protection from harsh elements like rain, snow, and ice.
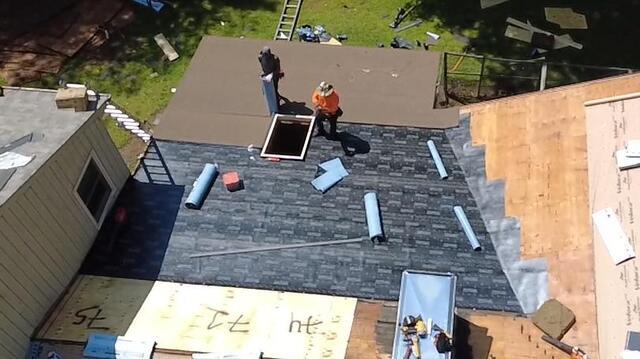
New Shingles Are Installed
Velora One synthetic underlayment is installed over the rest of the surface, and then it's time to install the new shingles! For her new roof, Diane selected the beautiful shade of Biscayne from our premium-laminated IKO Dynasty collection to perfectly complement her home. These sleek shingles are proudly backed by Brown Roofing's 50-year warranty!
SBS Roofing System Is Installed
The low-sloping section of Diane's roof is being upgraded with a specialized SBS-modified bitumen roofing system. This system includes two layers: a durable base layer, similar to the underlayment used beneath shingles, and a protective cap layer. Both are securely fastened to the sheathing to provide long-lasting performance and a clean, professional finish.
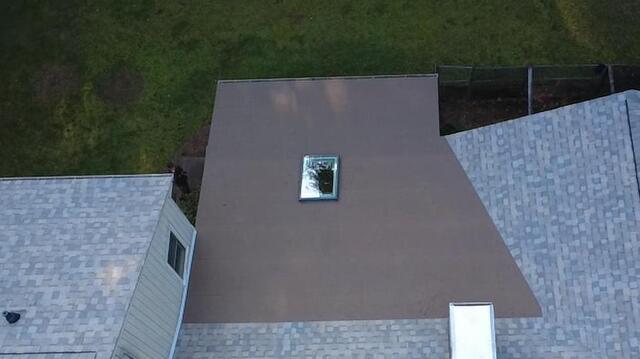
SBS Roofing System and Skylight Completed Installation
This beautiful Polyglass Elastoflex SBS roof is complete, topped off with a brand-new VELUX skylight to replace the old, weathered one. Now this space is protected and filled with natural light once again.
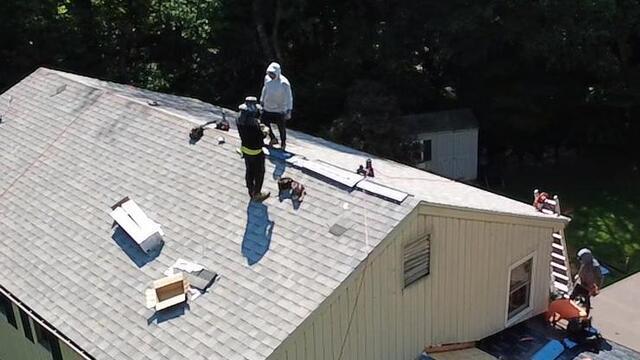
Ridge Vent Is Installed
To avoid condensation issues, a ridge vent is installed to let built-up hot, humid air flow out from the attic.
The Finished Project
The crew added the final touches, cleaned the property thoroughly, and now Diane's roof is finished and looking its best!
