
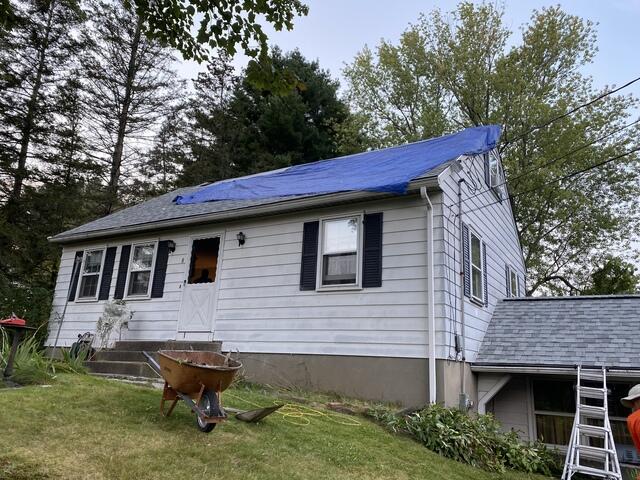
The Old Roof
Here is a gander at Peter's roof before the replacement. Obviously, that tarp has got to go! Swipe through to see the stunning transformation!
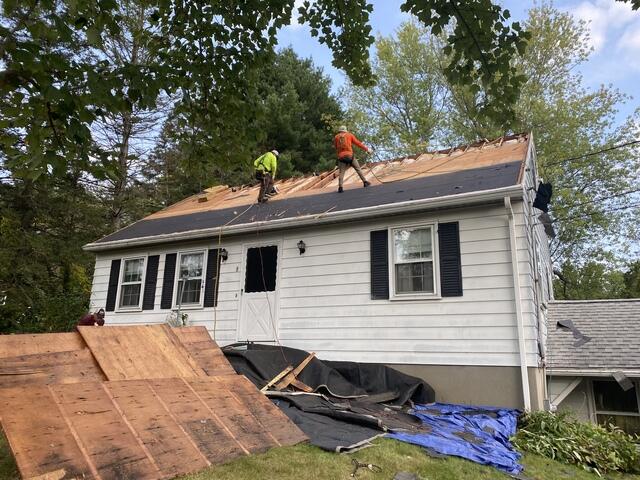
The Teardown Begins
The crew starts things off by carefully stripping all of the old shingles off of the roof. Underneath the old shingles is a layer of plywood called the sheathing. This is the structural foundation of the roof, and, as such, must be in tip-top health. Any sections found with damage, like rot or mold, are found and removed.
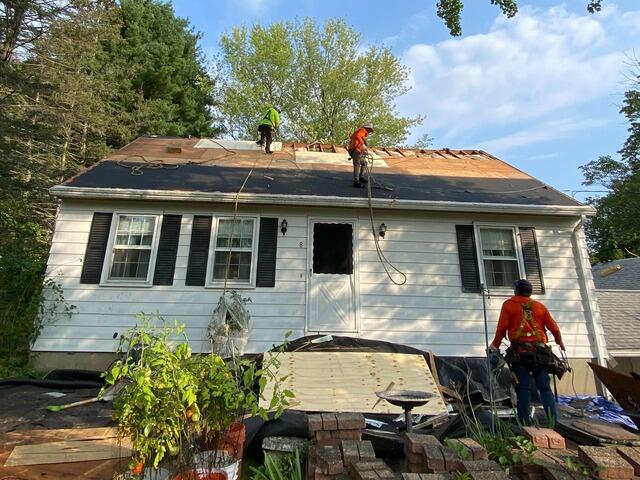
New Plywood Is Installed
Sturdy new half-inch CDX plywood replaces the removed sections, firmly nailed into place to ensure a strong and solid base for the new shingles.
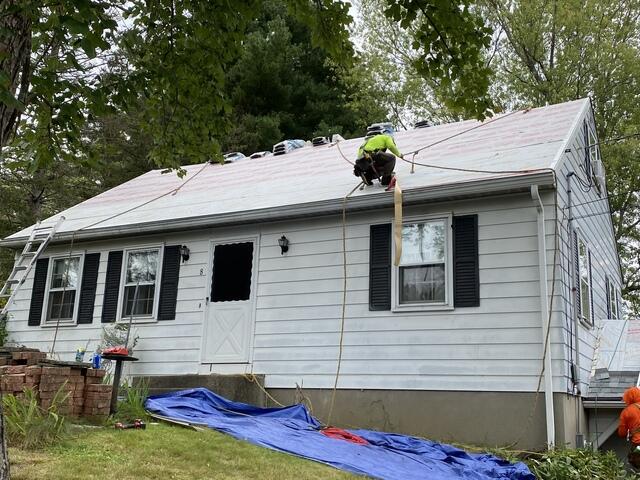
Underlayment Is Installed
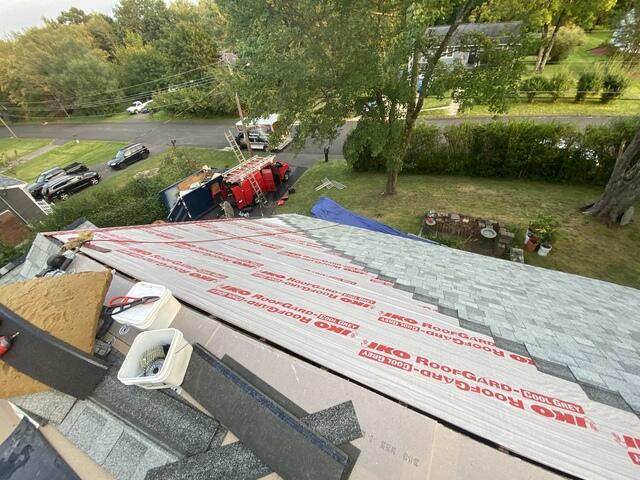
Underlayment, a thin, water-resistant membrane, is installed over the entire surface of the sheathing to ensure that it is fully protected from harsh elements like rain, snow, wind, and ice.
New Shingles Are Installed
Now it's time to start installing the new shingles! Brown Roofing proudly trusts the premium-laminated architectural shingles by IKO Dynasty for all roofs backed by our 50-year warranty. For his new roof, Peter has selected the sleek shade of Frostone Gray to perfectly complement his home.

New EDPM Roofing Section Is Installed
This section of Peter's roof is flat, which means shingles can't be used here. Doing so would violate current building codes, as they tend to trap water on low-slope surfaces. Instead, we installed a specialized EPDM (ethylene propylene diene monomer) roofing system. The tan layer you see is insulation, which goes on first.
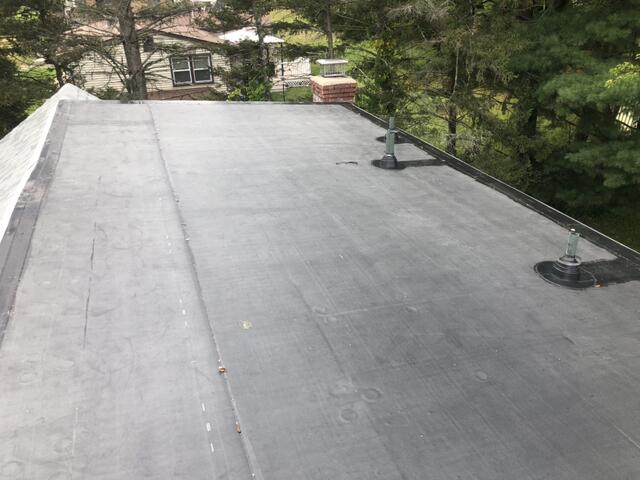
The Completed Flat Roof
The black layer is the top membrane, which is securely adhered to create a durable, watertight seal and a seamless finish.
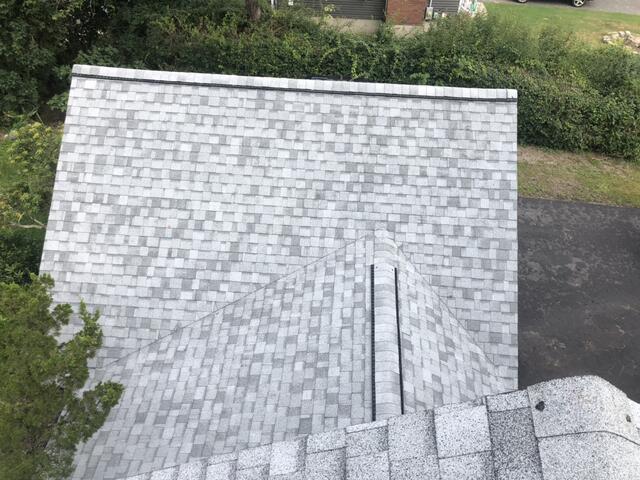
The Completed Shingle Roof
After sone finishing touches, like securing flashing around all of the roof pipes and installing a vent along all of the ridges of the roof to ensure proper airflow, Peter's new roof is complete and looking phenomenal!
