
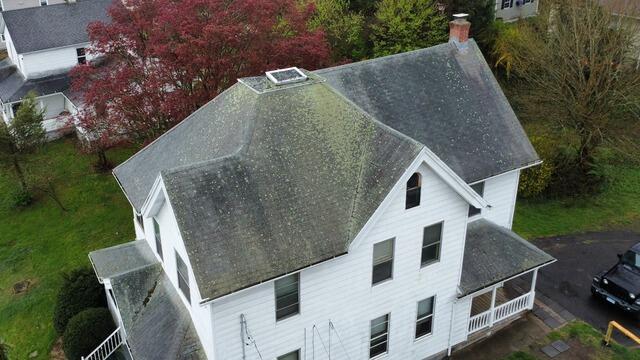
The Roof Before
Take a look at Jessica's roof before the renovation. While she wasn't exactly sure how old it was, one thing was clear: it had seen much better days. Heavy moss, lichen, and algae growth pointed to significant moisture damage, affecting both the shingles and the plywood underneath. Click through to see the amazing transformation!
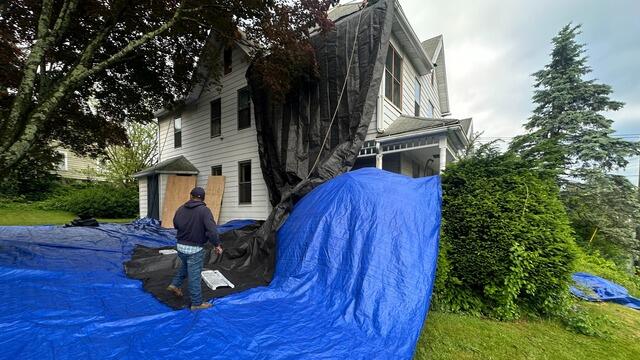
Preparing for the Teardown
Before the crew starts tearing off the old roof, they hang up and lay out large tarps around the property to catch falling debris, paving the way to an efficient cleanup as well as make sure that the property is fully protected from any potential damage.
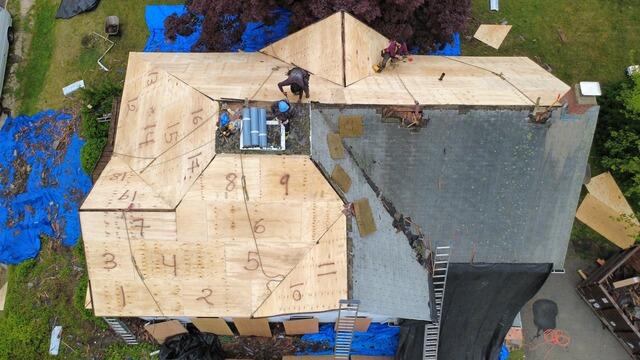
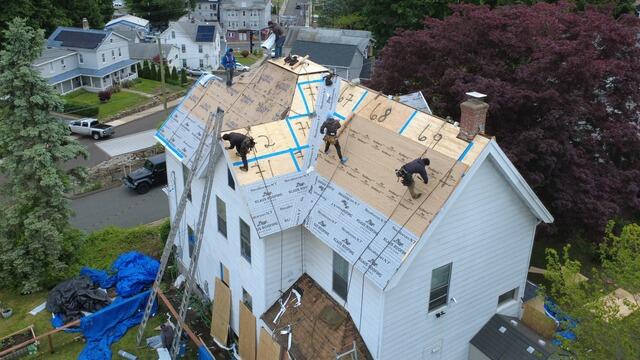
New Plywood Is Installed
Due to the age and visible wear of Jessica's roof, our crew removed everything down to the rafters to ensure a solid foundation for the new system. We installed brand-new half-inch CDX plywood, carefully measured and cut for a precise fit. Each sheet was numbered as it went in, allowing the team to keep an accurate count and provide Jessica with a clear report of exactly how many were used.
Ice and Water Shield Is Installed
Ice and water shield is installed from the eaves up six feet as well as all of the valleys of the roof. This is a thin, waterproof membrane that adheres to the sheathing to fully protect it from harsh elements that could cause moisture damage, like rain, snow, and ice.
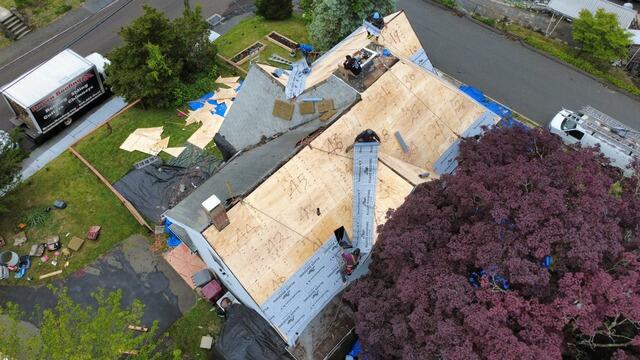
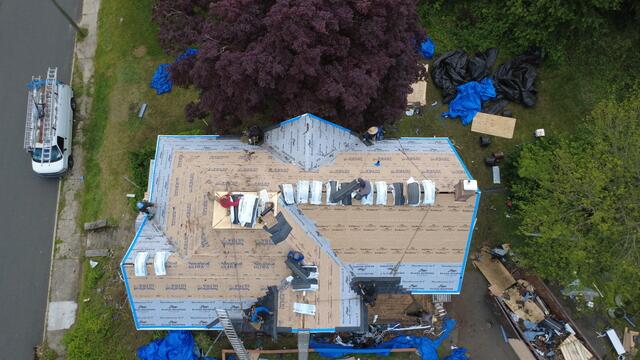
Seams Are Taped & Underlayment Is Installed
With all of the new sheathing firmly nailed into place, the crew installs ice and water shield membrane from the eaves up six feet to ensure full protection from harsh elements like rain, snow, and ice. The seams of the rest of the plywood sheets are taped up with all-weather Sealoron XT deck tape as per current building code standards. Then, Velora One synthetic underlayment is installed to the rest of the surface for maximum protection.
New Shingles Are Installed
Next, drip edge and rake metal flashing is installed around all of the edges of the roof. This is a thin metal barrier that prevents water from seeping underneath the underlayment, directing the moisture away from the fascia and safely into the gutters. After that, we're finally ready to start installing the new shingles!

New Flashing Is Installed on the Chimney
Jessica chose the gorgeous shade of Granite Black from the premium-laminated IKO Dynasty collection for the new roof. Next, the finishing touches begin. A ridge vent and ridge cap are installed over the highest points of the roof to ensure proper airflow and a seamless finish. Metal flashing is installed around the chimney where it meets the roof to prevent water from seeping into this critical junction.

New Low-Sloping Roof Section
This small upper section of the roof is considered low-sloping, meaning its pitch is too shallow for standard shingles. Instead, we installed a specialized SBS (styrene-butadiene-styrene) roofing system designed to handle water runoff more effectively in these areas.
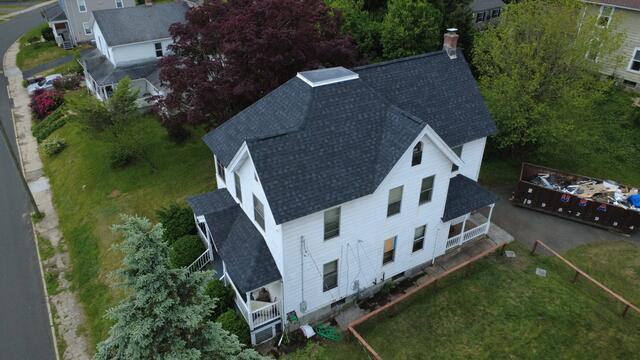
The Roof After
After a few finishing touches and a spotless cleanup of the entire property, Jessica's roof is officially complete and looking absolutely phenomenal!
