
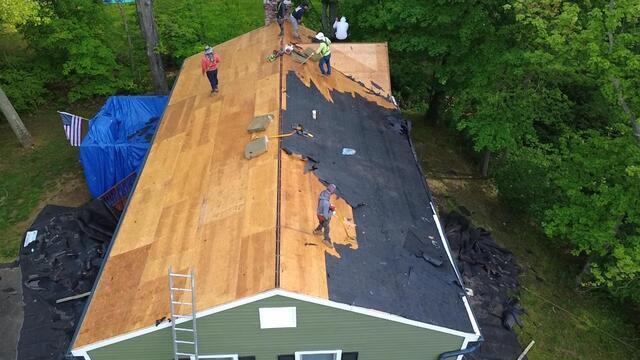
The Teardown Starts
The crew kicks things off by carefully stripping all of the old shingles off of the roof, exposing the plywood foundation underneath, which is called the sheathing. Before they begin the teardown, the crew hangs up large tarps around the edges of the roof to catch the falling debris, making for a more efficient cleanup process and also fully protecting the homeowner's property from any possible damage.
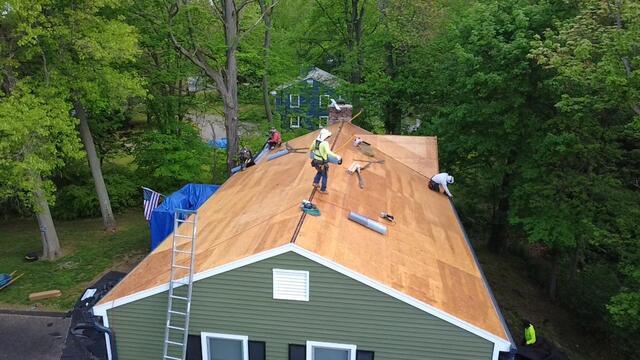
The Decking Is Examined
As the structural foundation, it is crucial that the sheathing is in tip-top shape, and that there are no rotting, decaying, moldy, or damaged parts. The crew closely examines the entire surface for any evidence of this.
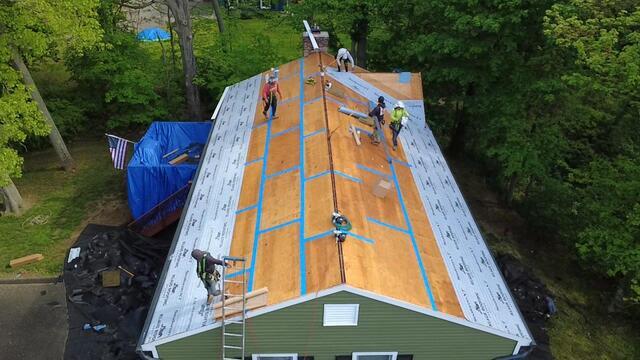
Seams Are Taped and New Underlayment Is Installed
The crew found that Patrick's sheathing was completely free of damage! Hooray! So they continued on with their next step: taping up all of the seams of the plywood sheets with Sealoron XT deck tape to meet current building codes. Ice-and-water shield is adhered from the eaves to six feet up. This thin, waterproof membrane protects the sheathing from harsh elements like rain, snow, and ice.
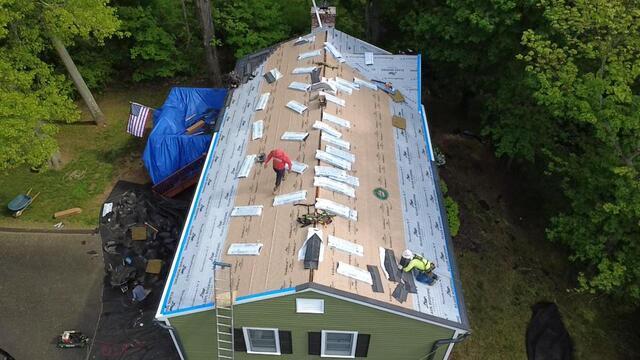
Ready for New Shingles
4
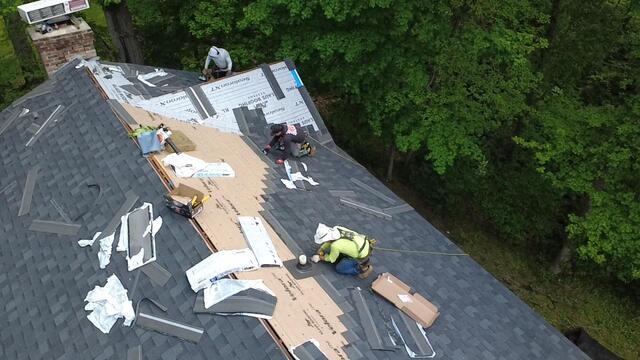
Installing the New Shingles
Velora One synthetic underlayment is installed over the rest of the sheathing, and after that, it's time for the brand-new shingles! These premium-laminated, architectural asphalt shingles are proudly backed by Brown Roofing's 50-year warranty. Patrick selected the great shade of Granite Black for his new roof.

Installing the Ridge Vent
Now it's time to install the ridge vent. This vent ensures proper airflow by allowing hot, moist air that rises from inside of the house a way to escape, eliminating damaging condensation buildup. A ridge cap is secured over the vent to create a seamless and polished finish.
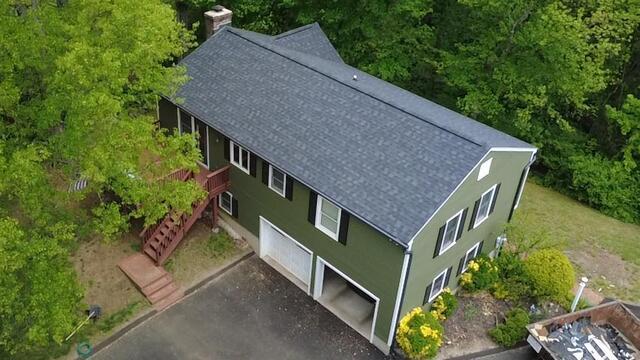
The Finished Product
After a few finishing touches, like installing flashing around the chimney to ensure a watertight seal, and a full cleanup of the yard, Patrick's new roof is complete and looking incredible!
