
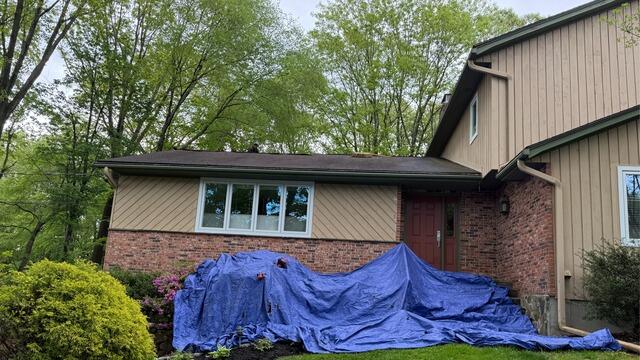
The Roof Before
Here's a look at Fred and Pat's roof before the replacement. Now click through to see the fantastic transformation!
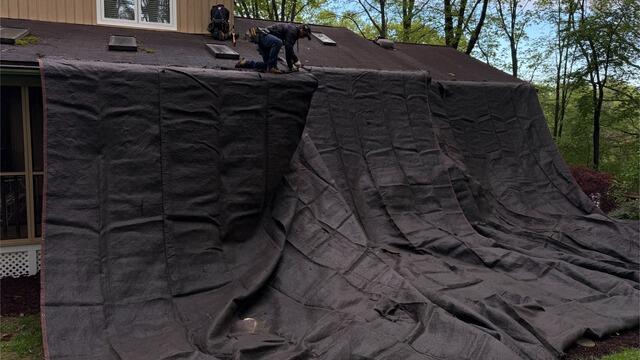
Prepping the Property
Before the renovation begins, the crew hangs up large tarps around the edges of the roof to collect the falling debris as well as ensure there is no damage to the homeowner's property.
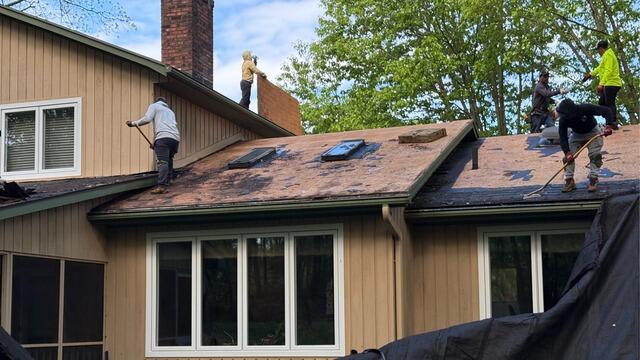
The Decking Is Exposed
Underneath the old shingles is a layer of plywood called the roof sheathing. This is the structural foundation of the roof, and, as such, must be in tip-top condition before the new shingles get installed. Any areas that are affected by damage, like rot or mold, are removed.
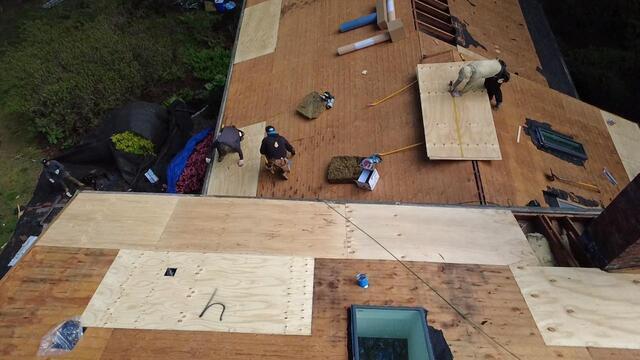
New Plywood Is Installed
Each new sheet is precisely fit and securely nailed into place, ensuring a strong and solid base. All sheets are numbered for easy tracking so that the crew can accurately report back to the homeowner exactly how many new sheets were installed.
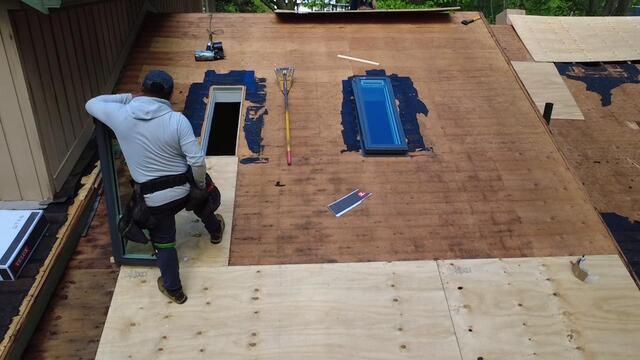
Skylights Are Replaced
Fred and Pat are also getting all five of their skylights replaced with brand-new VELUX brand pieces, adding a sleek and modern update to his roof.
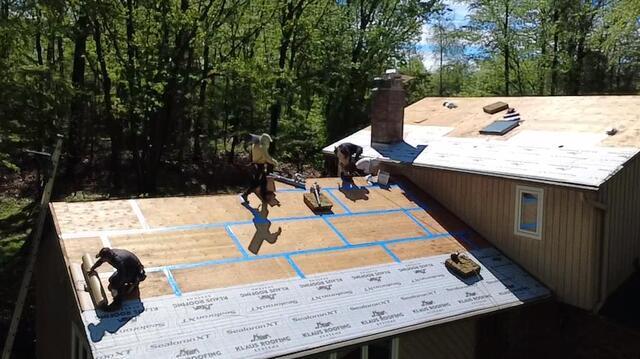
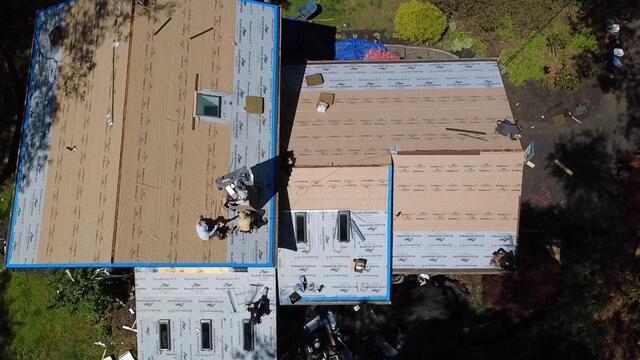
Seams Are Taped & Underlayment Is Installed
After the plywood is dealt with, the sheathing is covered in a layer of underlayment. This thin, waterproof membrane shields it from potentially damaging elements like wind, rain, snow, and ice.
Ready for New Shingles
After the underlayment is fully installed, a drip edge flashing is nailed along the edges of the roof. This is a thin metal barrier that prevents water from seeping into the roof, helping to direct the water into the gutters. After that, we're ready for the new shingles!
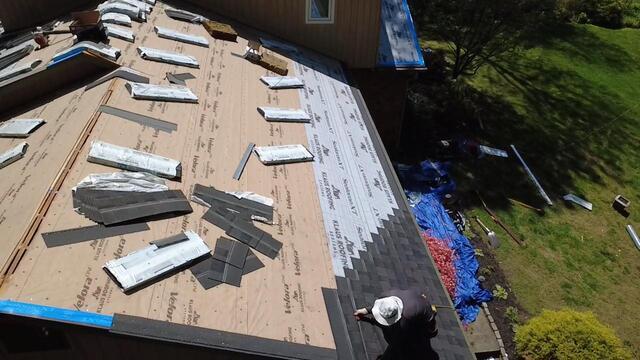
New Shingles Are Installed
For their new roof, Fred and Pat have selected the sleek and super-popular shade of Granite Black from our premium-laminated IKO Dynasty collection. These heavyweight shingles are proudly backed by Brown Roofing's 50-year warranty!
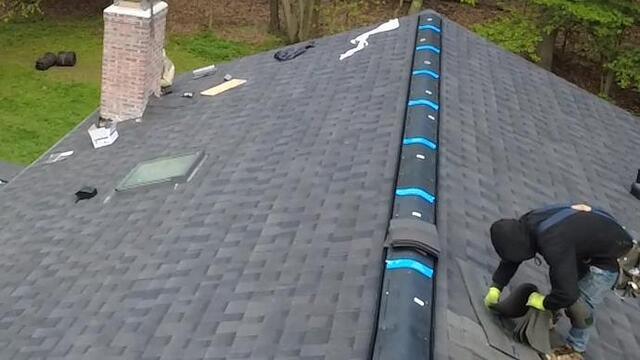
Ridge Vent Is Installed
A shingle vent is placed along the roof's ridges to promote proper airflow, giving hot, humid air a way to escape and preventing harmful condensation buildup inside the attic.
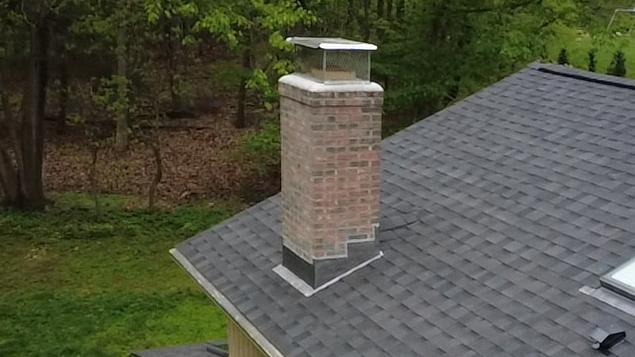
New Flashing Is Installed on the Chimney
New flashing is secured around the sides of the chimney where it meets the roof. This thin metal acts as a barrier, preventing water from seeping in through the junction and causing damage.
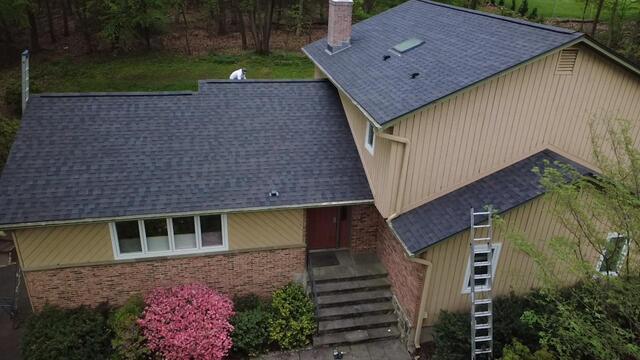
The Roof After
With the crew's final touches and one last check, Fred and Pat's roof is officially complete and looking fantastic!
