
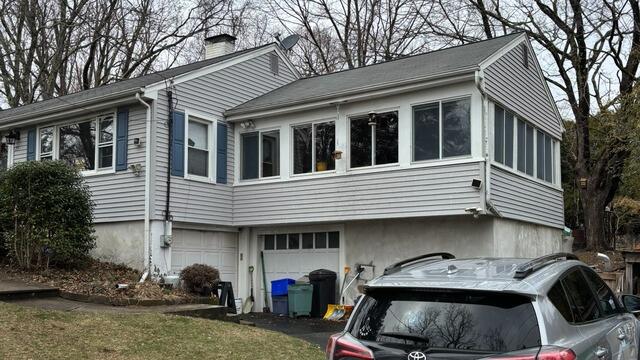
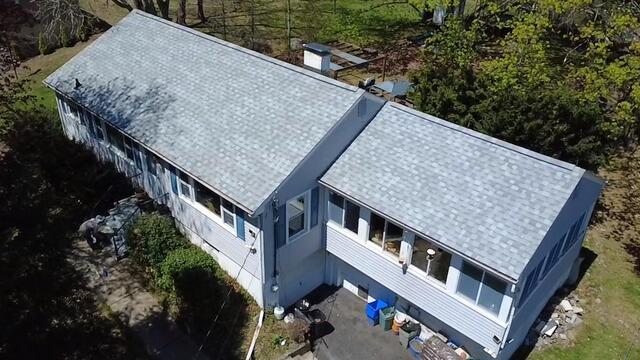
The Roof Before
Here's a look at John's house from the southeast corner before the roof renovation. Click through to see the great transformation!
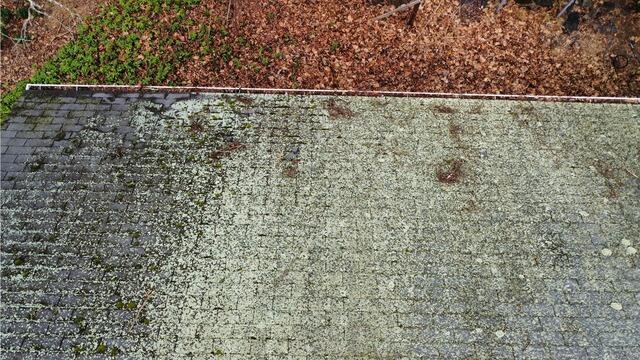
Before: Moss & Lichen
John's roof was no match for the long-term moisture-it's covered in moss and lichen from heavily deteriorated shingles. Time to tear it off and build back better!
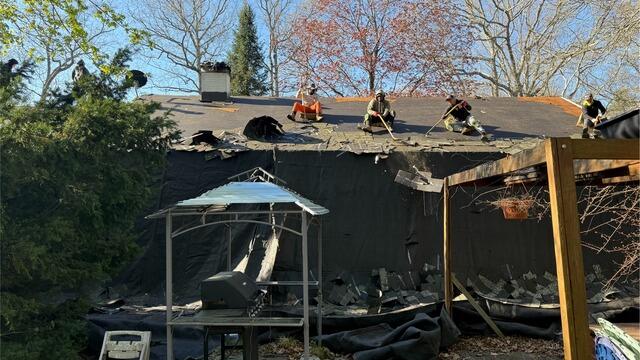
The Teardown Begins
The crew starts things off by tearing off all of the old shingles. Before the teardown begins, large tarps are hung up around the edges of the roof to catch the falling debris and ensure a completely protected property.
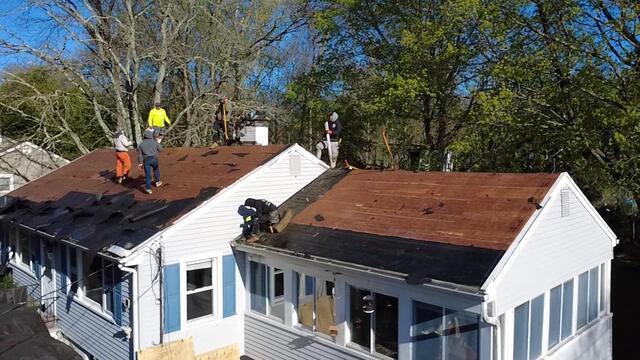
The Sheathing Is Examined
Underneath the old shingles is a layer of plywood called sheathing. This is the structural foundation of the roof, and as such, must be in tip-top condition before new shingles can be installed. The crew closely examines the entire surface for any damage, like rot or mold.
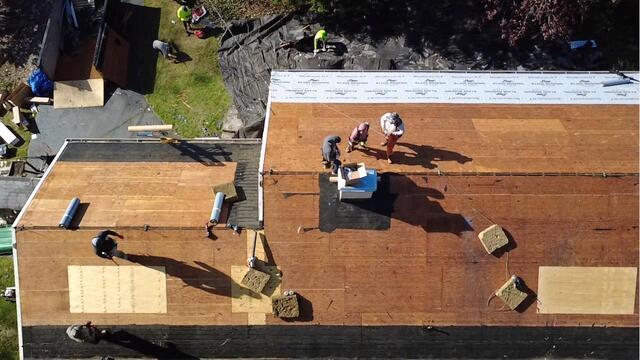
New Plywood Is Installed
Any affected areas are removed and replaced with 1/2" CDX plywood, securely fit and nailed into place to ensure a solid and strong base.
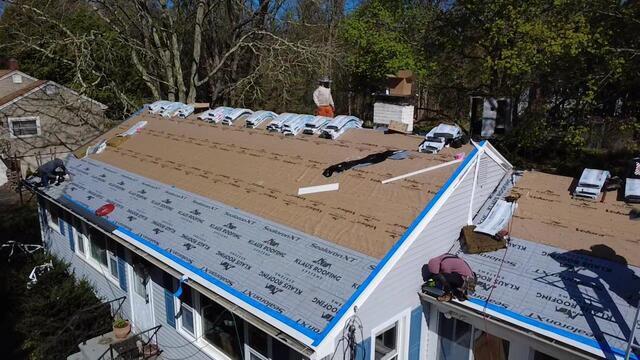
Drip Edge Is Installed
Drip edge flashing is installed around the edges of the roof to guide water safely into the gutters and prevent moisture from damaging the sheathing. It's securely nailed down and sealed with deck tape for long-lasting protection.
New Shingles Are Installed
Now, it's time for the new shingles! John opted for the refined Frostone Gray from our IKO Dynasty collection, perfectly complementing the home's exterior.
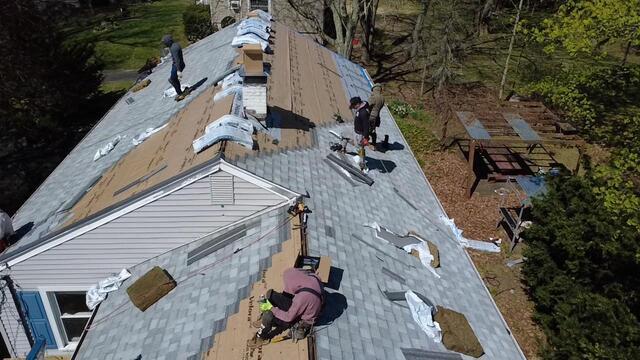
Ridge Vent Is Installed
A ridge vent is installed along the highest points of the roof. This vent ensures proper airflow by allowing hot, moist air that rises from the house a way to escape, eliminating damaging condensation buildup.
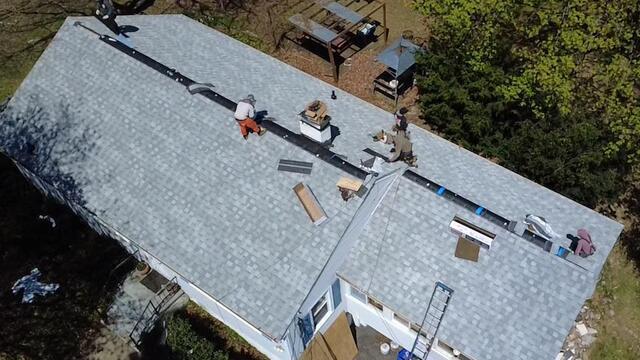
The Roof Is Complete
With a few final details in place, John's brand-new roof is finished and looking fantastic!
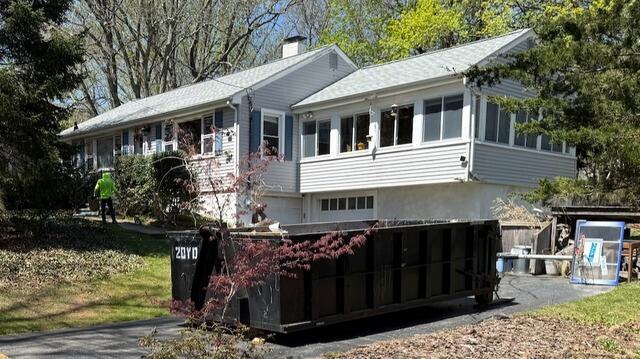
The Roof After
Sleek, sophisticated, and ready for whatever Mother Nature throws its way, John's new roof is sure to last the test of time.
