
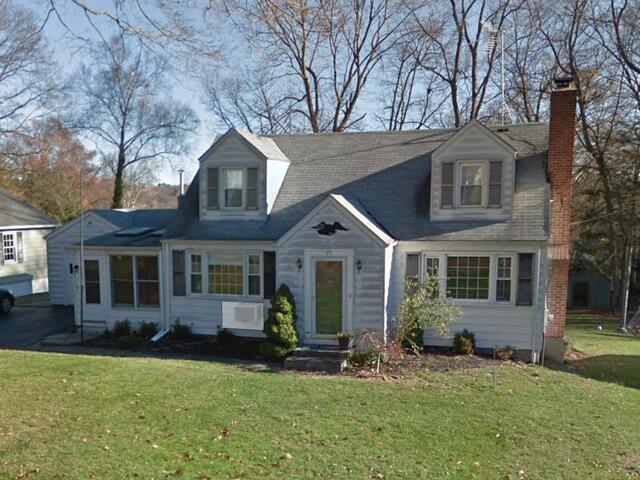
The Roof Before
Here's a look at John's roof before the renovation. Those three-tab shingles are about to go the way of the dodo. Click through to see the awesome transformation!
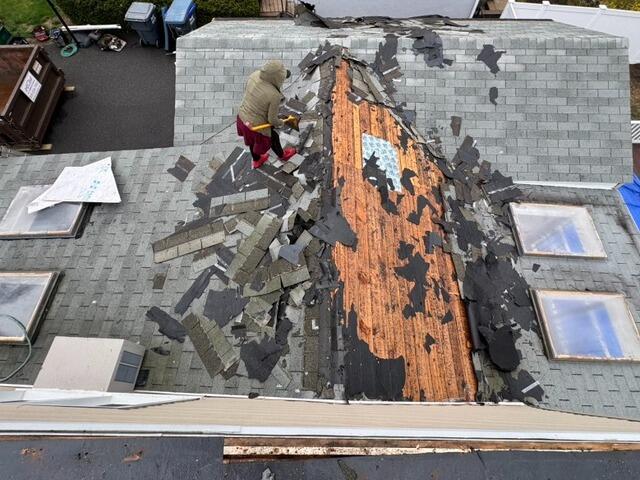
The Teardown Begins
The crew kicks things off by carefully stripping all of the old shingles off of the roof. This reveals the layer of plywood underneath, which is called the sheathing. This is the structural foundation of the roof.
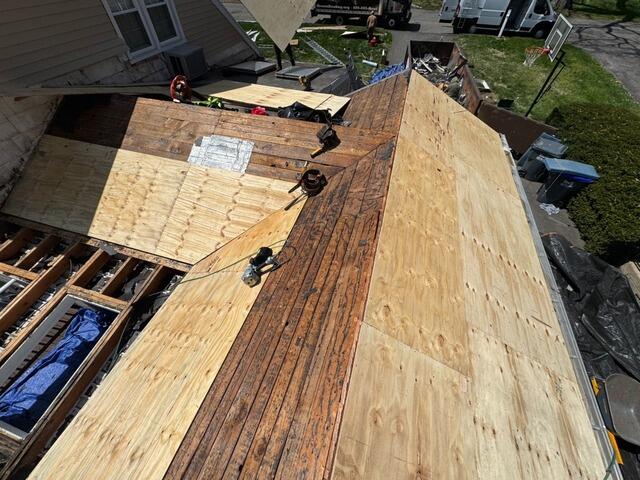
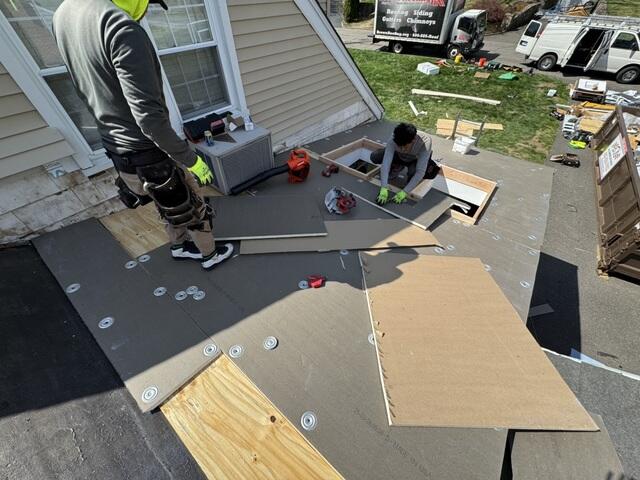
New Plywood Is Installed
As the structural foundation of the roof, the health of the entire sheathing is essential. Any sections found with damage, such as rot or mold, are removed and replaced with strong new CDX plywood.

Seams Are Taped & Underlayment Is Installed
With the sheathing all securely nailed into place, the crew tapes up all of the seams of the plywood sheets with all-weather deck tape. After that, a layer of underlayment is installed over the entire surface. This thin, waterproof membrane protects the roof from harsh elements that could cause moisture damage, like rain, snow, and ice.
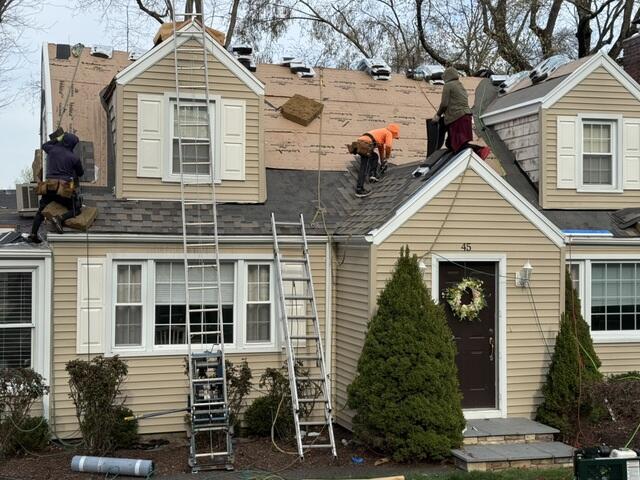
New Shingles Are Installed
Now it's time to install the new shingles! For his new roof, John has selected the sleek shade of Cornerstone from our IKO Dynasty collection. These premium-laminated shingles are proudly backed by Brown Roofing's 50-year warranty!
New Rubber Roof Is Installed
This low-sloping section of John's roof required a specialized roofing system called EDPM (Ethylene Propylene Diene Monomer), or synthetic rubber. This is in accordance with current building codes.

Rubber Roof Is Finished
The new EDPM roof membrane securely adhered to the plywood with roll roofing adhesive, completing this section with a seamless finish.
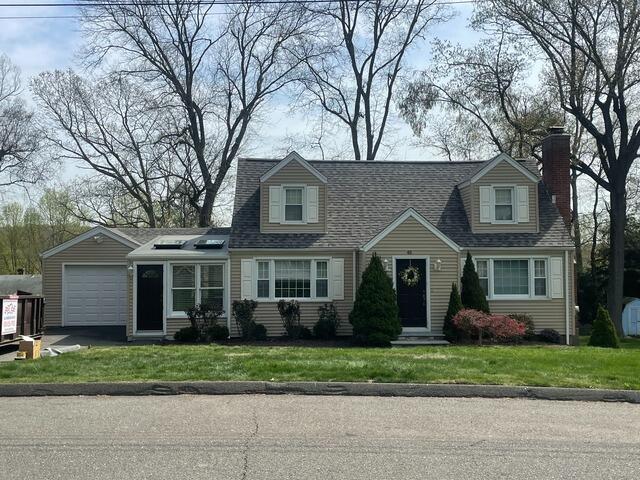
The Roof After
After a few finishing touches, like installing a ridge vent for proper airflow and installed two gorgeous new VELUX skylight,s John's new roof is officially complete!
