
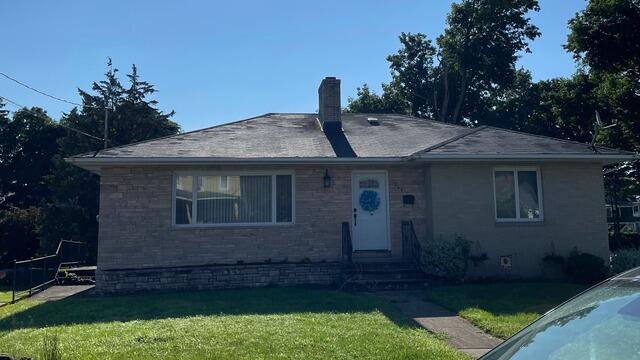
The Roof Before
Here is what David's roof looked like before the transformation. Swipe through to see the results!
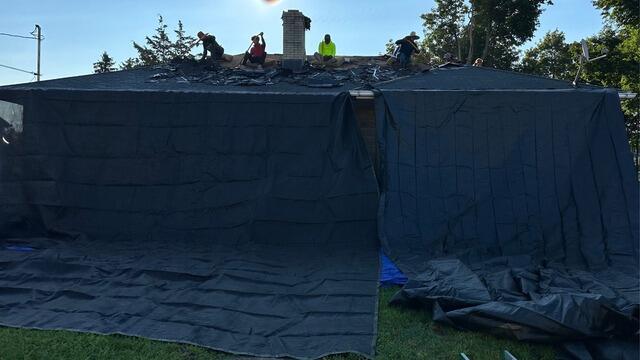
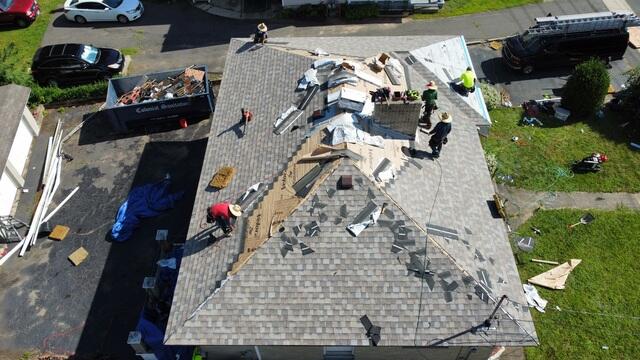
The Teardown Begins
The crew starts things off by carefully stripping off all of the old shingles. Before the teardown starts, they hang up large tarps around the edges of the roof to collect the falling debris, make for a more efficient cleanup process, and fully protect the homeowner's property at the same time.

The Sheathing Is Exposed
Underneath the old shingles is a layer of plywood called the sheathing. This is the structural foundation of the roof, and as such, must be in tip-top condition. The crew inspects the entire surface for any damage, like rot or mold.
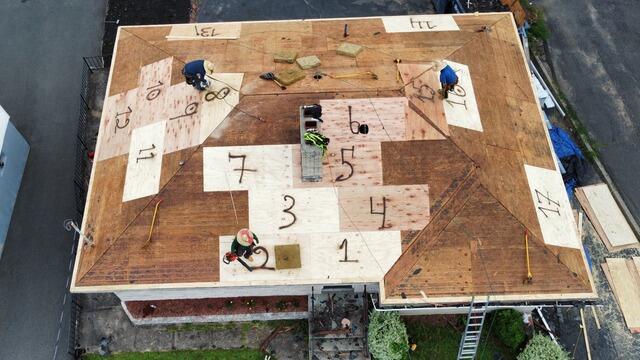
New Plywood Is Installed
All damaged areas are replaced with sturdy new 1/2" CDX plywood. Each sheet used is numbered for easy tracking, so the crew can accurately report back to the homeowner on exactly how many were installed.
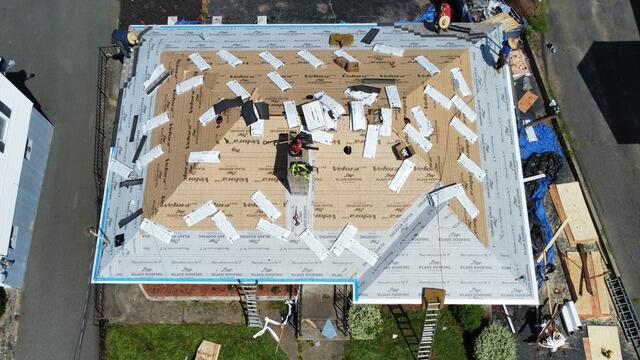
Underlayment Is Installed
Underlayment is installed over the entire sheathing. This thin, water-resistant membrane protects the plywood from damaging elements that could cause moisture damage, like rain, snow, and ice.
New Shingles Are Installed
Now it's time to install the brand-new IKO Dynasty shingles! These premium-laminated, architectural shingles are proudly backed by Brown Roofing's 50-year warranty. For his new roof, David has selected the stunning shade of Biscayne to perfectly complement his home.
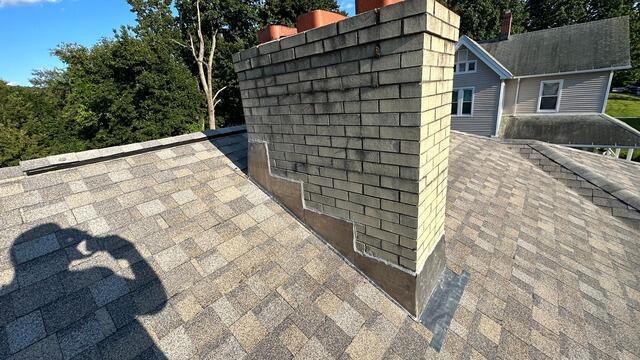
New Flashing for the Chimney
New flashing is installed on the edges of the chimney. This thin metal barrier creates a watertight seal, preventing moisture from seeping into the roof.
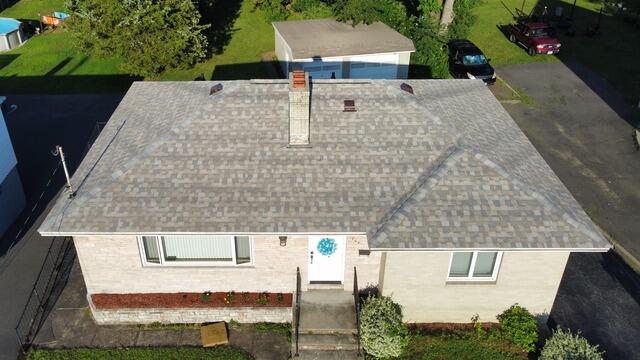
The Roof After
After a final walkthrough and a full property cleanup, David's brand-new roof is all done!
