
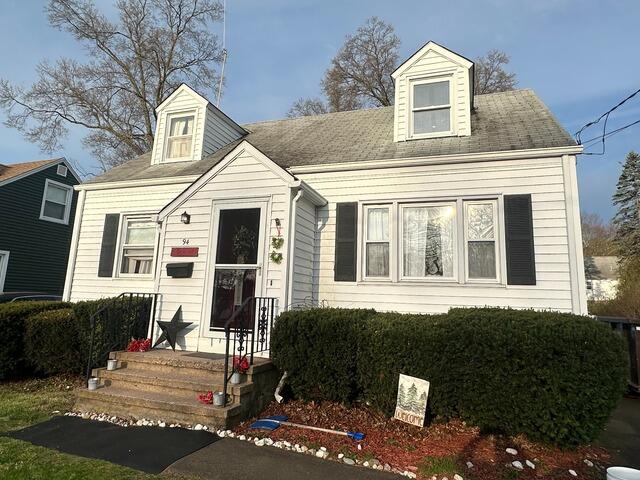
Before: Front View
Here's what Diane's roof looked like from the front before the makeover. Click through to see how we beautifully transformed it!
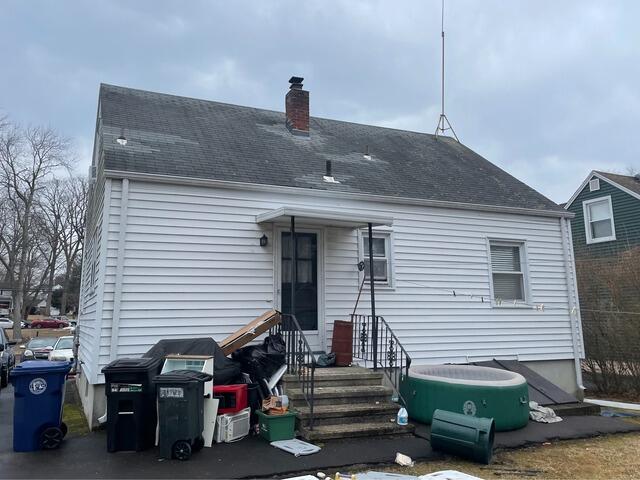
Before: Back View
From the back, you can really see the patchwork on Diane's roof-those mismatched shingles tell the story. Time to say goodbye to the quick fixes and hello to a brand-new roof!
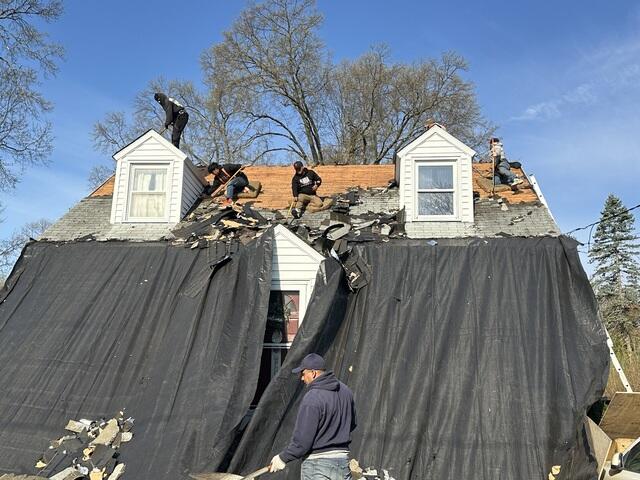
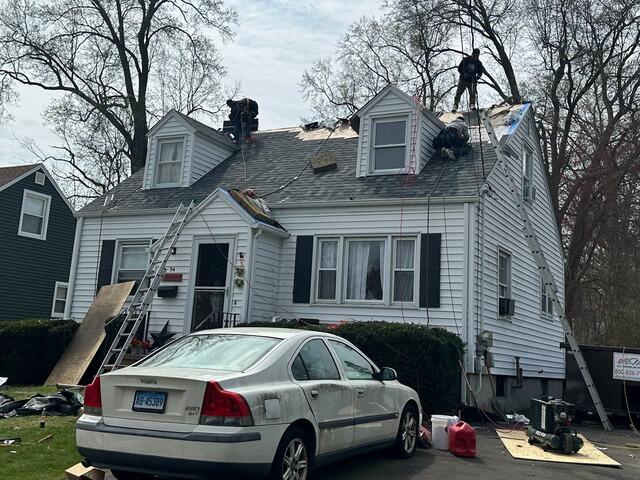
The Teardown Begins
The crew starts things off by carefully tearing all of the old shingles off. Before the teardown begins, large tarps are hung up around the edges of the roof to catch the falling debris as well as ensure full protection of the homeowner's property.
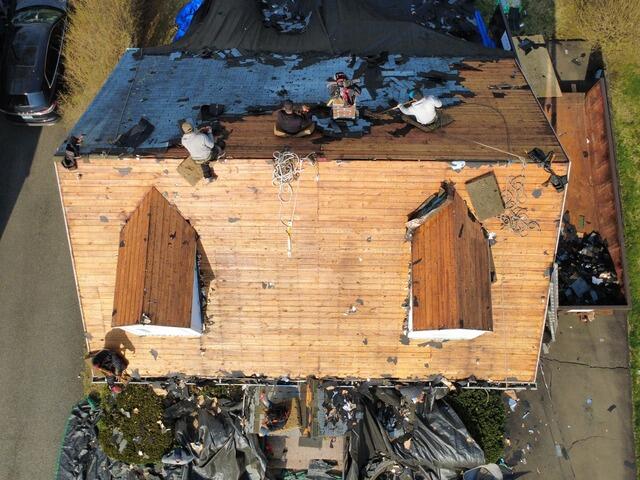
The Sheathing Is Exposed
Underneath the old shingles is a layer of plywood called the sheathing. This is the structural foundation of the roof, and must be in tip-top shape before the new shingles can be installed. The crew inspects the entire surface closely for any evidence of damage, such as rot or mold.
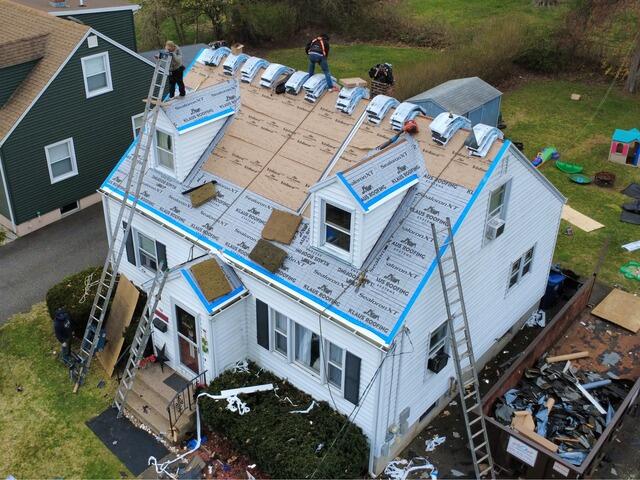
Seams Are Taped & Underlayment Is Installed
Once all of the sheathing passes the check, it's time to install the underlayment. This is a thin waterproof material that protects the sheathing from damaging elements that could cause moisture damage such as rain, snow, and ice.
New Shingles Are Installed
Now it's time to install the new shingles! Brown Roofing proudly uses premium-laminated IKO Dynasty shingles for all roofs backed by our 50-year warranty. These shingles come in a variety of shades, and Diane has chosen the beautiful color of Summit Gray for her new roof.
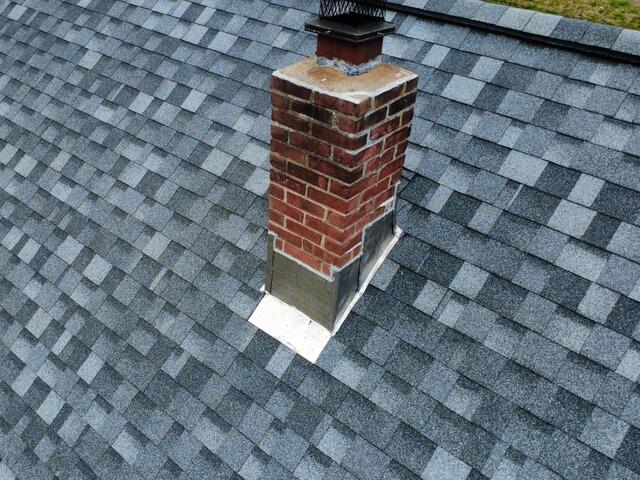
New Flashing for the Chimney
New flashing is secured around the sides of the chimney where it meets the roof. This thin metal acts as a barrier, preventing water from seeping in through the junction and causing damage.

After: Front View
The crew wrapped things up with some finishing touches and a thorough cleanup-Diane's roof is now complete!
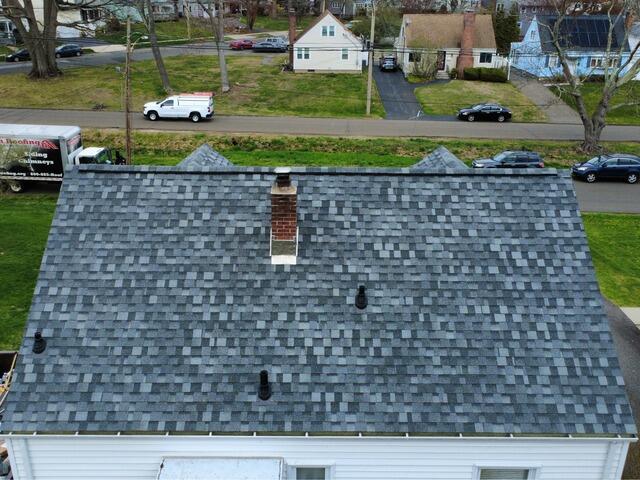
After: Back View
Beautiful, strong, and built to last, those mismatched shingles are a thing of the past!
