
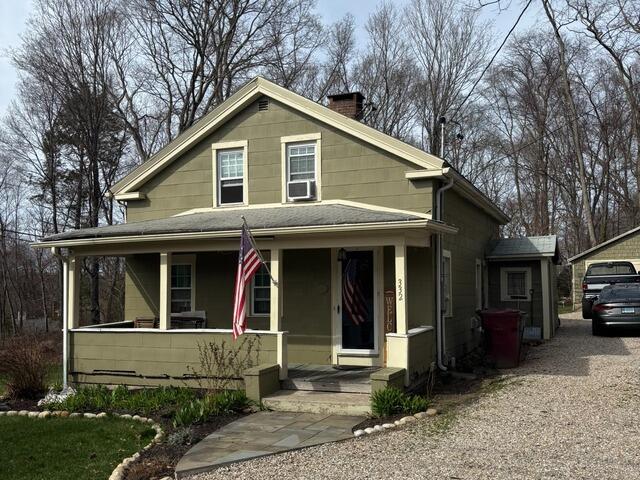
The Roof Before
Here's a look at Steve's roof before the renovation. Click through to see the amazing transformation!
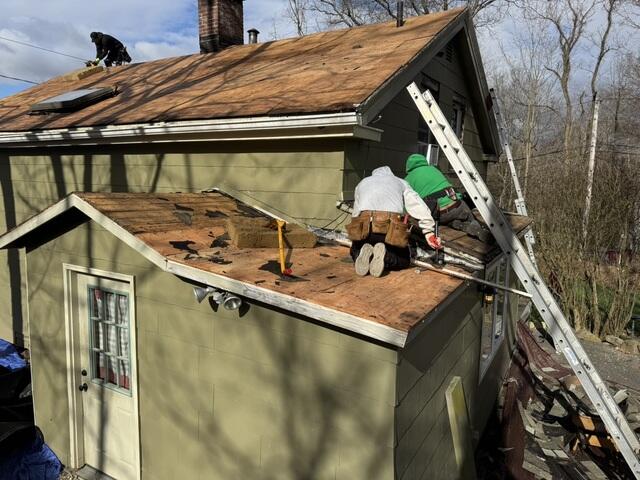
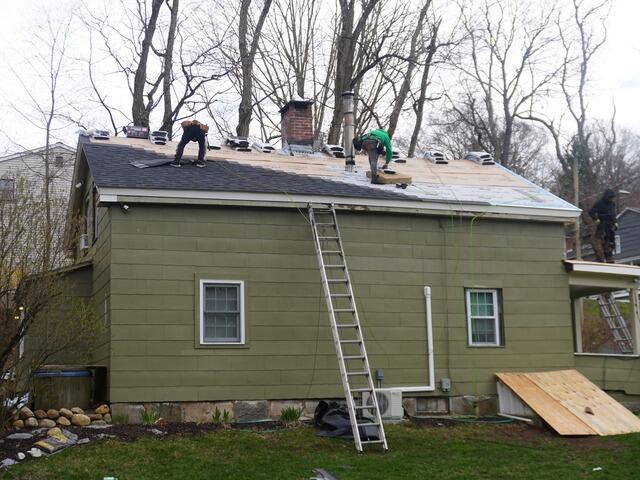
The Decking Is Examined
The crew tears off all of the the old shingles, revealing the layer of plywood underneath, which is called the decking. This is the structural foundation of the roof.
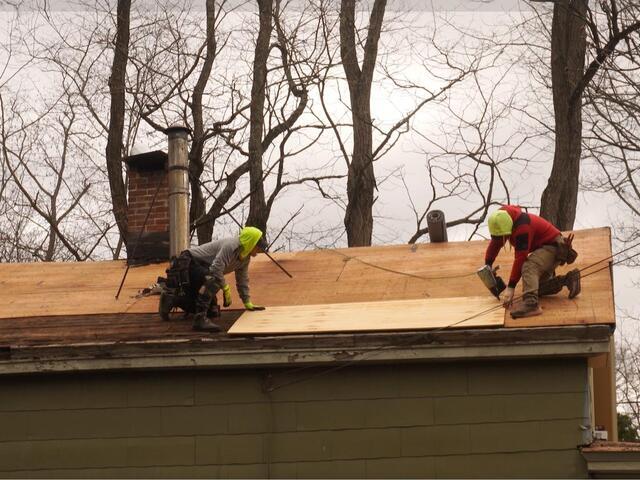
New Plywood Is Installed
As the structural foundation of the roof, the plywood must be in healthy condition before the new shingles can go on. Any sections found damaged, like rotted or moldy, and removed and replaced with brand-new sturdy CDX plywood.
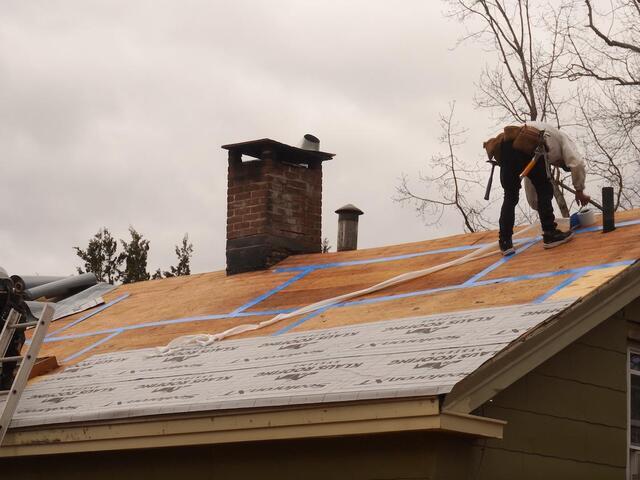
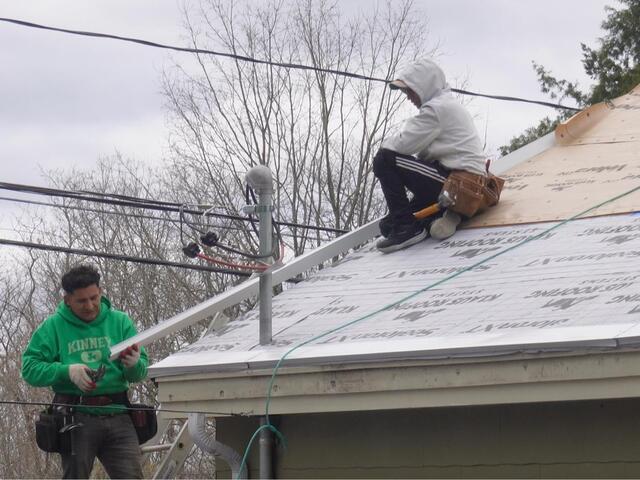
Seams Are Taped & Underlayment Is Installed
With the new plywood securely nailed into place, the seams of every sheet of plywood are taped up with all-weather deck tape. After that, underlayment is installed over the entire surface. This thin, waterproof membrane protects the sheathing from harmful elements like rain, snow, and ice.
Drip Edge Flashing Is Installed
A drip edge flashing is installed around all of the edges of the roof. This thin metal barrier prevents water from seeping into the roof. Instead, the water is directed away from the fascia and into the gutters.
New Shingles Go On
Now it's time for the new shingles! To perfectly complement Steve's sleek army green siding, he has selected the gorgeous shade of Granite Black from our premium-laminated IKO Dynasty collection. These heavyweight architectural shingles are proudly backed by our 50-year warranty.
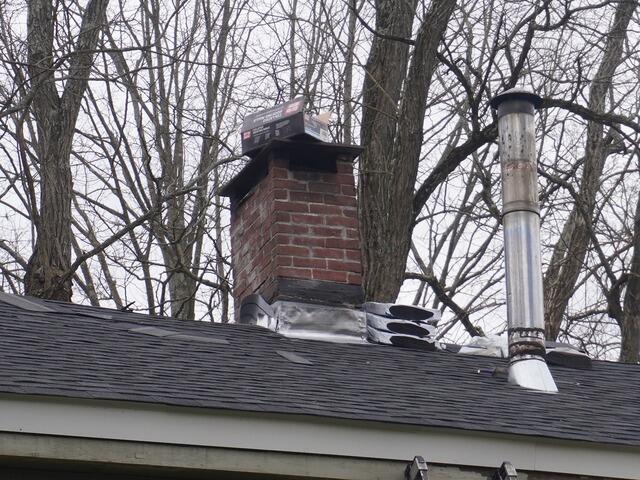
New Flashing for the Chimney
A new flashing is installed around the sides of the chimney where it meets the roof. Much like the drip edge flashing, this is a thin metal meant to direct water away from the junction and prevent inner moisture damage.
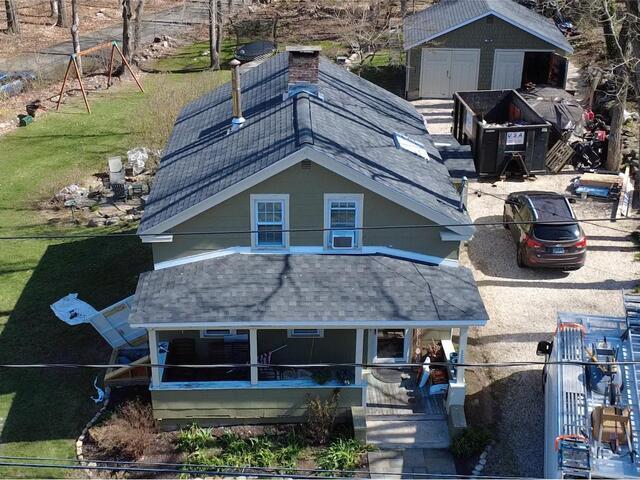
The Roof After
After a few finishing touches, a thorough cleanup of the property, and a close inspection of the work, Steve's new roof is officially complete!
