
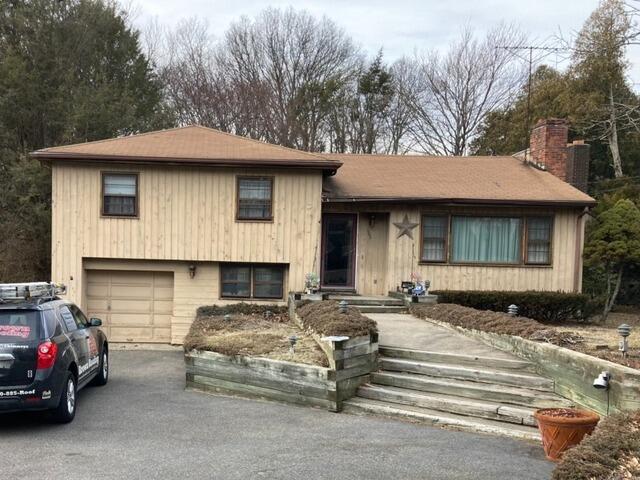
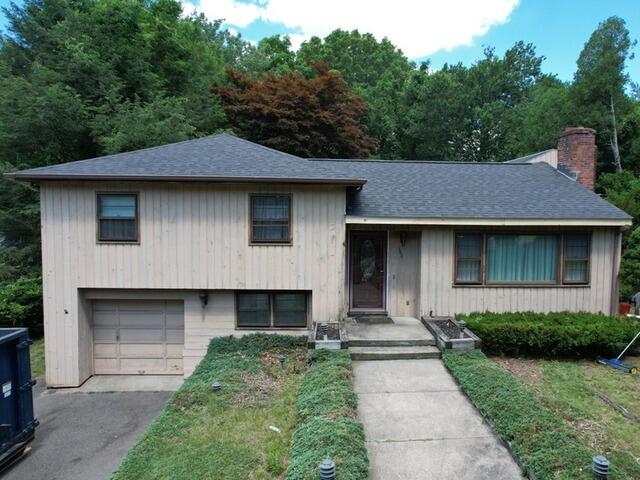
Before: Front View
Take a gander at Atara's roof before the renovation. Now click through to see how we transformed it!
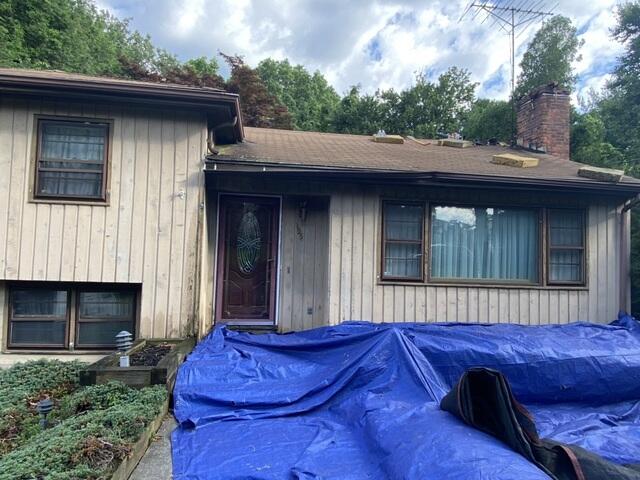
Prepping the Property
Before the teardown starts, the crew lays out large tarps to protect the homeowner's property as well as pave the way for an efficient cleanup process.
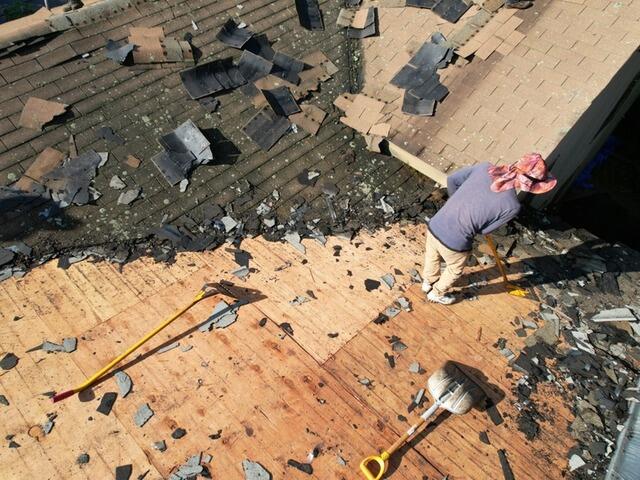
The Teardown Begins
As the crew removes the old shingles, the layer of plywood underneath is revealed. This is called the sheathing, and it is the structural foundation of the roof.
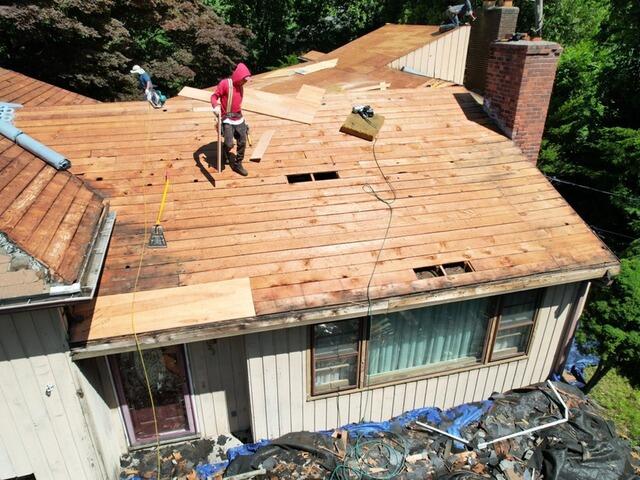
New Plywood Is Installed
It's important that the sheathing is in tip-top shape before the new shingles go on. Any sections found with damage, such as rot or mold, are removed and replaced with strong new 1/2" CDX plywood.
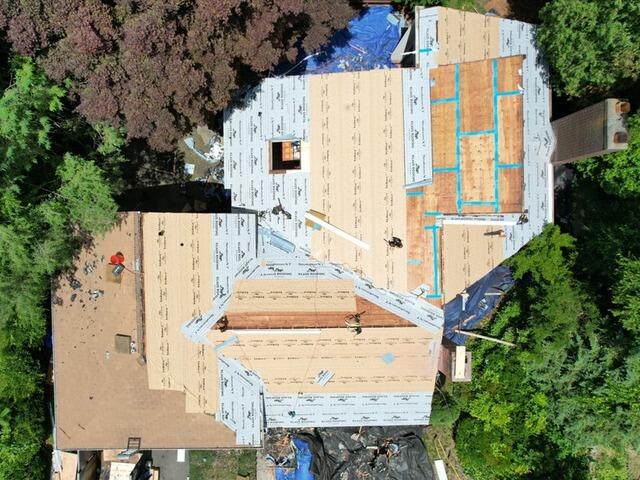
Seams Are Taped & Underlayment Is Installed
The seams of each new plywood sheet are taped up with all-weather deck tape. After that, underlayment is installed over the entire surface. This is a thin, water-resistant material that shields the sheathing from harsh elements like rain, snow, and ice.
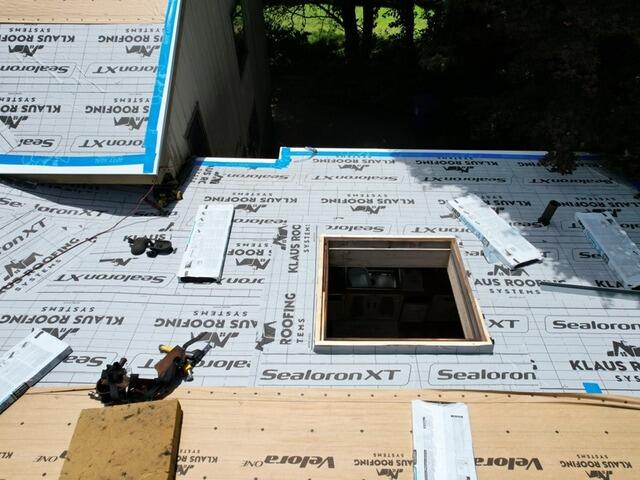
Almost Ready for New Shingles
We are almost ready to install the new shingles. Some final details need to happen first, like securing the edges of this opening for the new skylight. Also, drip edge flashing is installed around all of the edges of the roof, preventing moisture from seeping in from the edge, directing any water towards the gutters.
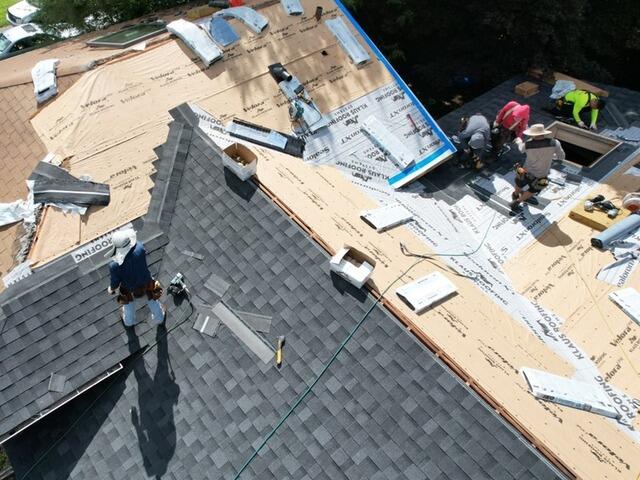
New Shingles Are Installed
Now we can start installing the new shingles! Brown Roofing is proud to use IKO Dynasty's premium-laminated architectural shingles for all roofs backed by our 50-year warranty. For her new roof, Atara has selected the ever-popular Granite Black shade to beautifully complement her home.
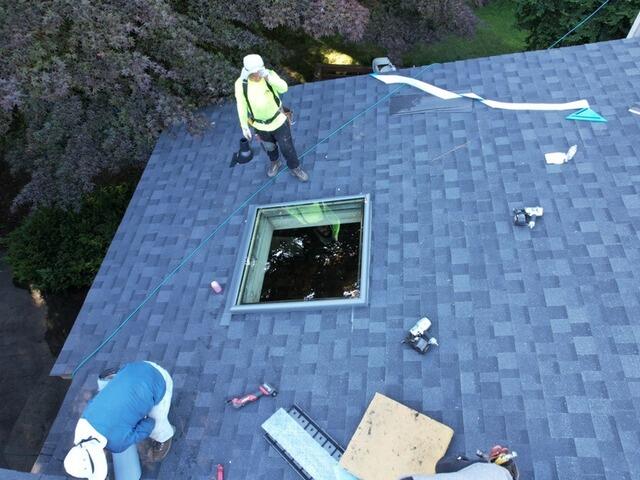
New Skylight Is Installed
A new VELUX brand skylight replaces Atara's old skylight, giving a modern touch.
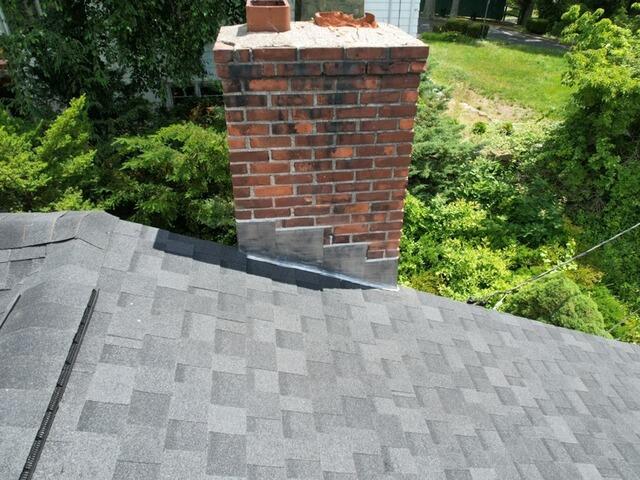
New Flashing Is Installed on the Chimney
Thin metal flashing is installed on the side of the chimney where it meets the roof. Similar to the drip edge flashing, this barrier directs moisture away from an otherwise vulnerable area and creates a watertight seal.
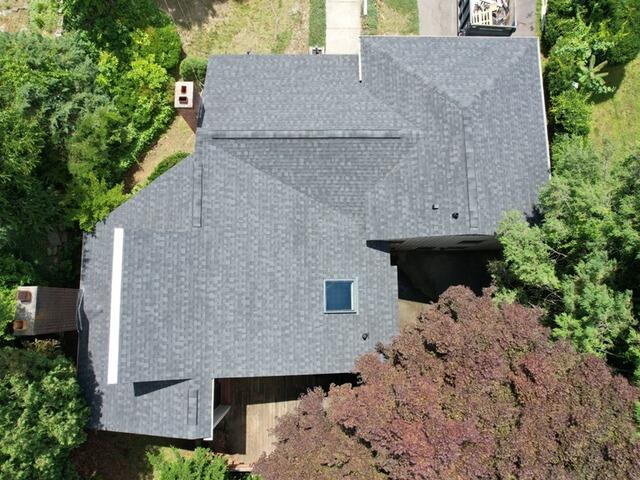
After: Aerial View
After a few finishing touches, like adding ridge vents to secure proper airflow and a ridge cap to ensure a seamless finish, Atara's new roof is complete!
After: Front View
Sleek and stunning, Atara's new roof is ready to shine for the next 50 years!
