
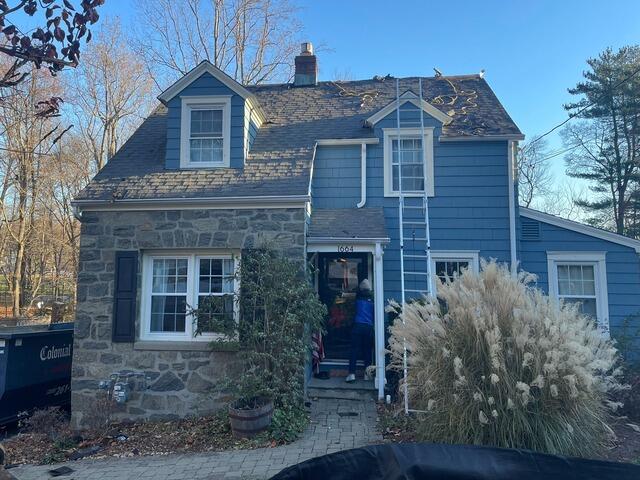
The Roof Before
Here is what Patrick's roof looked like before the makeover. Click through to see the awesome transformation!
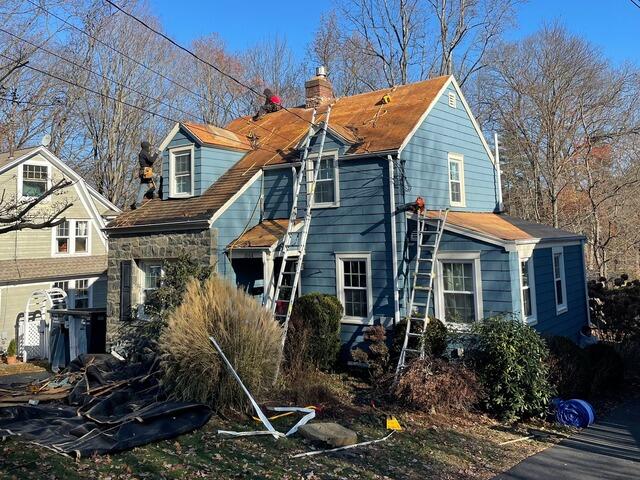
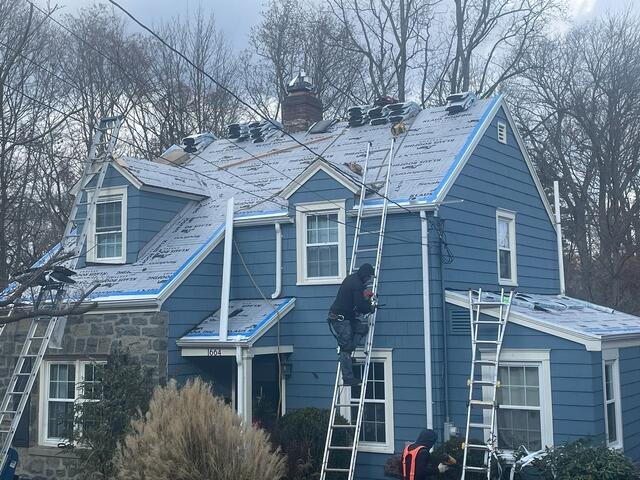
Old Shingles Are Removed
The crew starts things off by carefully stripping off all of the old shingles. This reveals the layer of plywood underneath, which is called the roof sheathing.
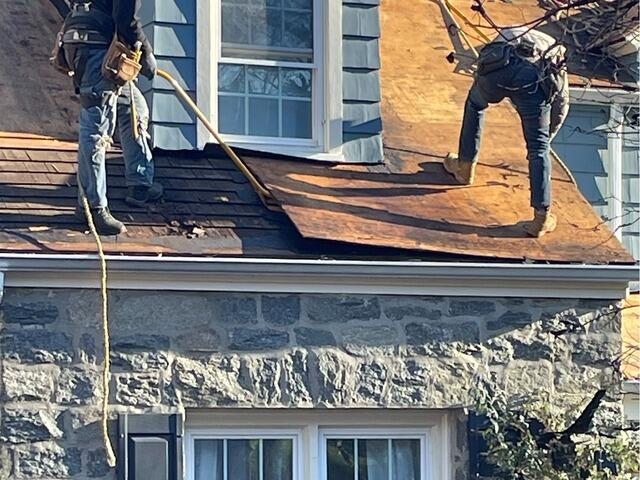
Bad Plywood Is Removed
The roof sheathing is the structural foundation of the roof, and must be in tip-top shape before the new shingles go on. Any plywood that shows signs of damage like rot or mold-such as this area here-needs to be removed.
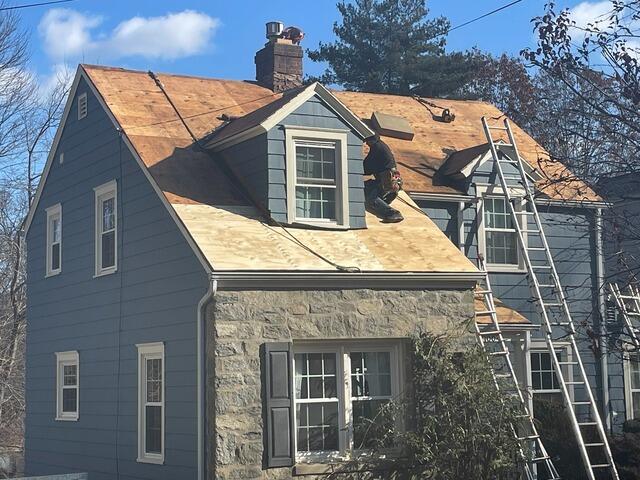
New Plywood Is Installed
Sturdy new 1/2" CDX plywood is installed in place of the removed areas, ensuring a strong, solid new base for the roof.
Ready for New Shingles
With the underlayment fully in place, the crew installs a drip edge flashing around all edges of the roof. This is a metal strip installed along the edges of a roof that directs water away from the fascia and into the gutters, preventing water damage.
New Shingles Are Installed
Now it's time to install the new shingles! For his new roof, Patrick has selected the cool, dark shade of Glacier from our IKO Dynasty collection to beautifully complement his home.
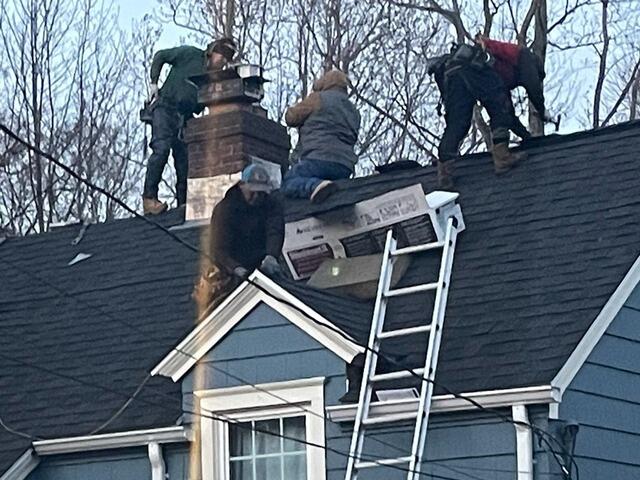
Chimney Is Flashed
Flashing in the form of a thin metal is installed around the chimney where it meets the roof, ensuring a strong, watertight seal.
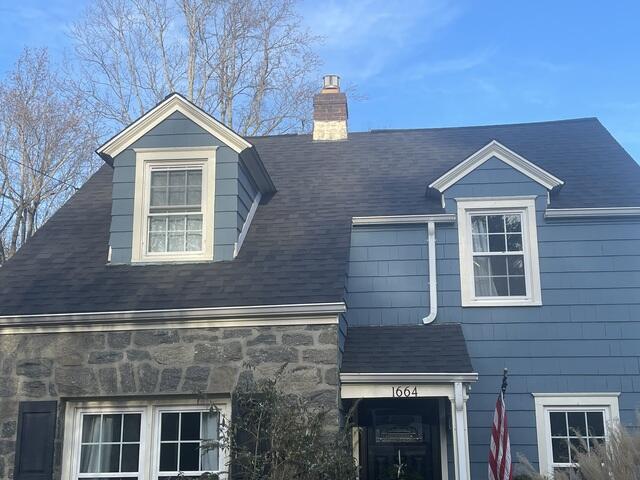
The Roof After
After a few finishing touches such as adding a ridge vent for proper airflow and a ridge cap for a seamless finish, Patrick's new roof is officially complete!
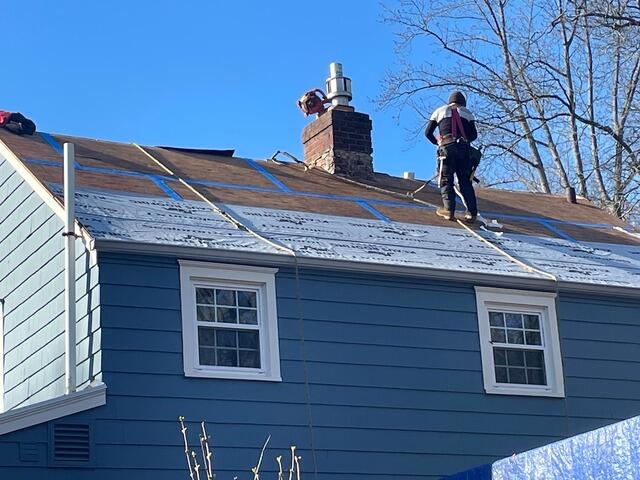
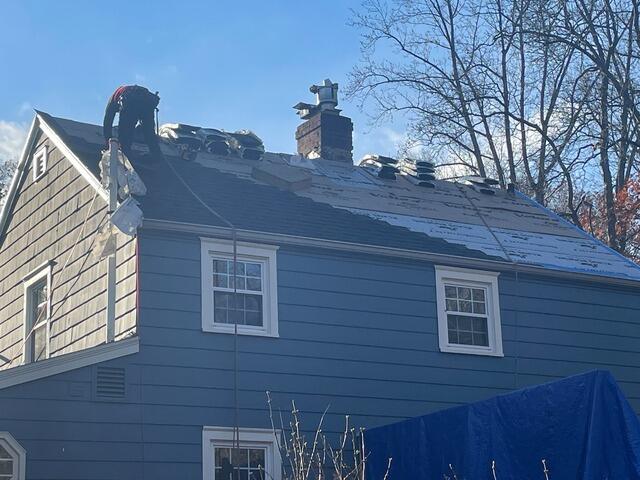
Seams Are Taped & Underlayment Is Installed
Next, all of the seams of each sheet of plywood are reinforced with heavy-duty all-weather deck tape. Then, underlayment is installed over the entire surface. This is a thin, water-resistant membrane that further protects the sheathing from damaging elements like rain, wind, snow, or ice.
