
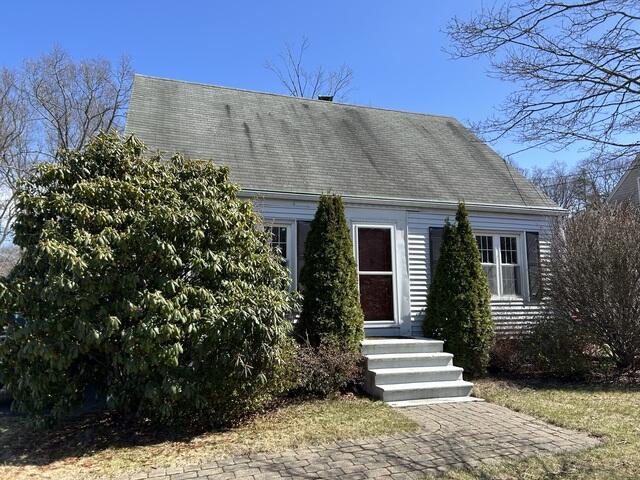
The Roof Before
Here's what Jason's roof before the renovation. Swipe through to see the awesome transformation!
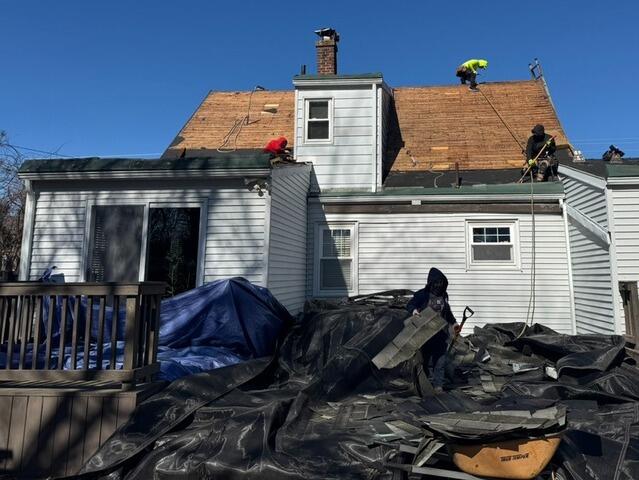
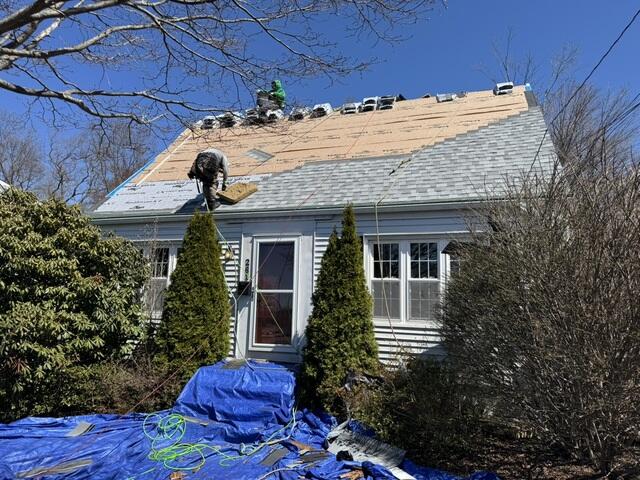
The Sheathing Is Exposed
The crew starts things off by carefully tearing all of the old shingles off. Underneath the old shingles is a layer of plywood called the sheathing. This is the structural foundation of the roof.
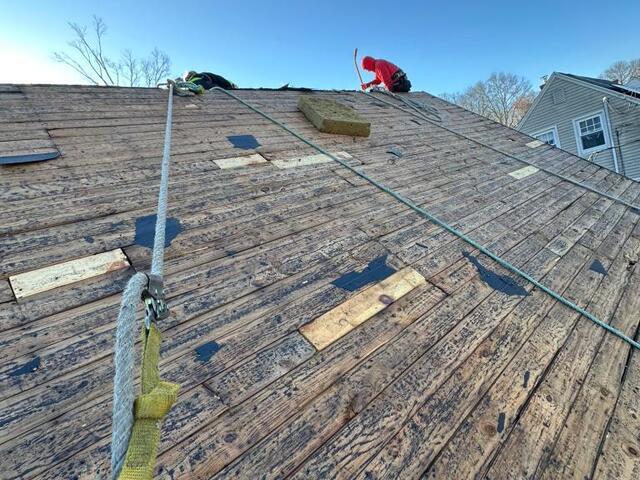
New Plywood Is Installed
As the structural foundation of the roof, the health of the sheathing is essential. Any sections found with damage, such as rot or mold, are removed and replaced with sturdy new CDX plywood, precisely cut and securely nailed into place.
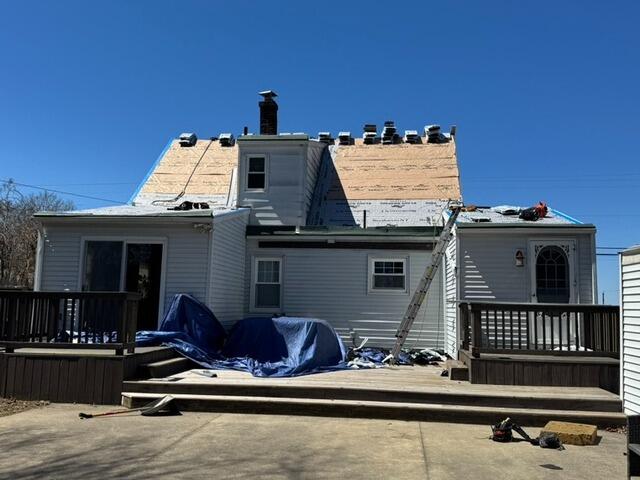
Underlayment Is Installed
With the sheathing set, underlayment is installed over the entire surface. This thin, waterproof material protects the sheathing from harsh elements that could cause moisture damage, such as rain, snow, and ice.
New Shingles Are Installed
Now it's time to install the new shingles! For his new roof, Jason has selected the sleek shade of Frostone Gray from our premium-laminated IKO Dynasty collection, perfectly suiting his home.
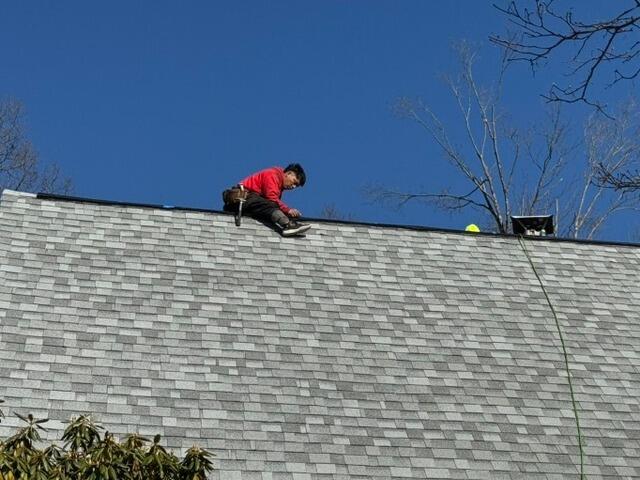
Ridge Vent Is Installed
A shingle vent is installed along the ridge of the roof. This vent allows for proper air circulation, letting hot, moist air rising from inside of the house a way to escape, eliminating damaging condensation buildup.
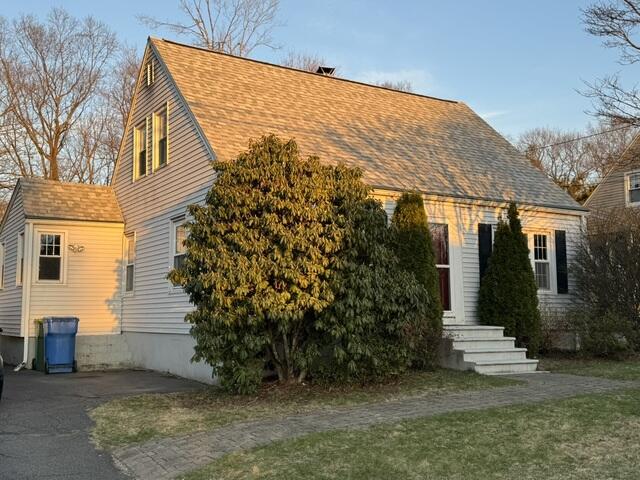
The Roof After
With the last pieces in place and the yard looking spotless, Jason's new roof is officially complete!