
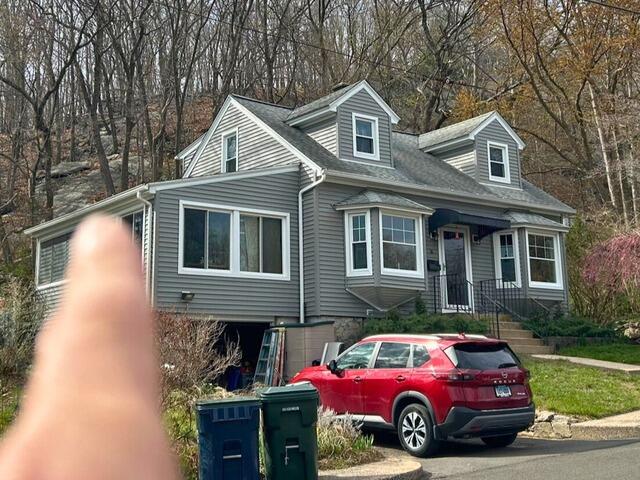
The Section to Be Updated
This blurry finger indicates the section of Ellen's roof we are tackling today. Click through to see a roof transformation at its finest!
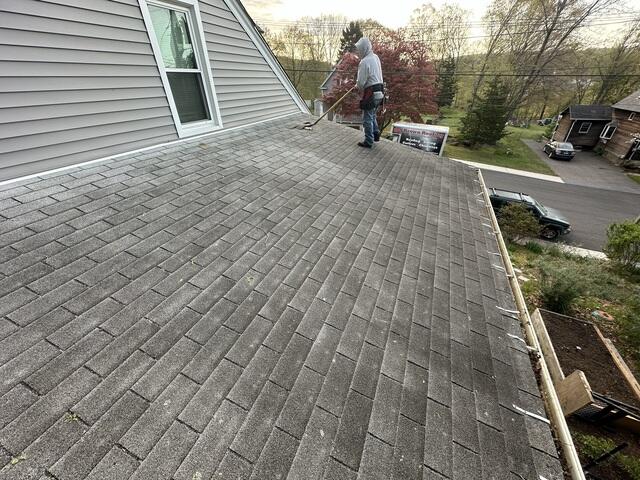
The Roof Before
Here's a look at the old three-tab shingles we'll be removing and replacing today to meet current building codes. The new roofing system will offer much better moisture protection and long-term durability. Time to get started!
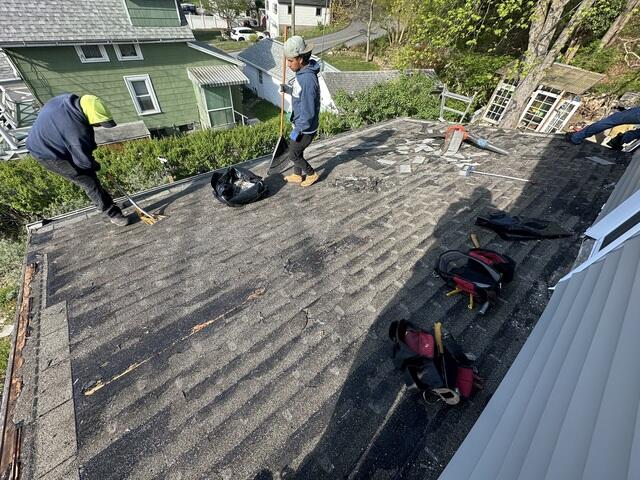
The Teardown
The crew starts things off by carefully stripping the old shingles off of the roof. This exposes the layer of plywood underneath, called the sheathing. The sheathing is the structural foundation of the roof.
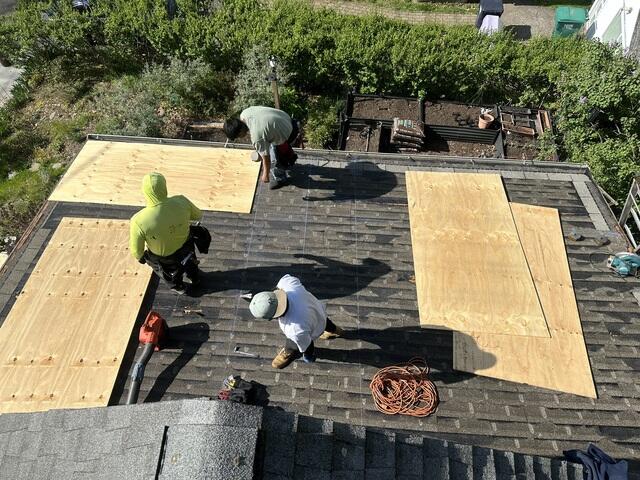
New Plywood Is Installed
Ellen's existing sheathing had an old ice-and-water shield firmly adhered to it, and removing it would've caused unnecessary damage. Since the sheathing was still solid with no signs of rot or decay, the crew installed new 1/2" CDX plywood over it to create a clean, flat surface for the new roofing system to properly adhere to.
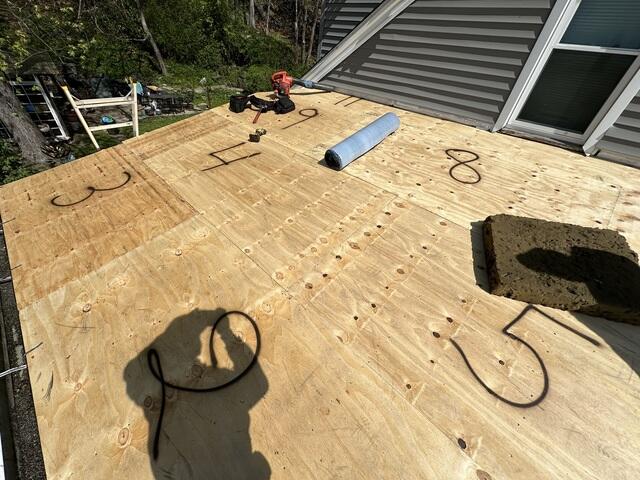
New Sheathing
Each new sheet of plywood is numbered for easy tracking. The crew will be able to accurately report back to the homeowner exactly how many new sheets have been installed.
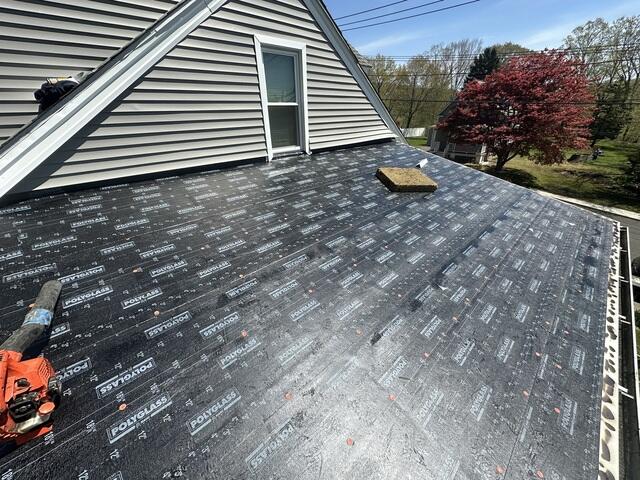
SBS Base Is Installed
The first layer of the Polyglass Elastoflex SBS roofing system, called the base, is firmly adhered to the new sheathing. This membrane protects the sheathing from harsh elements that could cause moisture damage, like rain, snow, and ice.
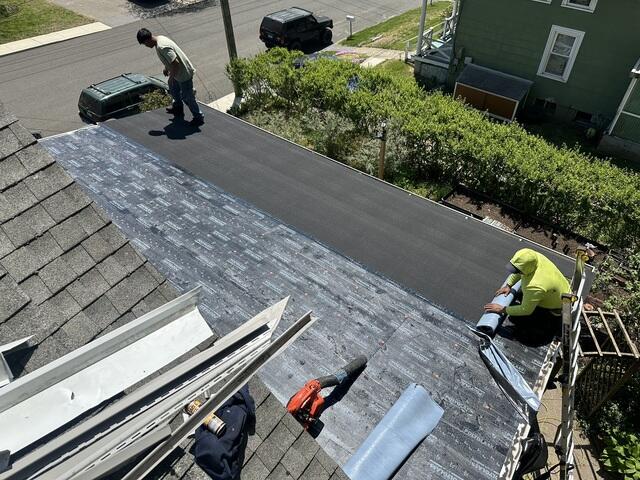
SBS Cap Is Installed
The top layer of the SBS system, called the cap, is firmly adhered atop the base, completing the roof with a seamless finish.

Securing the Wall Upturn
The SBS roofing material is extended up the side of the perimeter wall-this is called a wall upturn-to create a watertight seal and add flexibility and durability where the roof and wall meet at a 90-degree angle.
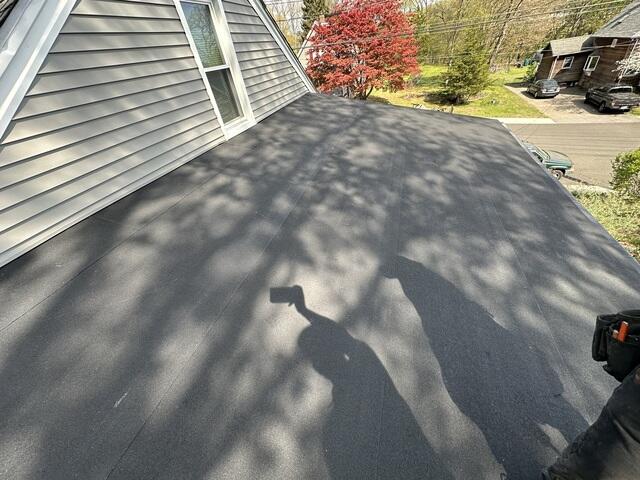
The Roof After
Just like that, with some final polish and cleanup, Ellen's roofing transformation is complete!