
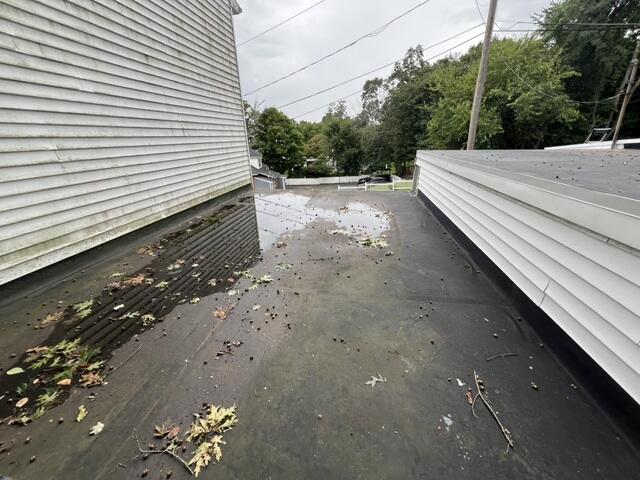
Before: Puddle Problem
Here's a look at Nitza's old roof. Years of wear and tear on substandard materials have caused puddles, known as ponding water, to gather in low spots. Click through to see how we fixed this problem for good!
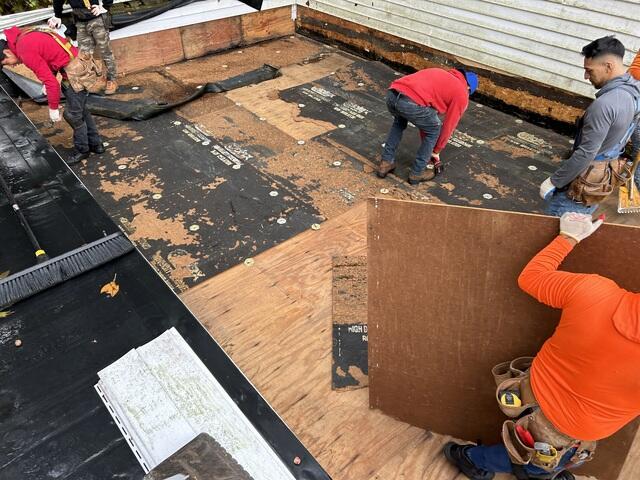
The Teardown
The crew kicks things off by removing all of the old roofing. Underneath the old EDPM system is a layer of plywood called the sheathing. This is the structural foundation of the roof.
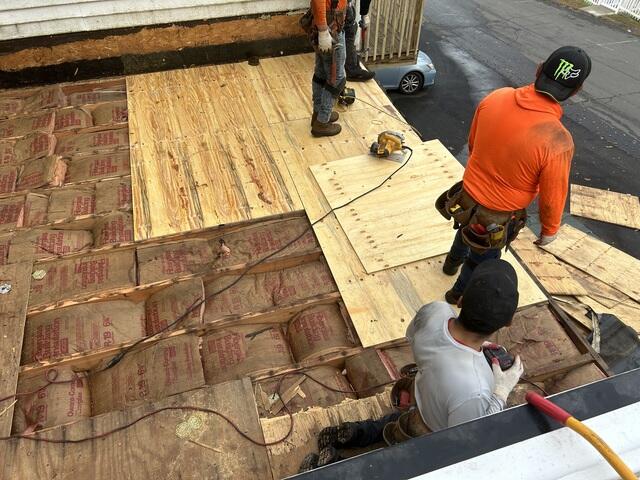
New Plywood Is Installed
As the structural foundation of the roof, the sheathing must be in tip-top shape. Any sections of the sheathing found with damage, like rot or mold, are removed and replaced with strong new CDX plywood to ensure a solid and flat base.

Keeping Count
Each new sheet of plywood is numbered for easy tracking so that the crew can accurately report back to the homeowner on exactly how many sheets were installed.
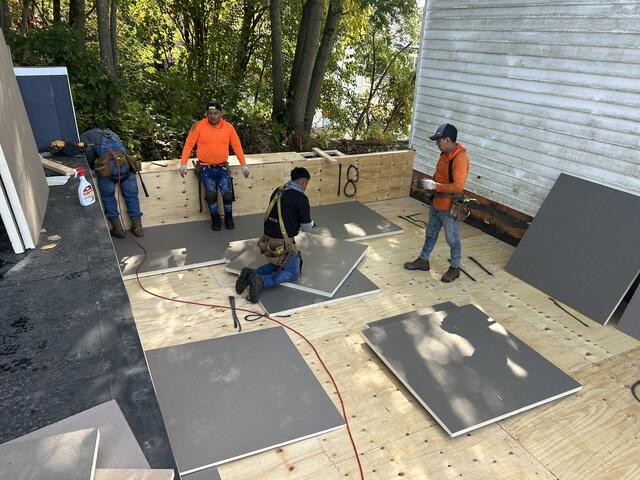
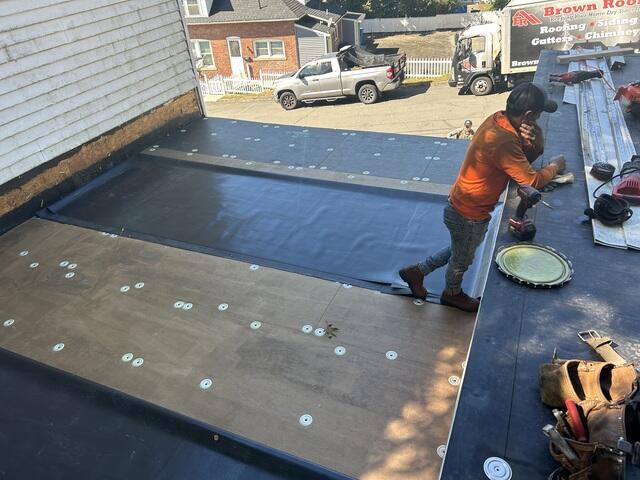
Insulation Is Installed
With all of the new sheathing securely nailed into place, the crew moves onto the next step: installing the VersiCore Tapered Polyiso insulation. This important layer regulates temperature, enhance energy efficiency, and prevents moisture damage.
EPDM Membrane Is Installed
The top layer of the roof, called the Versico VersiGard membrane, is firmly adhered on the top of the insulation, ensuring a watertight seal and a seamless finish.
Membrane Is Installed on the Perimeter Wall
The membrane is further extended up the side of the perimeter wall to ensure full protection from moisture damage.
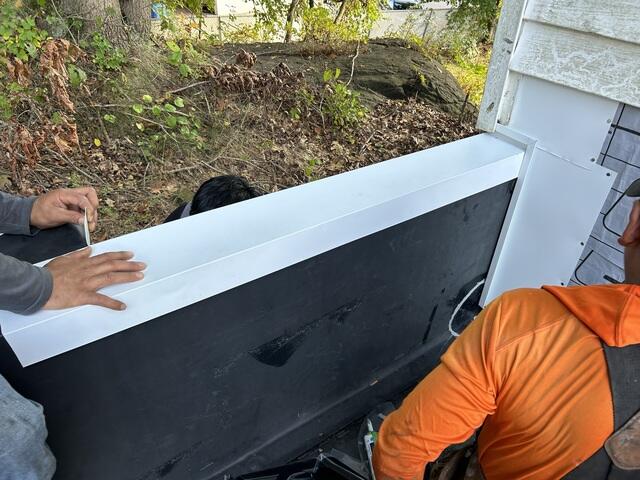
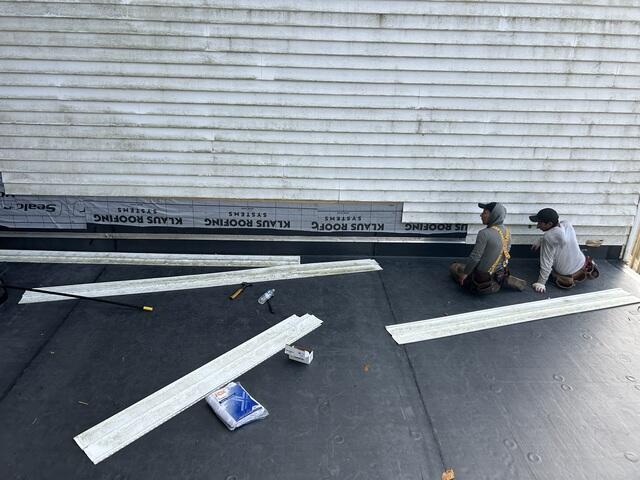
Finishing the Parapet Wall
This short back wall is called the parapet wall. The crew performs the same process on the parapet wall as they do the roof, finishing it off with the installation of this aluminum drip edge.
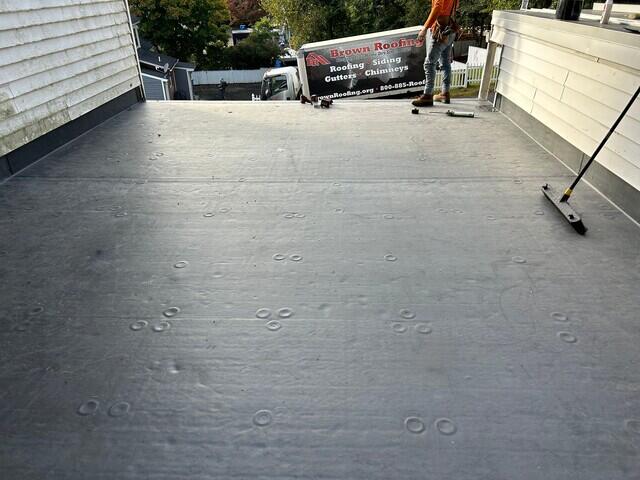
After: The Finished Product
After a few final touches and a cleanup of the entire area, Nitza's new flat roofing system is complete!