
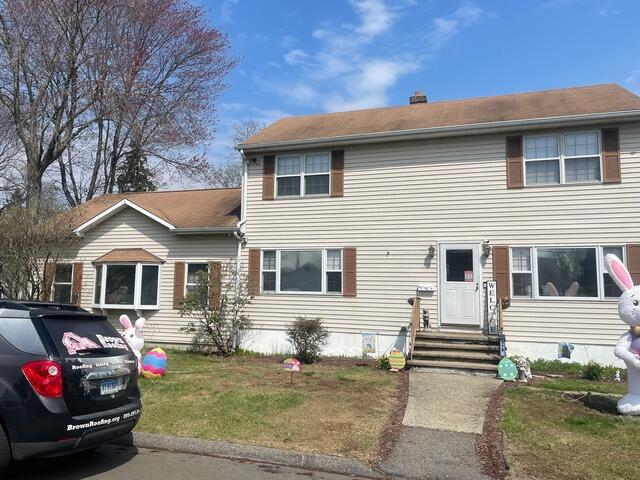
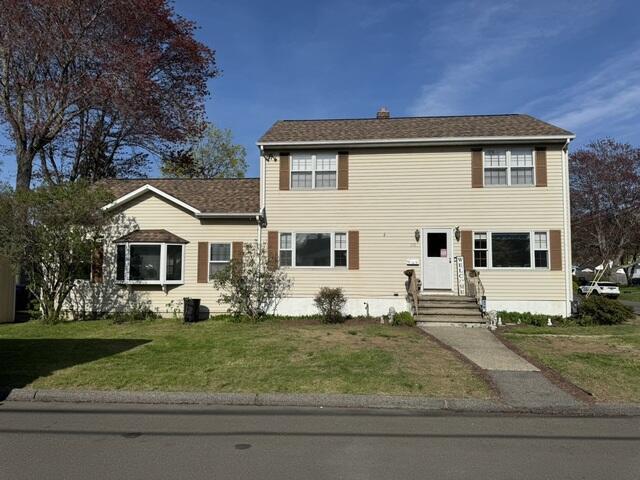
The Roof Before
Here's a look at Walt's roof before the renovation. Swipe through to see the sleek transformation!
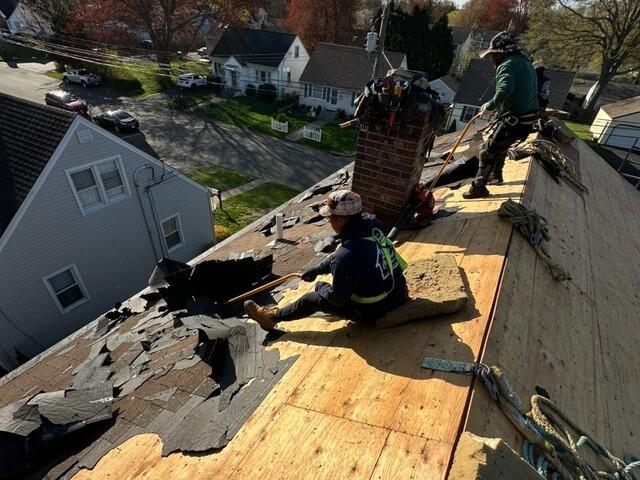
The Teardown Begins
The crew kicks things off by carefully tearing off the old shingles. This reveals the layer of plywood underneath, which is called the roof sheathing.
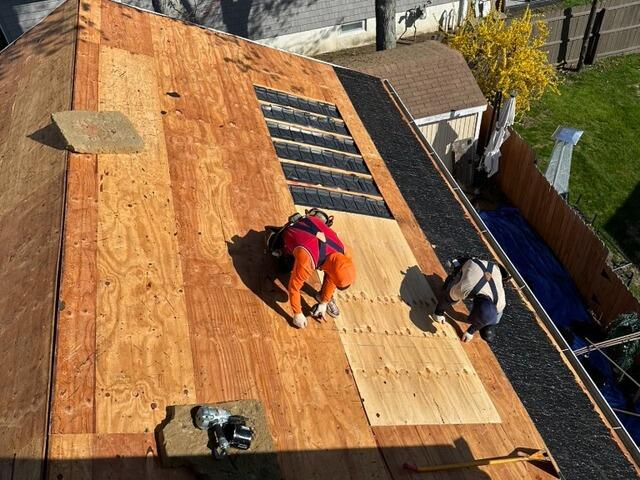
New Plywood Is Installed
The sheathing is the structural foundation of the roof, and, as such, needs to be in tip-top condition before the new shingles can go on. Any areas found with damage, like rot or mold, are removed and replaced with strong new CDX plywood to ensure a sturdy, solid base.
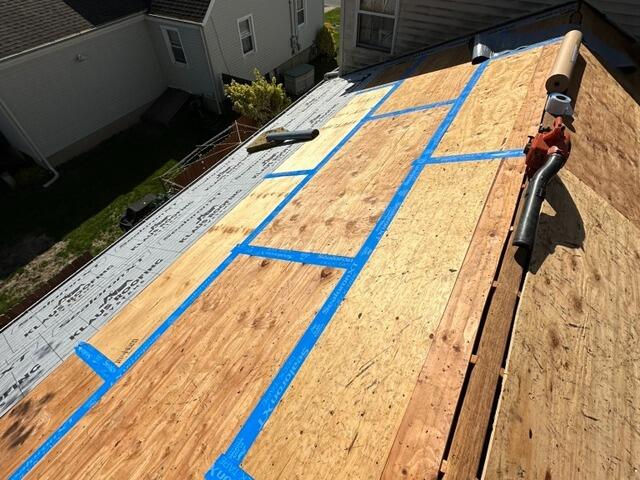
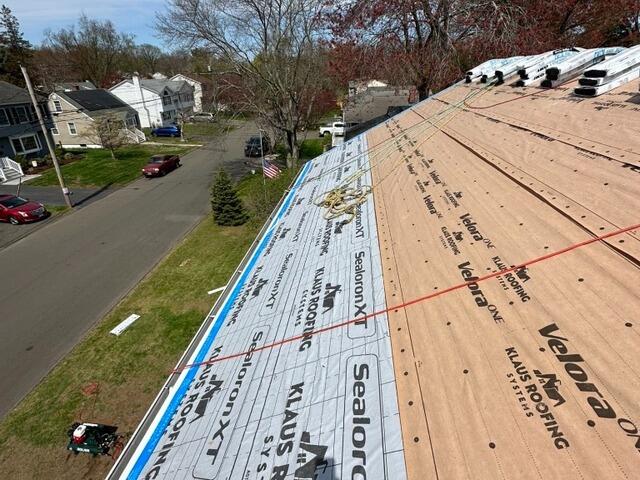
Seams Are Taped & Underlayment Is Installed
Next, the crew tapes up all of the seams of the plywood sheets with all-weather deck tape. After that, underlayment is installed over the entire surface. This thin, waterproof material protects the sheathing from harsh elements that could cause moisture damage, like rain, snow, or hail.
Drip Edge Flashing Is Installed
Drip edge flashing, a thin metal, is installed along the edge of the roof, ensuring a watertight seal by directing the water away from the fascia and into the gutters.
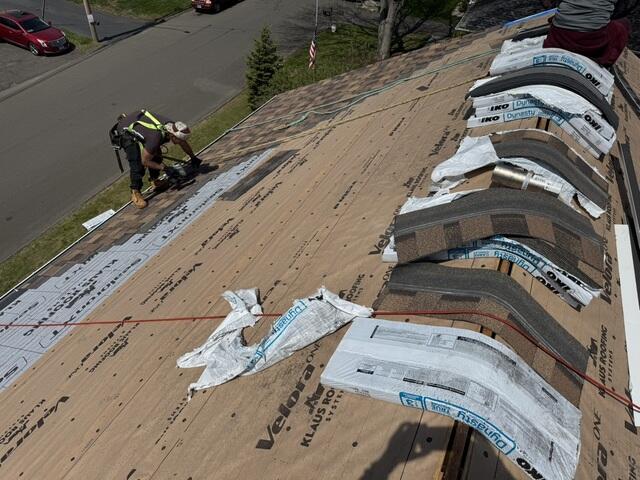
New Shingles Are Installed
Now it's time to install the new shingles! For his new roof, Walt has selected the sleek shade of Brownstone from our premium-laminated IKO Dynasty collection. These gorgeous shingles are proudly backed by Brown Roofing's 50-year warranty!
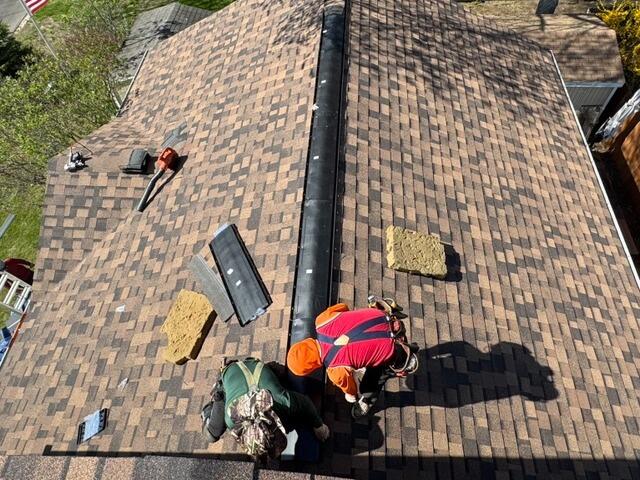
Ridge Vent Is Installed
A shingle vent is installed along all of the ridges of the roof to ensure proper airflow by allowing hot, moist air rising in the house a way to escape, eliminating damaging condensation buildup.
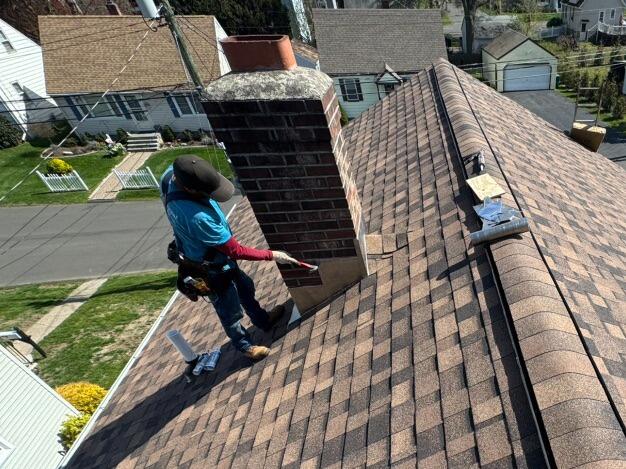
New Flashing Is Installed on Chimney
New flashing is installed around the chimney where it meets the roof. Like the drip edge flashing, this thin metal barrier prevents water from leaking into an otherwise vulnerable junction.
The Roof After
After some final touches and an expert cleanup process, Walt's roof is officially complete and looking gorgeous!
