
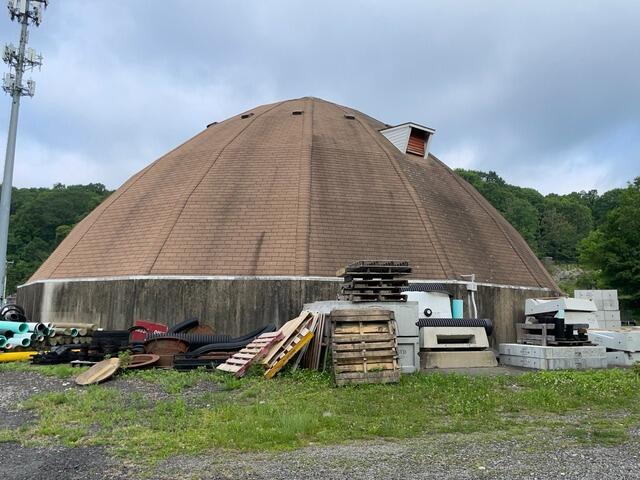
The Old Roof
Here's what the sand depot's old roof looked like before the renovation. Those white spots are invasive lichen and those dark streaks are roof algae-both moisture-loving, invasive, and shingle-deteriorating plants. Swipe through to see the awesome transformation!
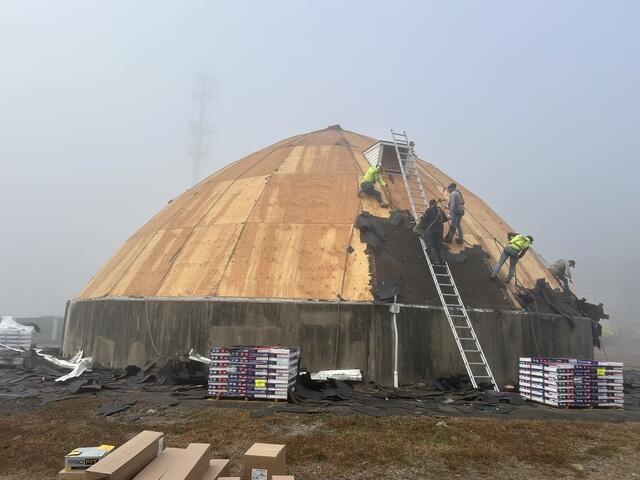
The Teardown Begins
The crew kicks things off by tearing off all of the old shingles. This reveals the layer of plywood underneath, which is called the sheathing.
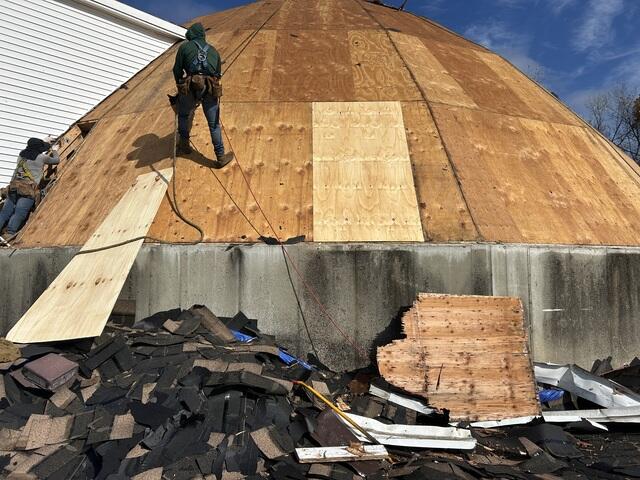
New Plywood Is Installed
The sheathing is the structural foundation of the roof, and, as such, must be in tip-top condition before the new shingles can be installed. Any sections that show signs of damage, such as rot or mold, are removed and replaced with sturdy new CDX plywood.
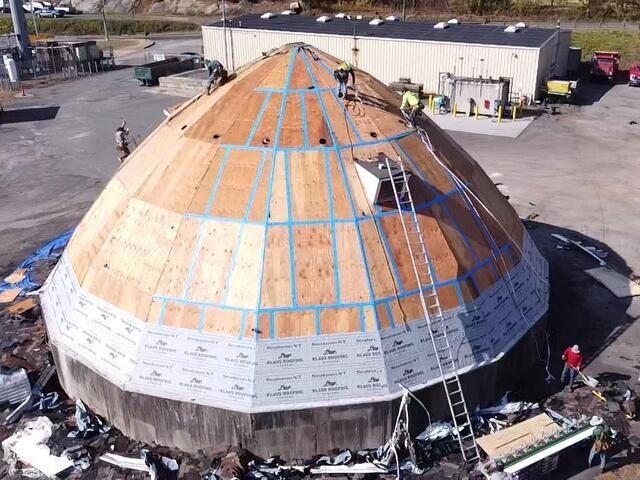
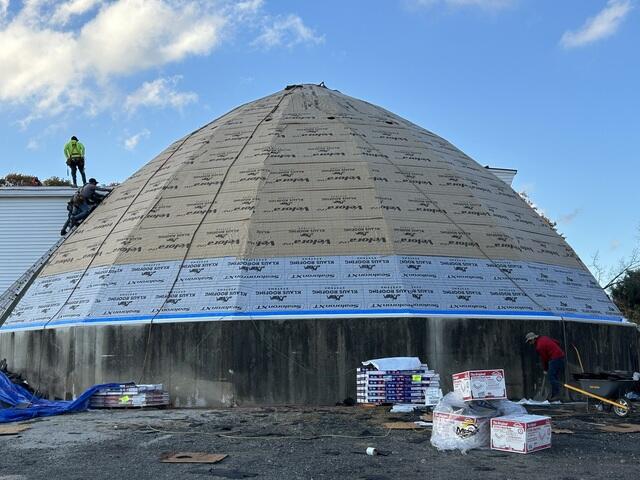
Seams Are Taped & Underlayment Is Installed
After all of the new sheathing is securely nailed into place, the seams of each sheet of plywood are taped up at the seams with all-weather deck tape. Next, underlayment is installed over the entire surface. This thin, waterproof membrane shields the sheathing from dangerous elements that could cause moisture damage like rain, snow, and ice.
Ready for New Shingles
Drip edge flashing is installed around the edge of the roof. This thin metal barrier prevents water from seeping in through the bottom of the roof, safely directing it away.

New Shingles Are Installed
The crew gets to work installing the new shingles!
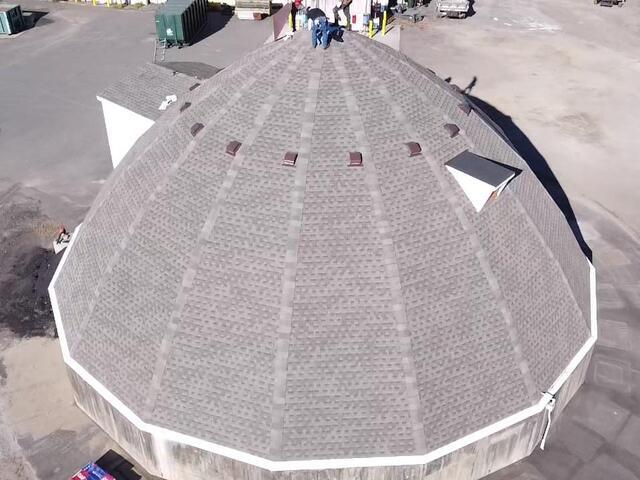
The Finishing Touches
The roof is nearly complete, with ridge caps along each edge of the roof to ensure a seamless finish, and metal flashing installed over each roof vent ensuring a watertight seal around every junction.
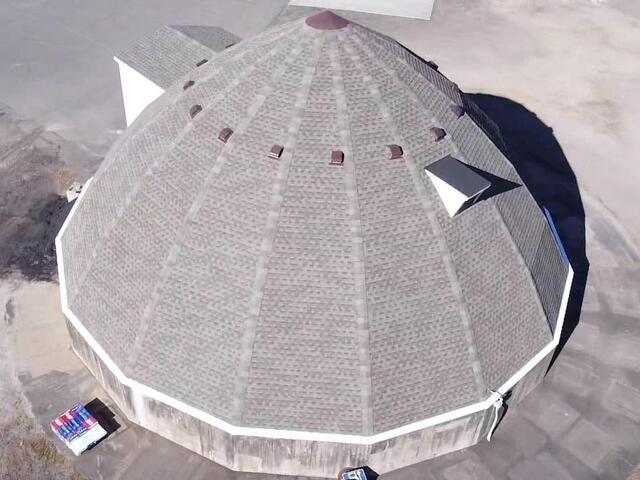
The New Roof
From final details to a solid cleanup, the salt depot's new roof is complete and looking sharp!
