
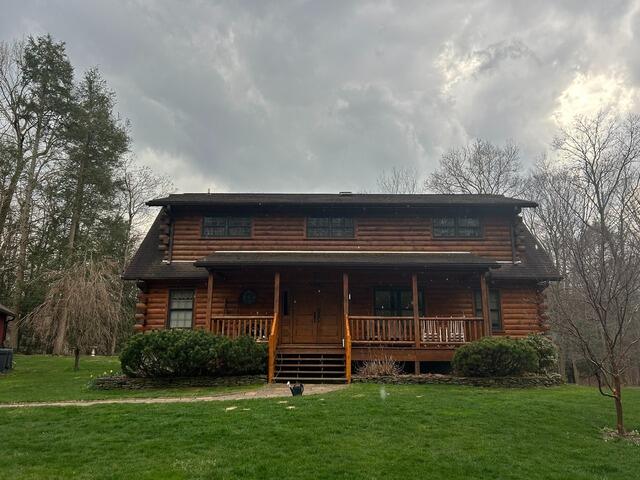
The Roof Before
Here is a look at Bill's house before the roof replacement. Swipe through to see the excellent renovation!
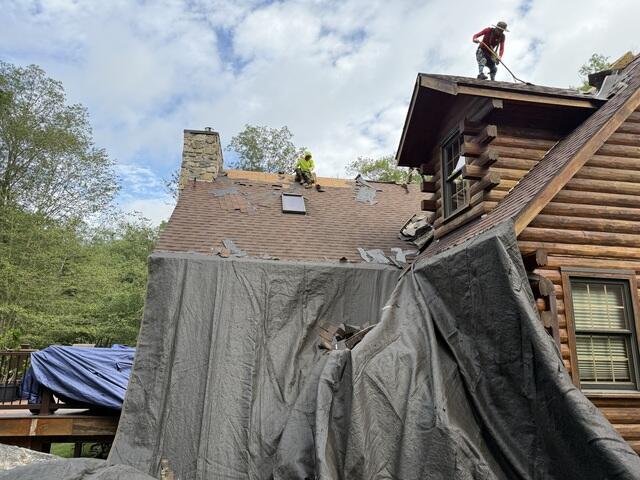
The Teardown Begins
The crew kicks things off by carefully stripping all of the old shingles off of the roof. Before they begin, they hang up large tarps around the edges of the roof to catch the falling debris. Tarps are also laid out across the property to ensure full protection of the yard and lawn decor.

The Sheathing Is Exposed
Underneath the old shingles is a layer of plywood called the sheathing. This is the structural foundation of the roof. Bill's roof had a style of sheathing made of OSB plywood. The crew closely examines the entire surface for any evidence of damage, like rot or mold.
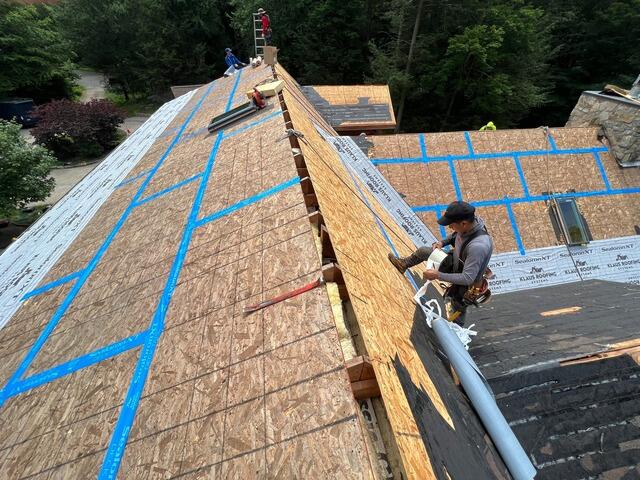
Seams Are Taped and Ice and Water Shield Is Installed
The crew found that Bill's sheathing was in solid condition, and none of it needed to be replaced. They then moved on to the next step: installing ice and water shield from the eaves up six feet. Then, they taped the rest of the plywood at the seams to bring the sheathing up to current building codes.
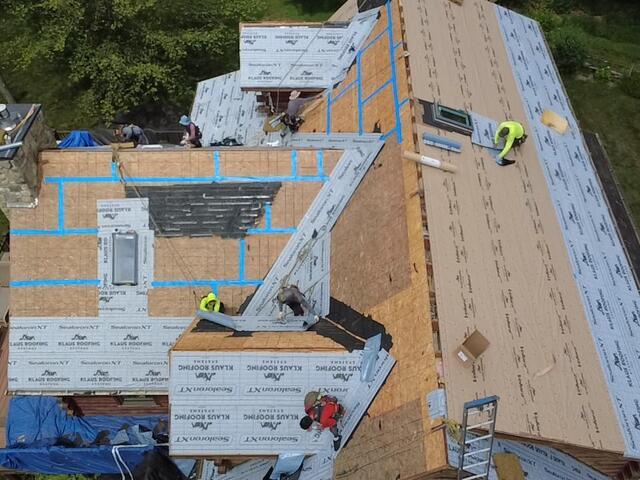
Underlayment Is Completed
Velora One synthetic underlayment is installed over the rest of the sheathing's surface. After that, thin metal barriers called the rake metal and the drip edge flashing are installed around the edges of the roof to ensure a watertight seal, directing moisture away from the fascia and guiding it into the gutters.

New Shingles Are Installed
Now it's time to install the new shingles! For his new roof, Bill has selected the sleek and ever-popular shade of Brownstone from our premium-laminated IKO Nordic collection. These Impact 4 architectural shingles are proudly backed by Brown Roofing's 50-year warranty.
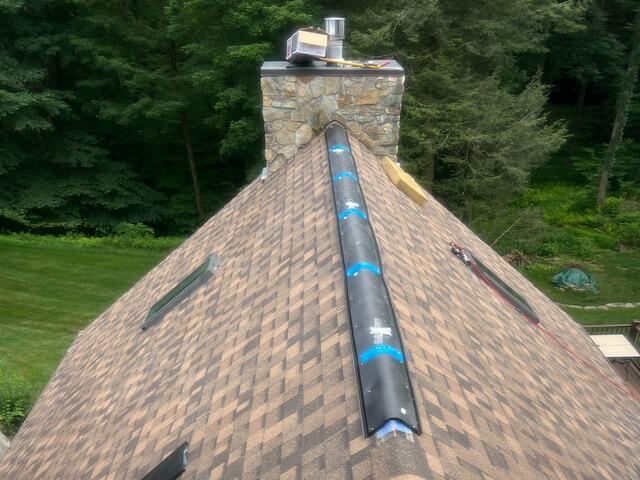
Ridge Vent Is Installed
Proper airflow is maintained by installing a vent along the roof ridge, giving hot, moist air a path out of the attic.
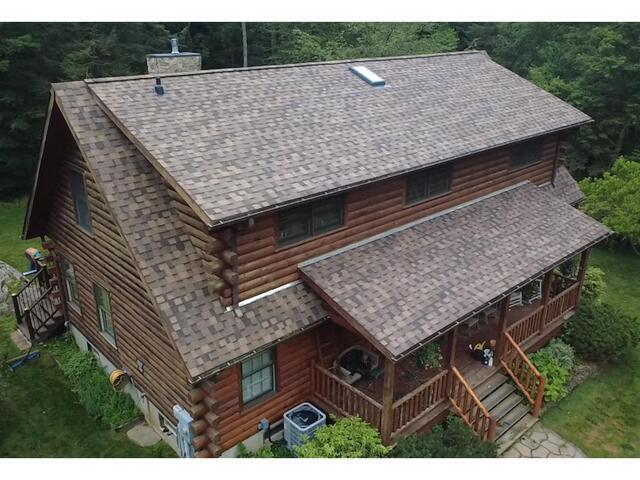
The Roof After
After some finishing touches and a thorough tidying up of the entire property, Bill's new roof is looking gorgeous, perfectly complementing his log cabin home.
